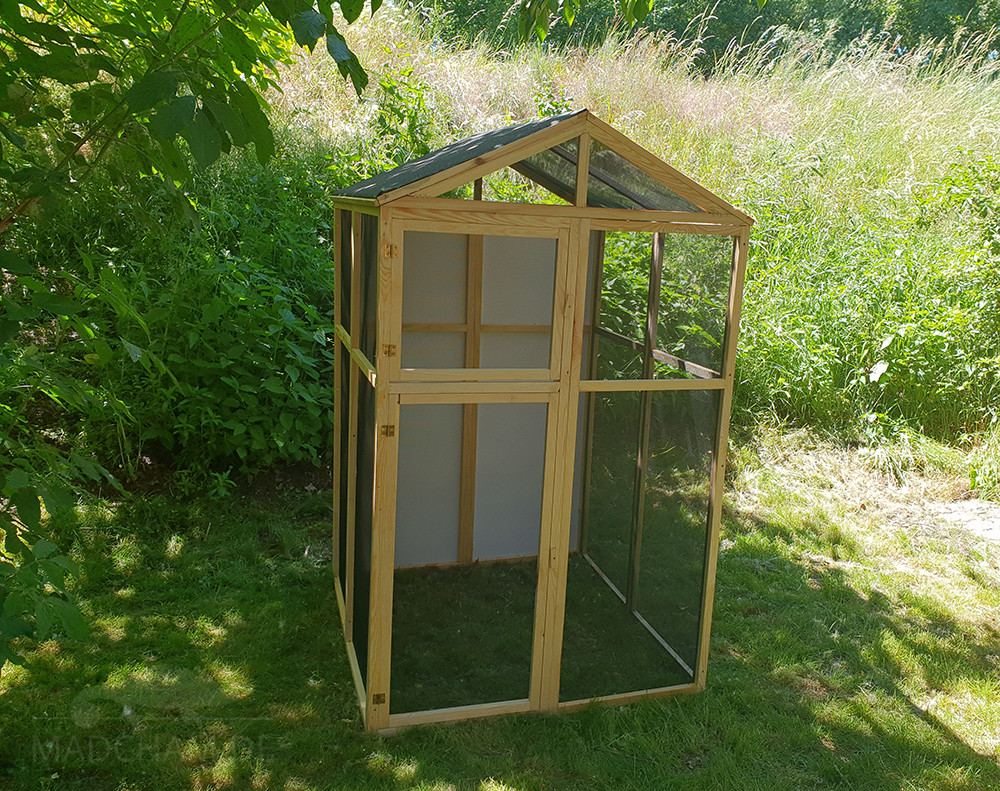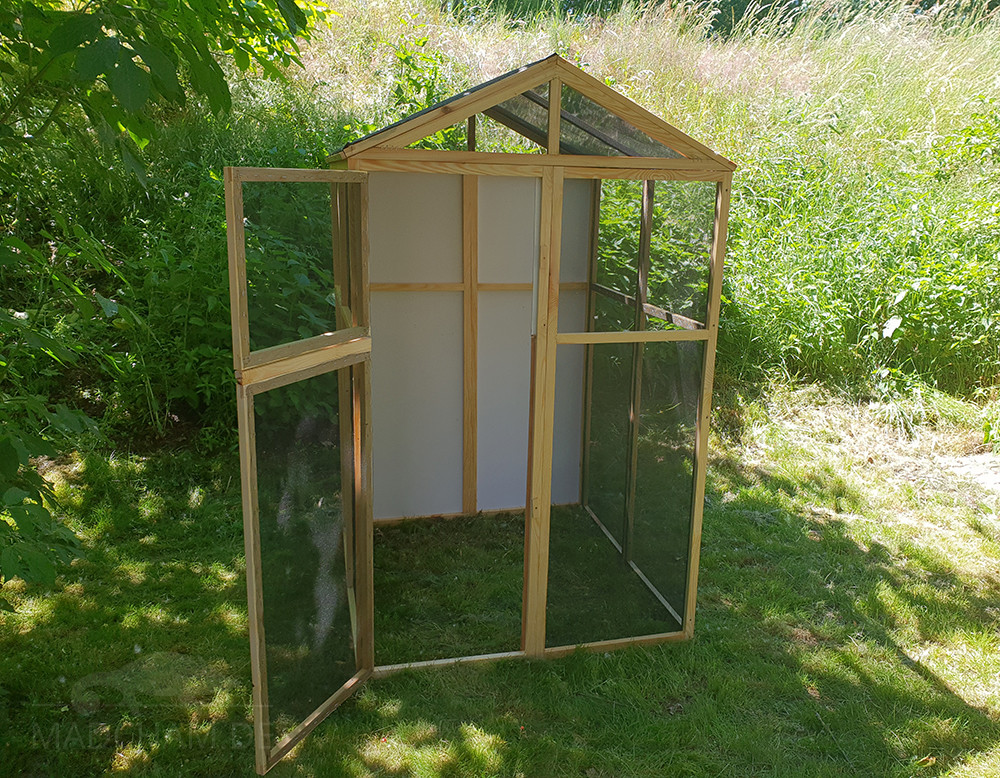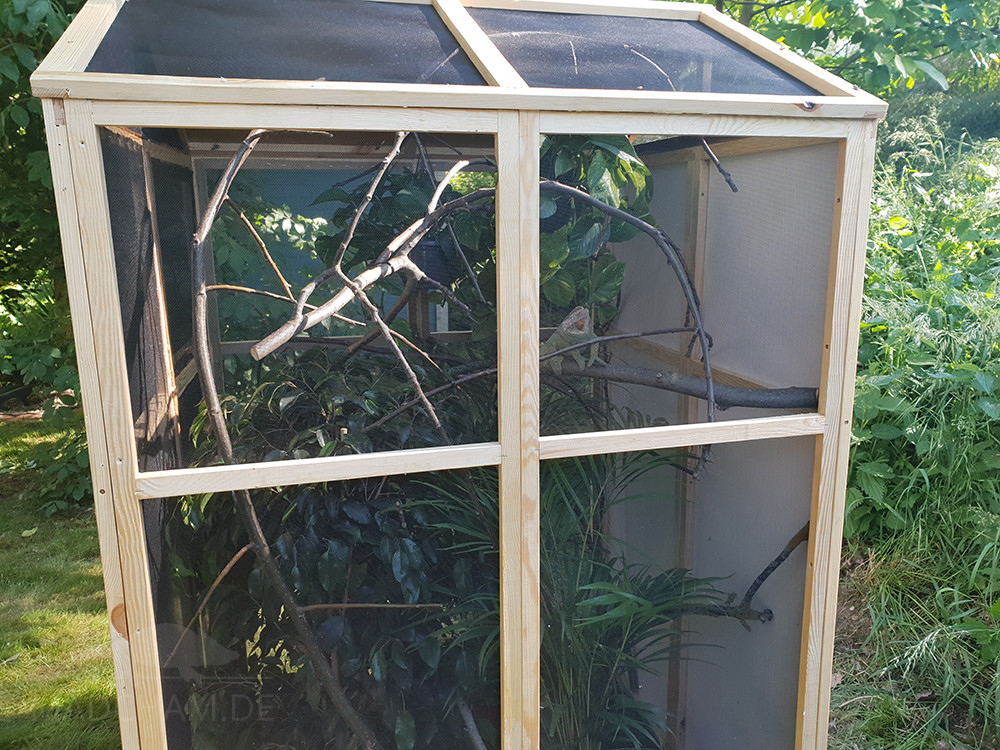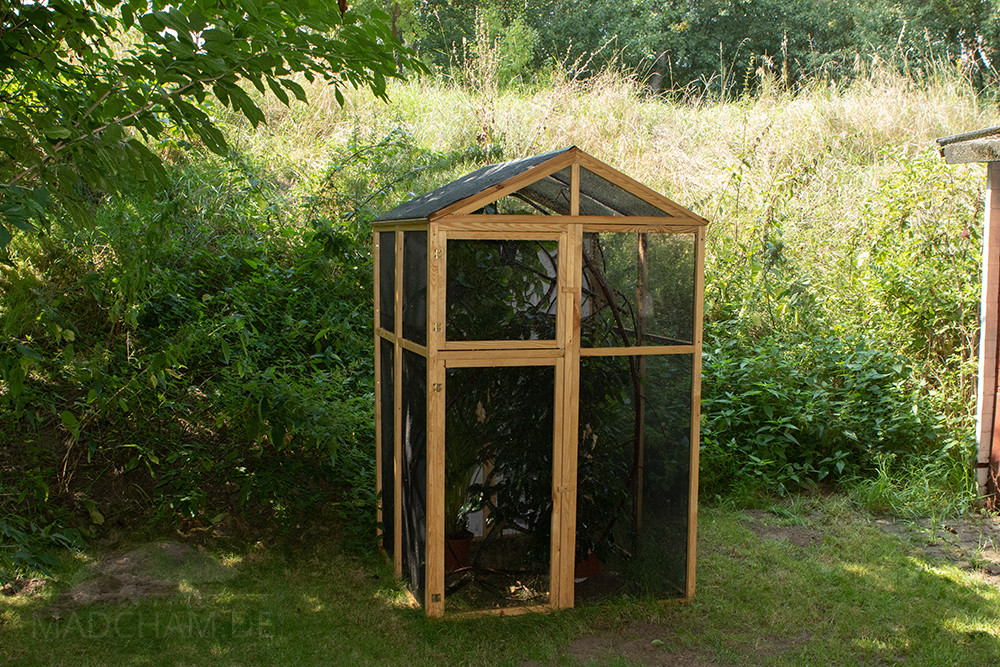
If you quickly need a spacious outdoor enclosure for summer but don’t necessarily feel like sawing every part to size yourself, this proposal for an outdoor enclosure is a good choice. The aviary has final dimensions of 180 cm height at the highest point of the gable, 114 cm width, and 112 cm depth. It is therefore especially suitable for larger chameleon species. For the outdoor enclosure, a ready aviary kit for birds called “Bird Dream” is used. By the way, this kit was available at a larger discounter for 150 €, currently, it is about 250 € – depending on where you buy the kit. The aviary has a “half” roof, that means half of the roof is shaded, the other half is not. So a chameleon can stay outside even in the summer rain.
Required material:
- Aviary kit consisting of wooden frame and screws, see above
- Side cutter
- black aluminum gauze, eight square meters
- Electric tackers and staples
- one hard foam board, 150 x 114 cm, 2 mm thick
- cordless screwdriver
- five larger screws, 5 x 40 mm
- 20 small screws, 3 x 15 mm
- wood glaze
- scissors or cutter
The aviary kit is delivered in a package, which contains ready-made wooden frames covered with very coarse wire and the necessary screws. Since the wire is very thin and sharp-edged, it could injure chameleon feet. Therefore the first step is to remove the wire with the side cutter. This is a bit laborious but easy. Click on the pictures to see them enlarged.
As soon as the wire is removed, it is time for the wood glaze. The wooden frames are delivered untreated, so if it rains outdoors they would soon swell and break. A glaze keeps the wood in good condition at least for a while. When the glaze has dried, the black aluminum gauze is used. The wooden frames are placed on top of the gauze, then the gauze underneath is cut to fit with scissors or a cutter. Then the gauze is attached to the wooden frame with an electric tacker – this is done really fast.
Then screw the two back parts of the enclosure together as indicated in the instructions. Then put the big back part on the ground, put the forex plate on it, and fix it to the wooden bars with the small screws. A few screws should also be fixed in the middle bar.
Then the parts of the enclosure can be screwed together according to the instructions. First the back wall, side parts, and front, then you assemble the roof separately and put it on top. Most of the assembly is self-explanatory, only the roof requires some thought. The roofing felt on one side of the roof should be firmly sealed on top with the batten.
The door of the enclosure actually consists of two parts with a wooden strip in between. Since we consider this to be impractical for an enclosure of this size, the wooden strip between the doors was simply sawn out and screwed to the two parts of the door. So the enclosure now has a large, continuous door on the left side.
That’s it, now we can start setting up. We have screwed some metal hooks into the middle wooden strip of the roof so that you can also hang hanging pot plants. Our experience with this outdoor enclosure: The fact that it can be assembled within a few hours and offers space for larger chameleons is a great advantage. But of course, it has disadvantages in this price range: Wood does not last forever. In winter you should either put the enclosure in a shelter or cover it to protect the wood. It also makes sense to place the enclosure on bricks or another dry surface in winter if it is to stay outside. This way the wood does not wet through in the lower area and lasts longer. Due to the construction with two wooden frames on each side, the enclosure is not really stable to carry, so you should move it as little as possible. It also has no floor, which means that you either have to put an extra grid on the floor or you can only leave chameleons in the enclosure under supervision and not at night (see the article on outdoor keeping in summer). You can install a simple lock yourself to lock the door securely.


