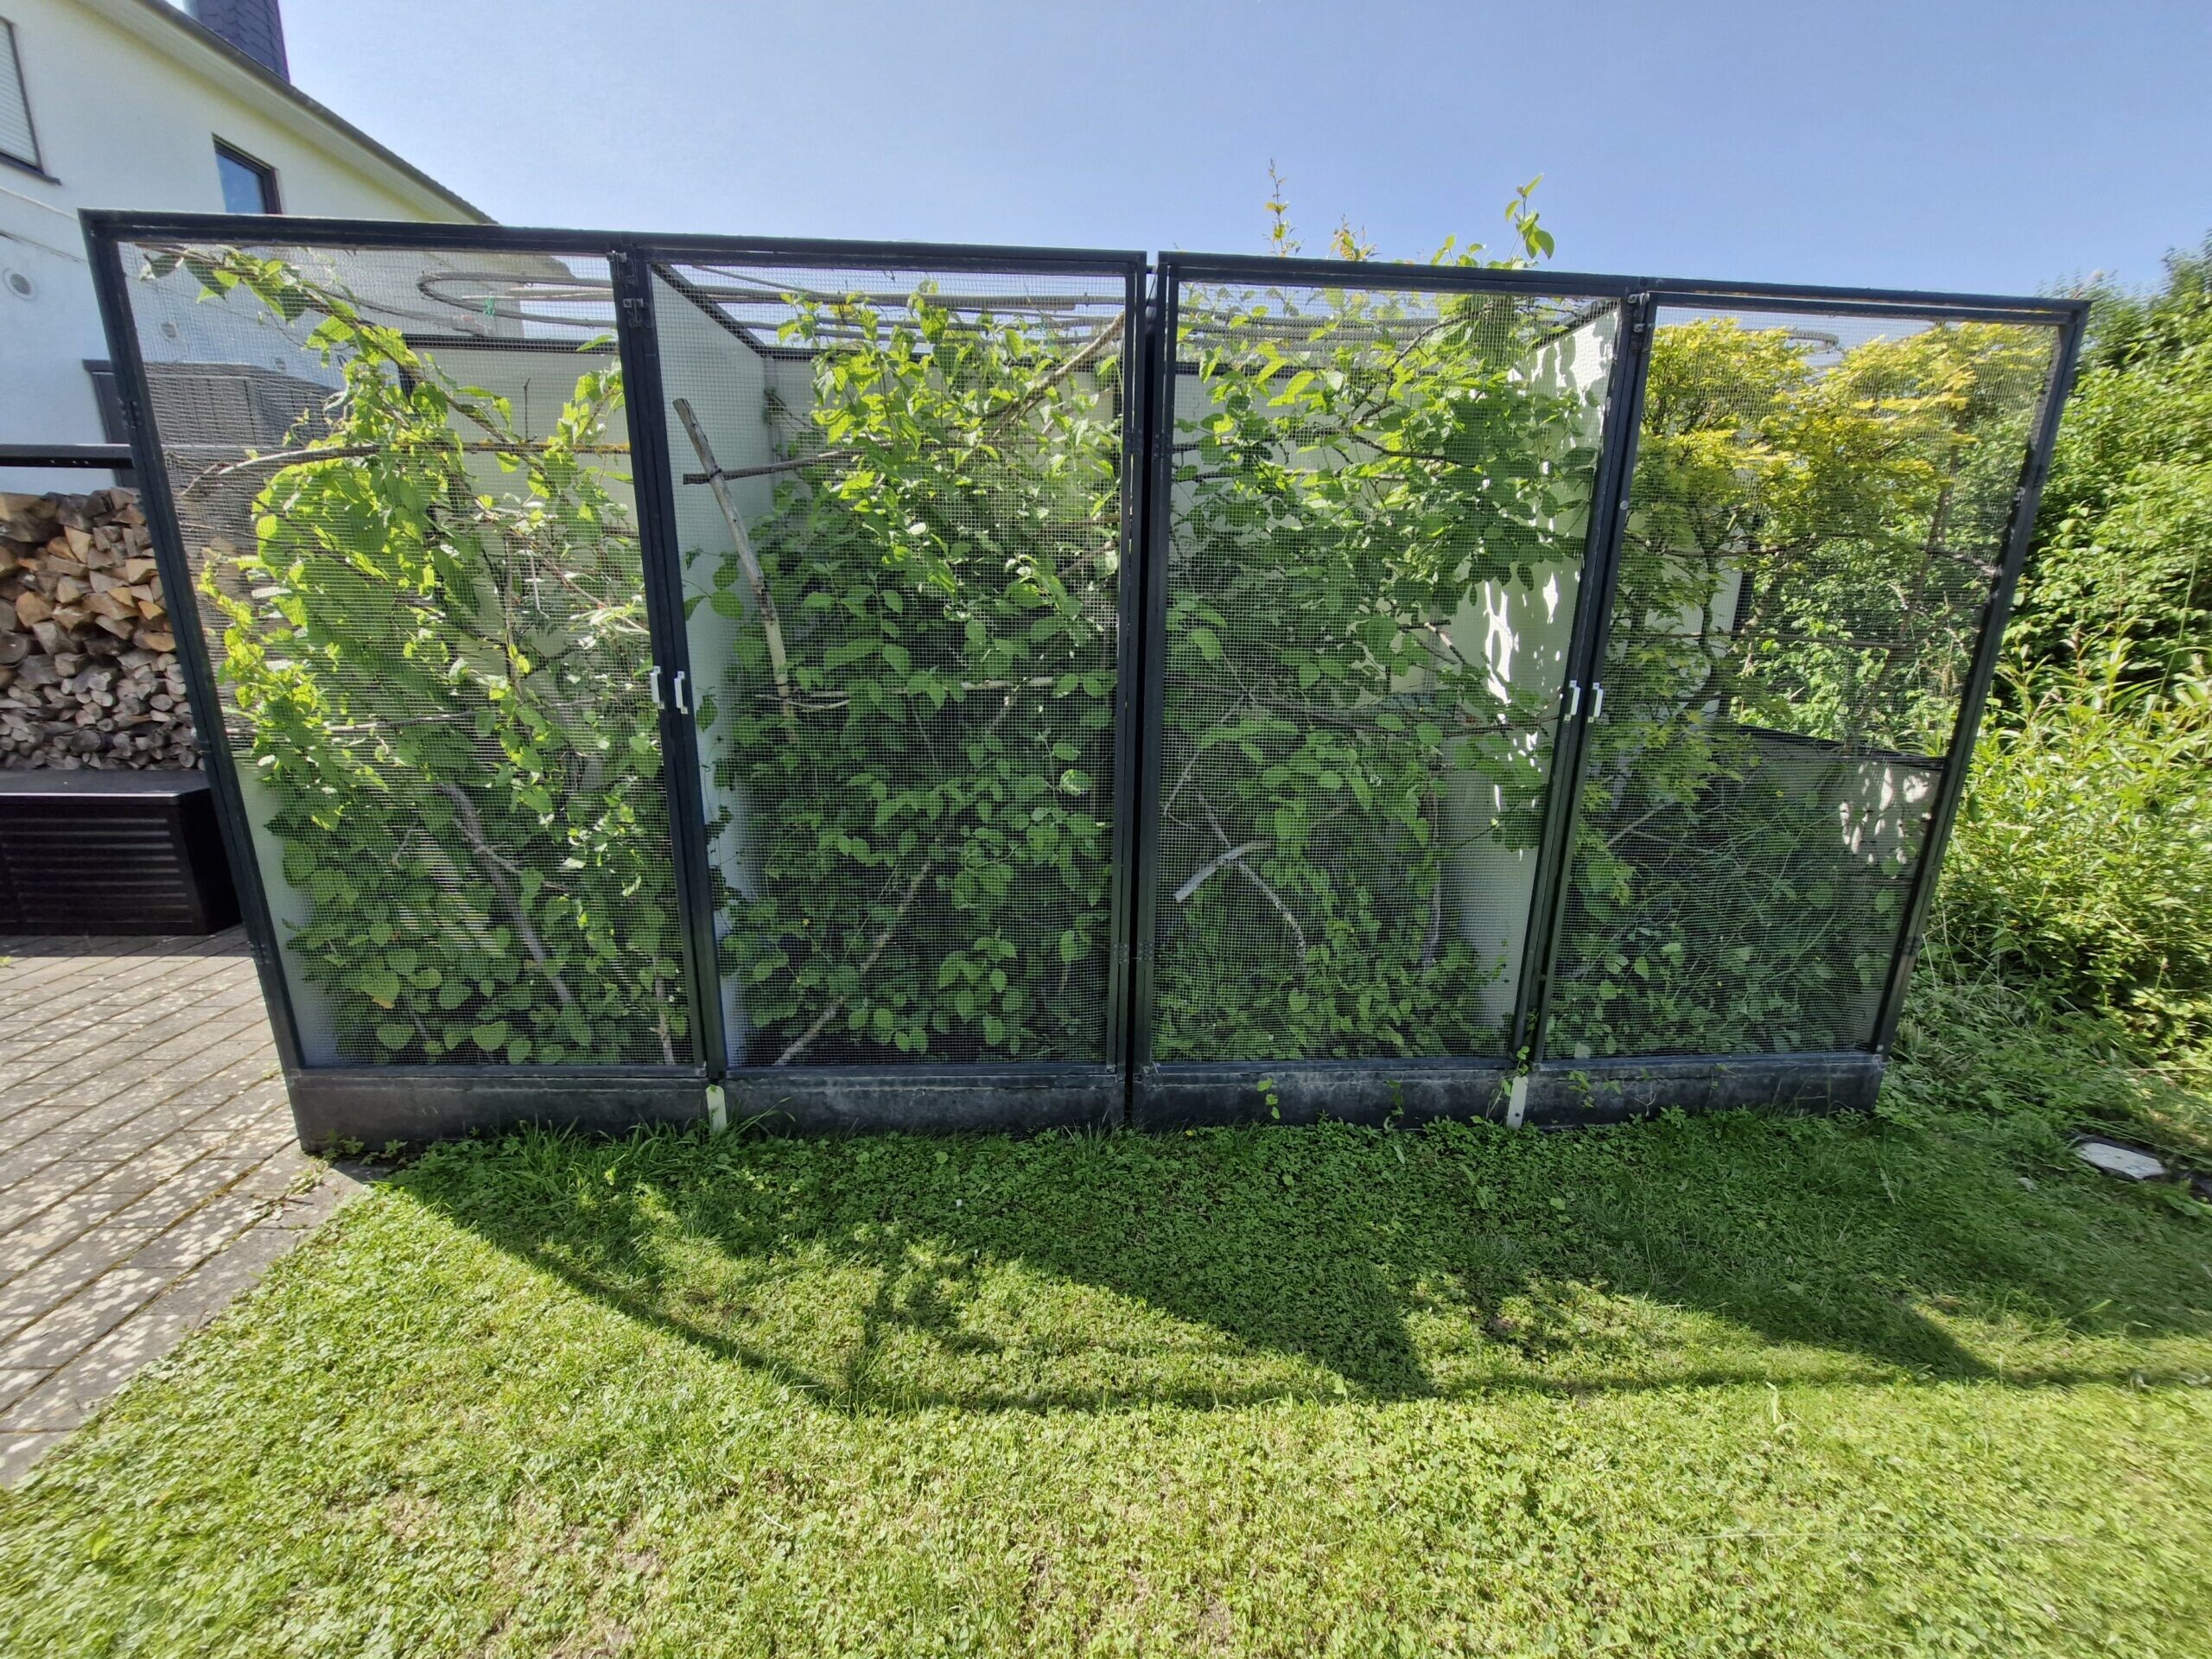
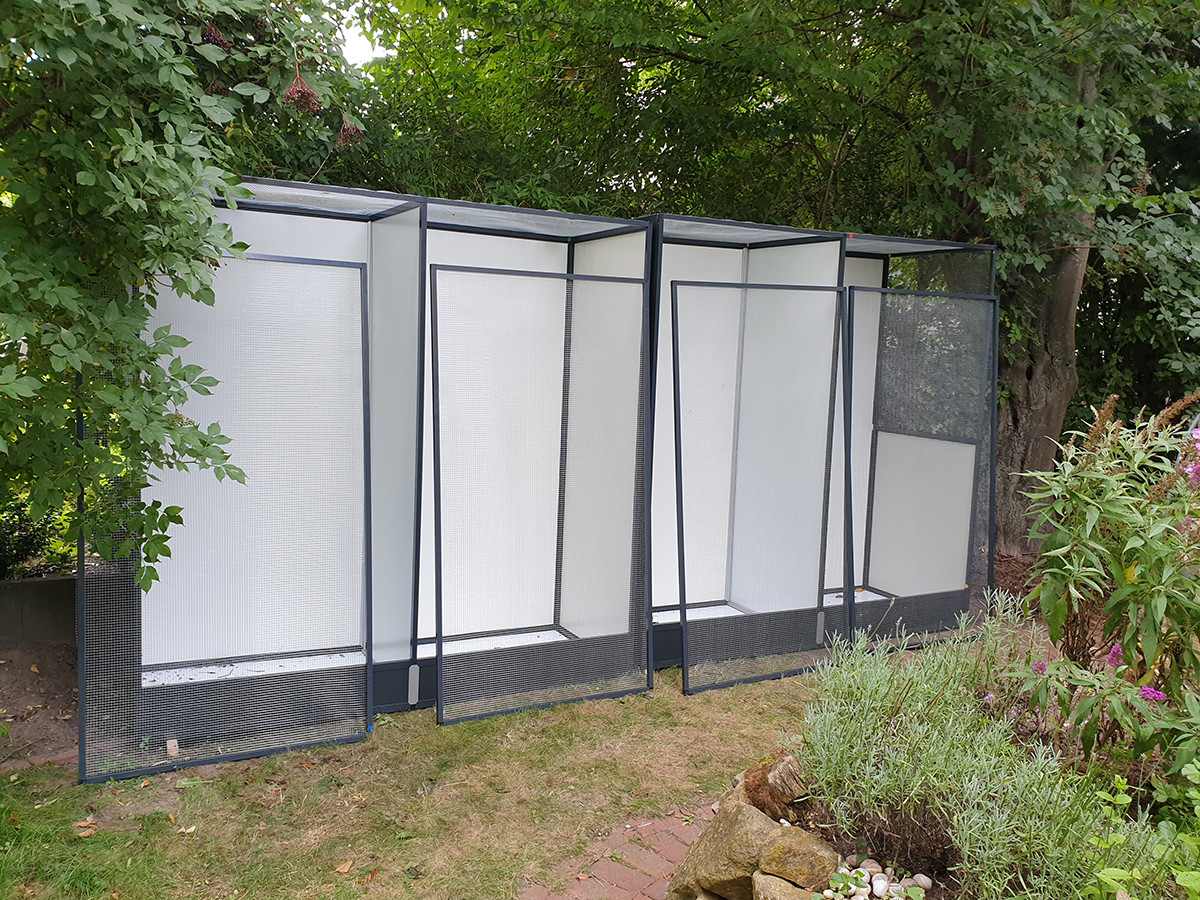
These building instructions belong to an outdoor aviary system we designed and built ourselves, which we use for large chameleons. The materials are from professional aviary construction for birds. As always, we do not guarantee that we have not miscalculated anywhere in the plan. In fact, calculating all the profiles is the most time-consuming part of designing an outdoor enclosure. The outer dimensions of the whole aviary are 2 m width, 2 m height, and 80 cm depth. In the middle, there is a partition wall, so in principle, it is two connected, but separate outdoor enclosures. The cost of this double aviary or all materials is about 900 €. Of this, about 650 € are only the aluminum profiles. If you order the same profiles silver anodized instead of powder-coated anthracite, you can probably get them at a cheaper price. The aluminum composite panels used are anthracite on the outside and white on the inside.
For our purposes, the aviary has closed back walls and a closed sidewall on one side, while the other side has half-height wire mesh. If you can place an aviary of this size in the garden so that its back is against a larger hedge or bush, you can also use wire mesh on both sides as well as the back. The partition in the middle should remain opaque, as chameleons are usually not compatible with each other. The floor here was provided with a plate as protection against, for example, rats and other rodents that can undermine enclosures that are open at the bottom. So that soil can still be filled in, a so-called “dirt edge” of 20 cm in height is built in.
The doors open outwards and both – except for the dirt edge – extend over the entire front of the respective compartment, so that good access to every area of the outdoor enclosure is possible. The doors are equipped with locks to secure the outdoor aviary from unauthorized access. Instead of gauze, galvanized wire with a thickness of 0.8 mm and a mesh size of 8.3 x 8.3 mm² has been used for this outdoor enclosure. The mesh size can only be used for larger chameleons whose tongues will not fit through the mesh.
Material needed:
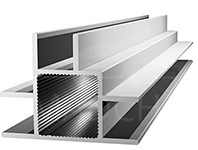
 8x edge tube connector 20 x 20 mm (black)
 4x T-shaped tube connector 20 x 20 mm (black)
 1x tube connector cross-shaped flat 20 x 20 mm (black)
 8x tube connector L-shaped flat 20 x 20 mm (black)
 4x tube connector 20 x 20 mm (black)
- 1x aluminium profile 20 x 20 mm 76 cm long (b)
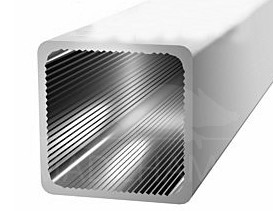
- 1x aluminium profile 20 x 20 mm 98 cm long (f)
- 4x aluminium profile 20 x 20 mm 173,5 cm long (doors)
- 4x aluminium profile 20 x 20 mm 92,5 cm long (doors)
- 2x aluminium profile 20 x 20 mm 97 cm lang (w)
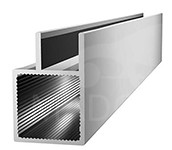 4x aluminium profile with a double web, 6 mm groove, 97 cm long (a)
- 3x aluminium profile with a double web, 6 mm groove, 76 cm long (c)
- 2x aluminium profile with a double web, 6 mm groove, 178 cm long (e)
- 1x aluminium profile with a double web, 6 mm groove, 78 cm long (i)
- 1x aluminium profile with a double web, 6 mm groove, 98 cm long (g)
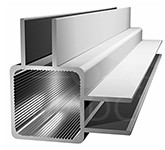 1x aluminium profile with two double webs, 6 mm groove, 196 cm long (d)
- 1x aluminium profile with two double webs, 6 mm groove, 96 cm long (h)
- 4x aluminium profile with two double webs, 6 mm groove, 97 cm long (p)
- 2x aluminium profile with two double webs, 6 mm groove, 16 cm long (s)
- 2x aluminium profile with two double webs, 6 mm groove, 76 cm long (t)
 1x aluminium profile with three double webs, 10 mm groove*, 196 cm long (k)
- 1x aluminium profile with three double webs, 10 mm groove*, 16 cm long (r)
- 1x aluminium profile with three double webs, 10 mm groove*, 76 cm long (u)
(In case anyone is wondering, the following letters are missing from the profiles: c, j, l, n, m, o, q, and v.)
* At the time we built the outdoor enclosure, these profiles were only available with 10 mm grooves. In this case, you have to trick a little bit and insert an additional sawed, narrow piece of 3 mm aluminum composite plate into the profiles. Alternatively, you can simply fill the groove with silicone. It is easier if the groove is only 6 mm, as with the other profiles.
- galvanized spot welded mesh 0.8 mm thick, mesh size 8.0 x 8.0 mm, 7 m à 100 cm width
- almost 400 drilling screws 4,8 x 16 mm
- 40 drilling screws of various sizes for latches, handles, and hinges
- Aluminum composite panel, 3 mm thick, anthracite/white, 1x 76 x 196 cm (side panel)
- Aluminum composite panel, 3 mm thick, anthracite/white, 2x 97 x 196 cm (back walls)
- Aluminum composite panel, 3 mm thick, anthracite/white, 2x 97 x 16 cm (dirt edges in front)
- Aluminum composite panel, 3 mm thick, anthracite/white, 1x 96 x76 cm (half side panel)
- Aluminum composite panel, 3 mm thick, white/white, 1x 76 x 196 cm (partition wall)
- Aluminum composite panel, 3 mm thick, white/white, 2x 76 x 97 cm (bottom panels)
- 2 aluminum handles for the doors
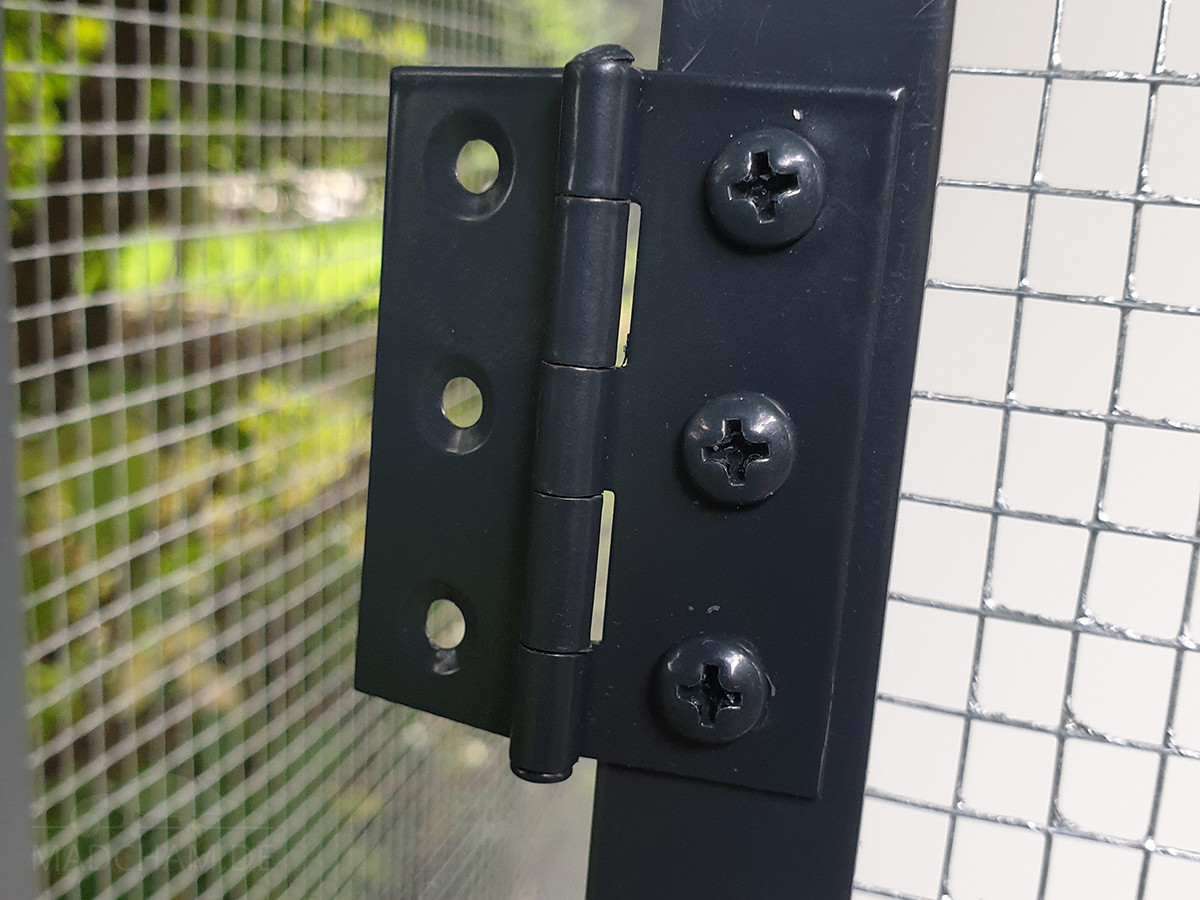
- 4 hinges for the doors
- 2 bolt latches 45 x 39 mm including locks
- cordless drill with a suitable bit for the drilling screws
- tin snips
- two cartridges of aquarium silicone
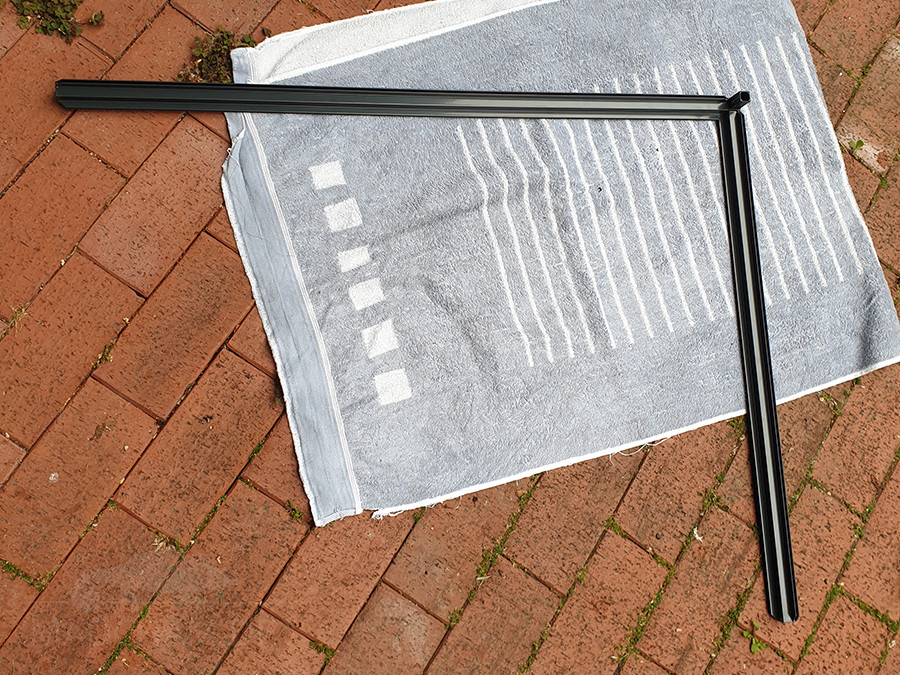
All profiles with bars should be ordered directly with miter cuts. Creating the miter cuts yourself is relatively laborious and you need a miter saw for this.
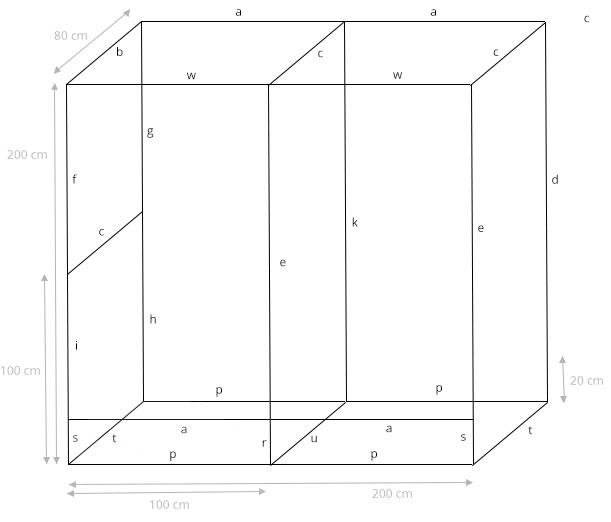
Assembly sketch
And this is how it is assembled:
The first step is to rub the connectors with soap to make them fit more easily into the profiles. The aluminum composite panels are usually delivered with protective foils glued on both sides. These protective films must be removed on both sides before using the plates.
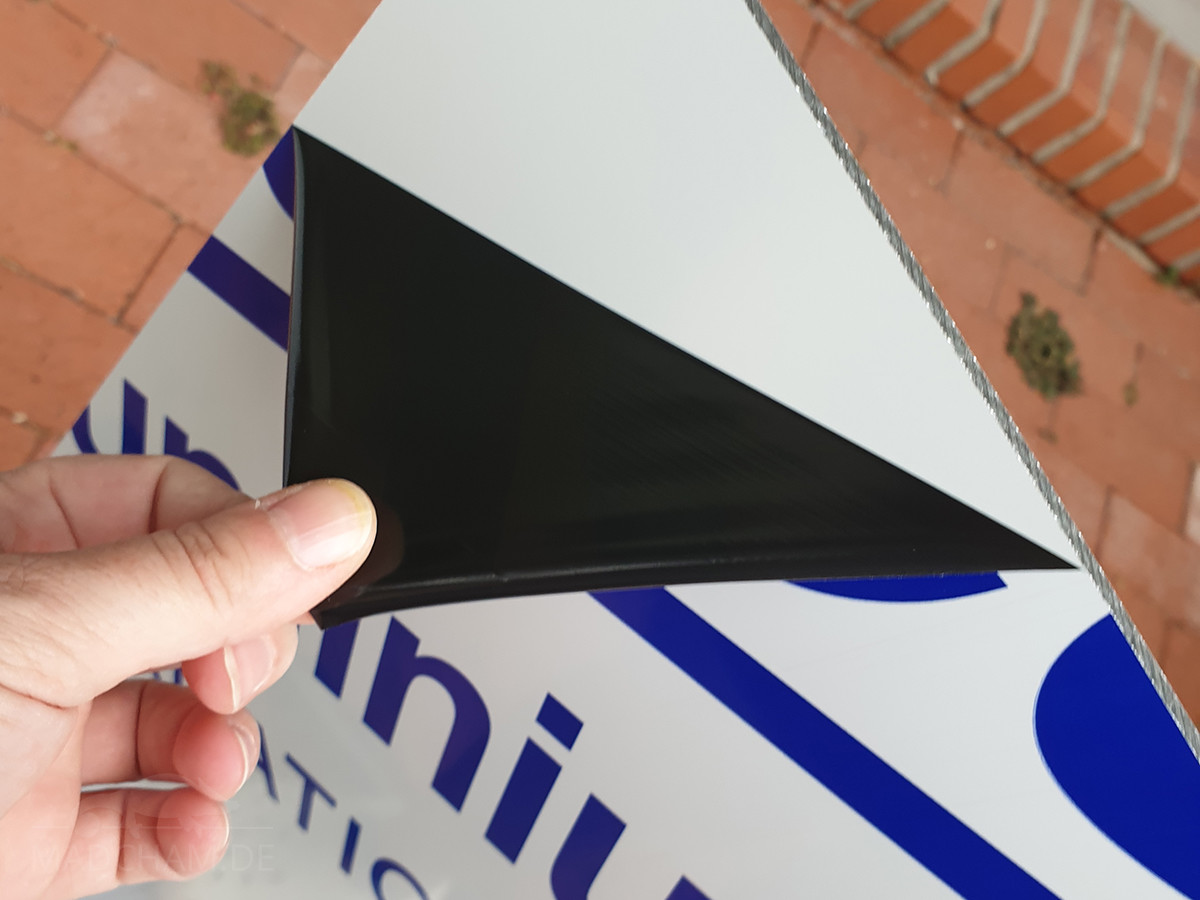
Removing the protective foils from the aluminum composite panels
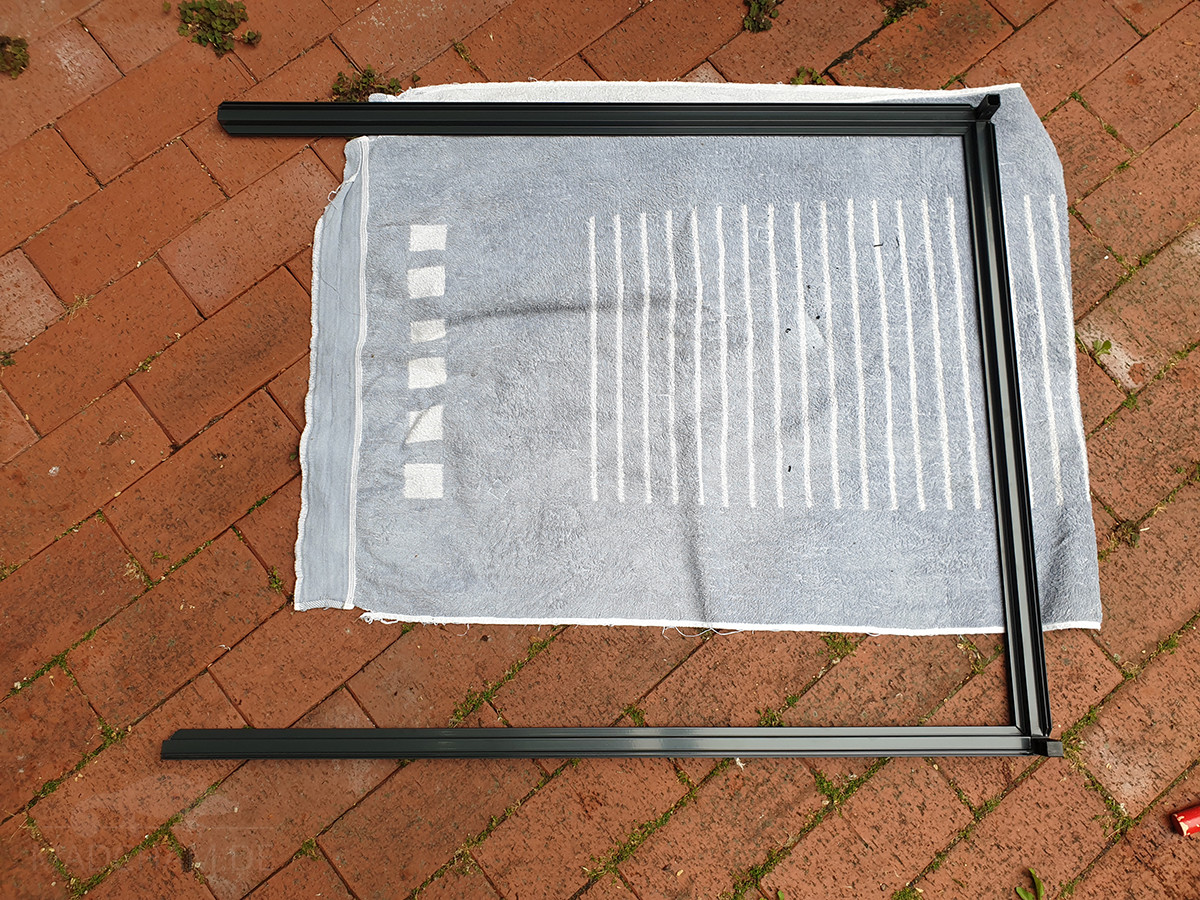
To get the connectors into the profiles, it is best to take a rubber mallet and put a towel under the profiles so that they do not scratch. Start with the square that holds the base plate. The profiles p, p, and t are put together with two 3 corner connectors. Then you put a few small drops of aquarium silicone in the grooves and push one of the bottom plates into it. The profile u is fitted with two 4-corner connectors and can then be pushed onto the remaining bottom part. The base plate must now fit tightly in all grooves. The connectors must not have any gaps in the profiles. Now place another profile p on each of the 4 connectors. As with the first base part, place a drop of silicone in the grooves and push in the second baseplate. Then place two 3-piece corner connectors on another profile t and fasten it to the side of the base plate as a finish.
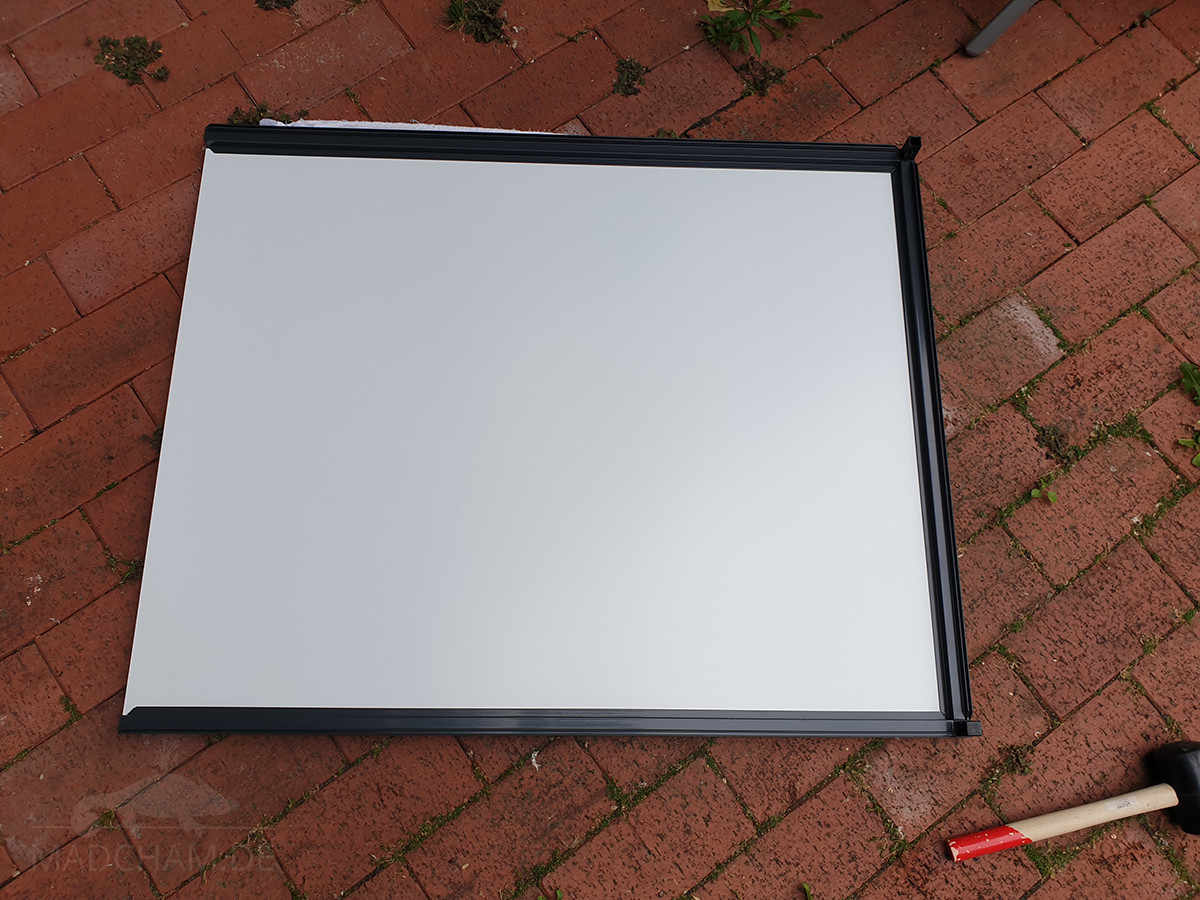

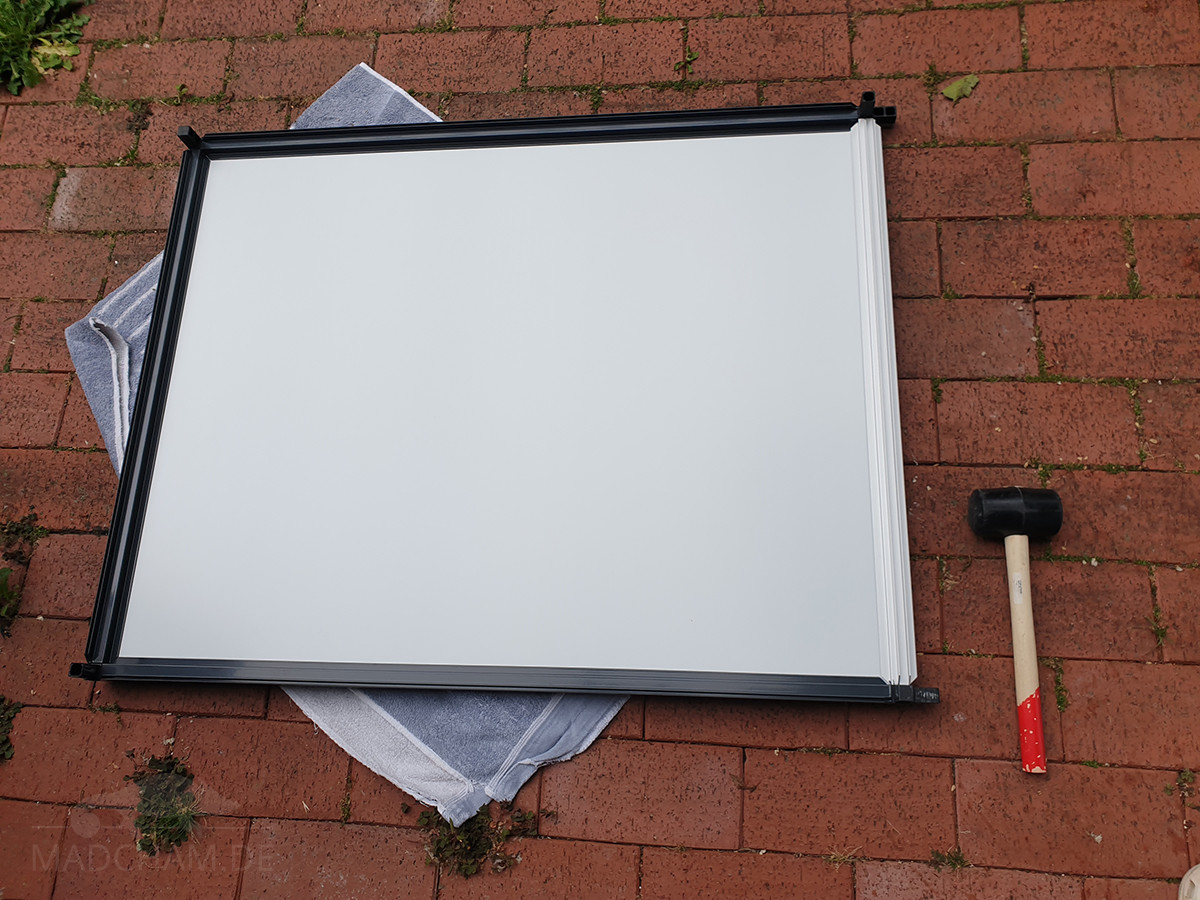

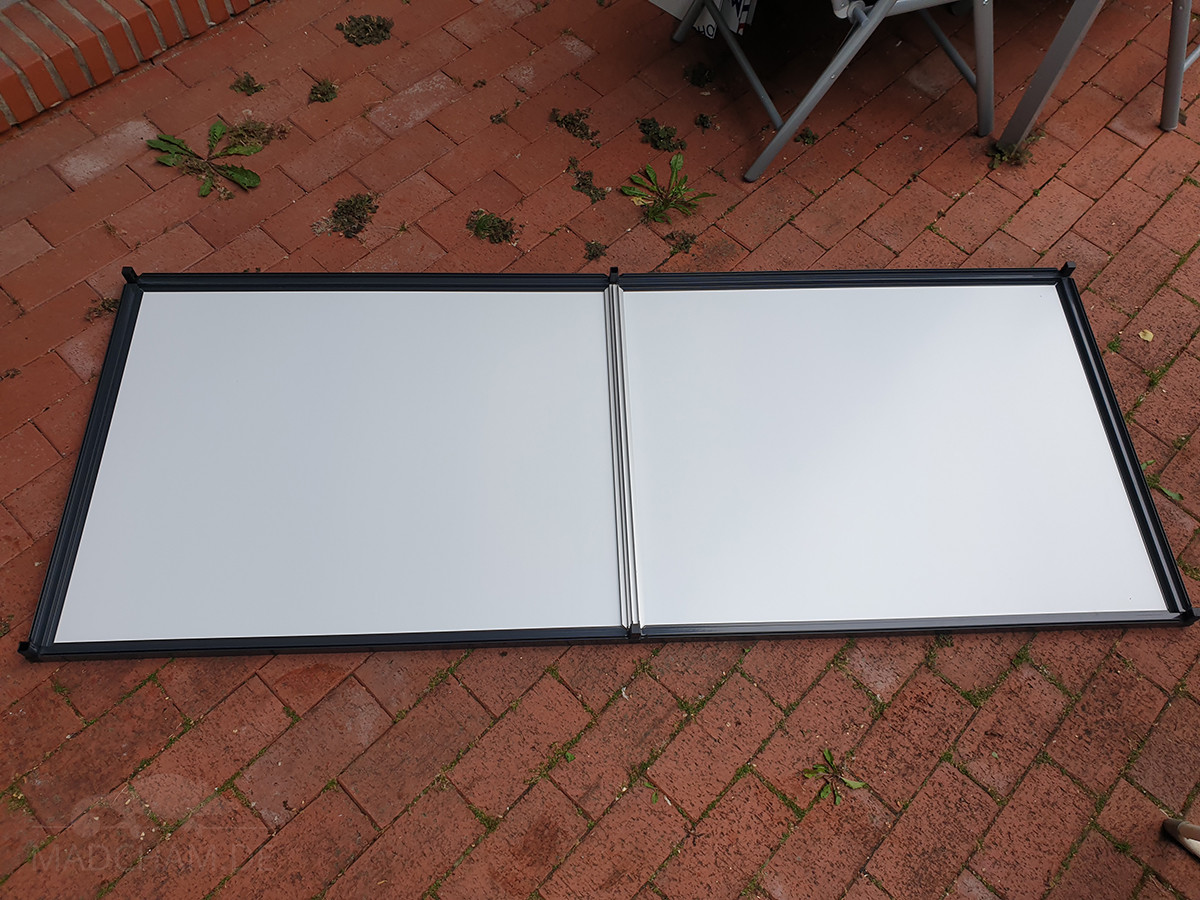
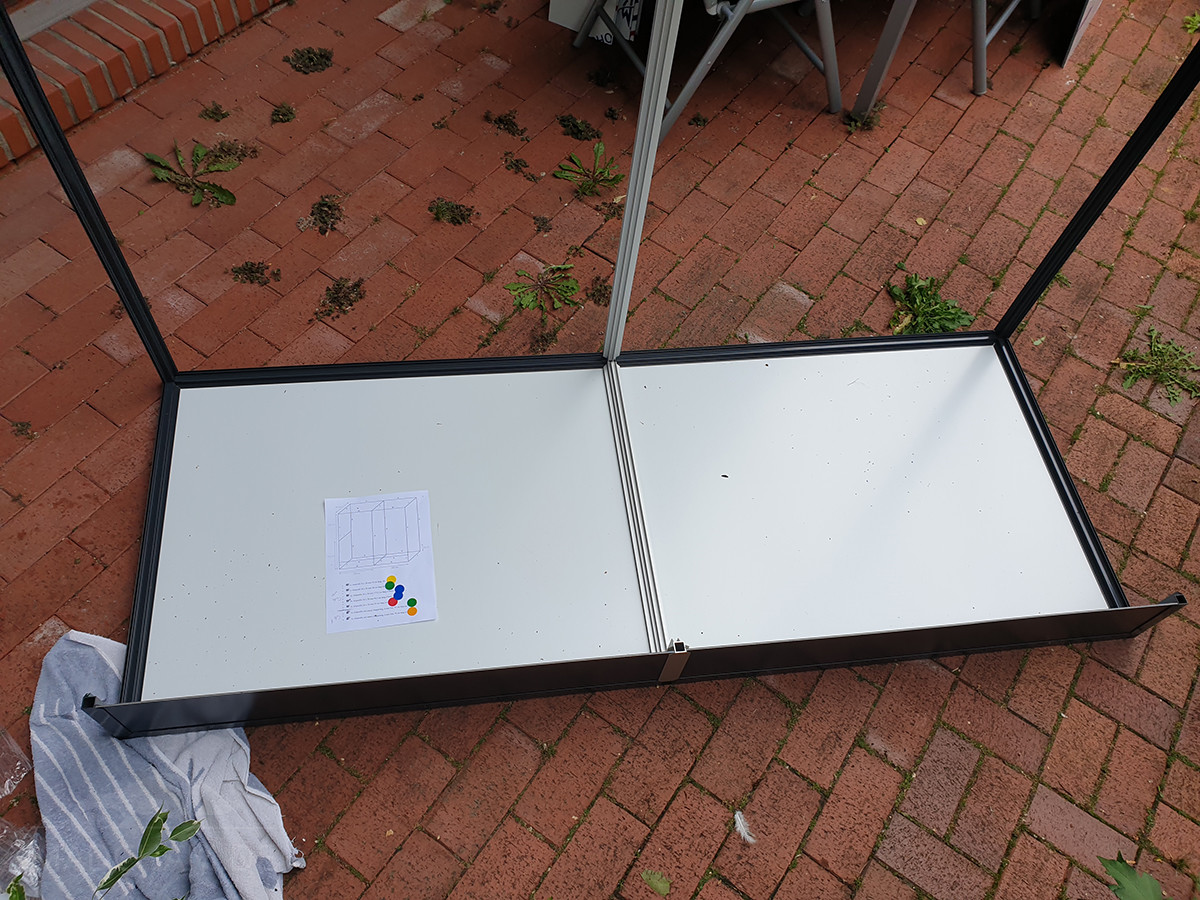
According to this principle, you gradually work your way up as shown in the following pictures. The layout sketch above can be used as a guide as to which profile goes where exactly. First, the dirt edge with its panels is installed at the front, then the dirt edge is closed off with horizontal profiles. Then the next vertical aluminum profiles are placed on top. Be careful when installing the aluminum composite panels: Outside should be the anthracite side, inside – white. Only the partition in the middle is white on both sides. Installing the side, middle and back panels takes a bit of skill and patience. The lid is assembled on the floor as a square and only then lifted onto the enclosure and fastened.
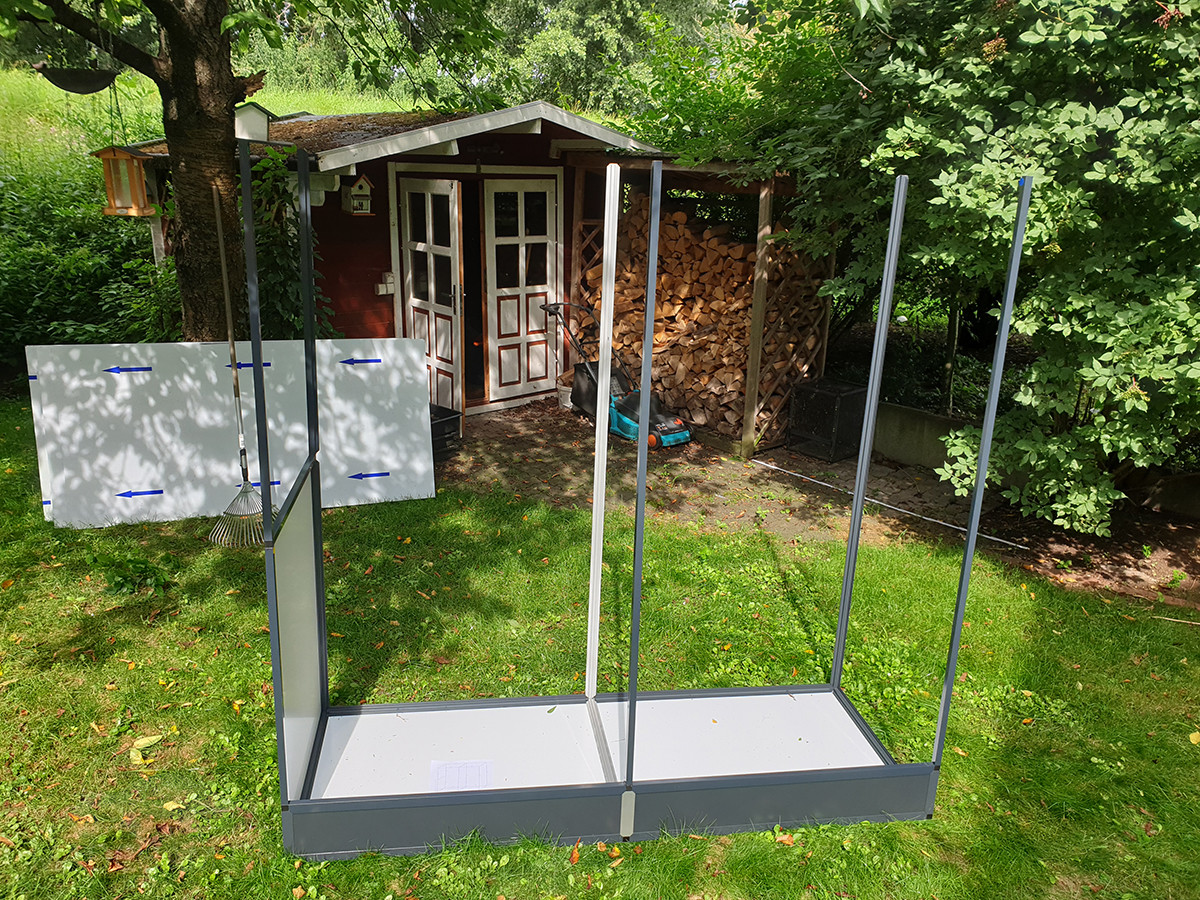
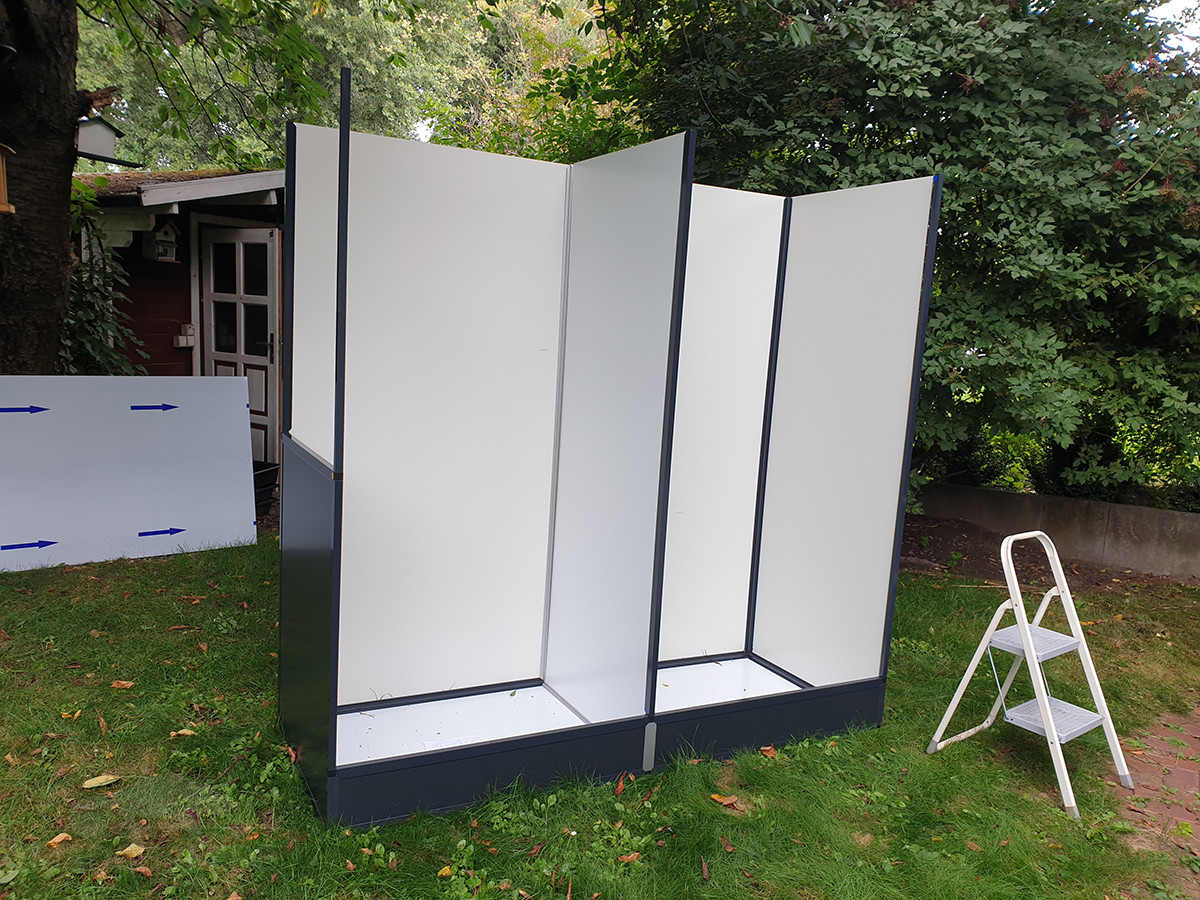
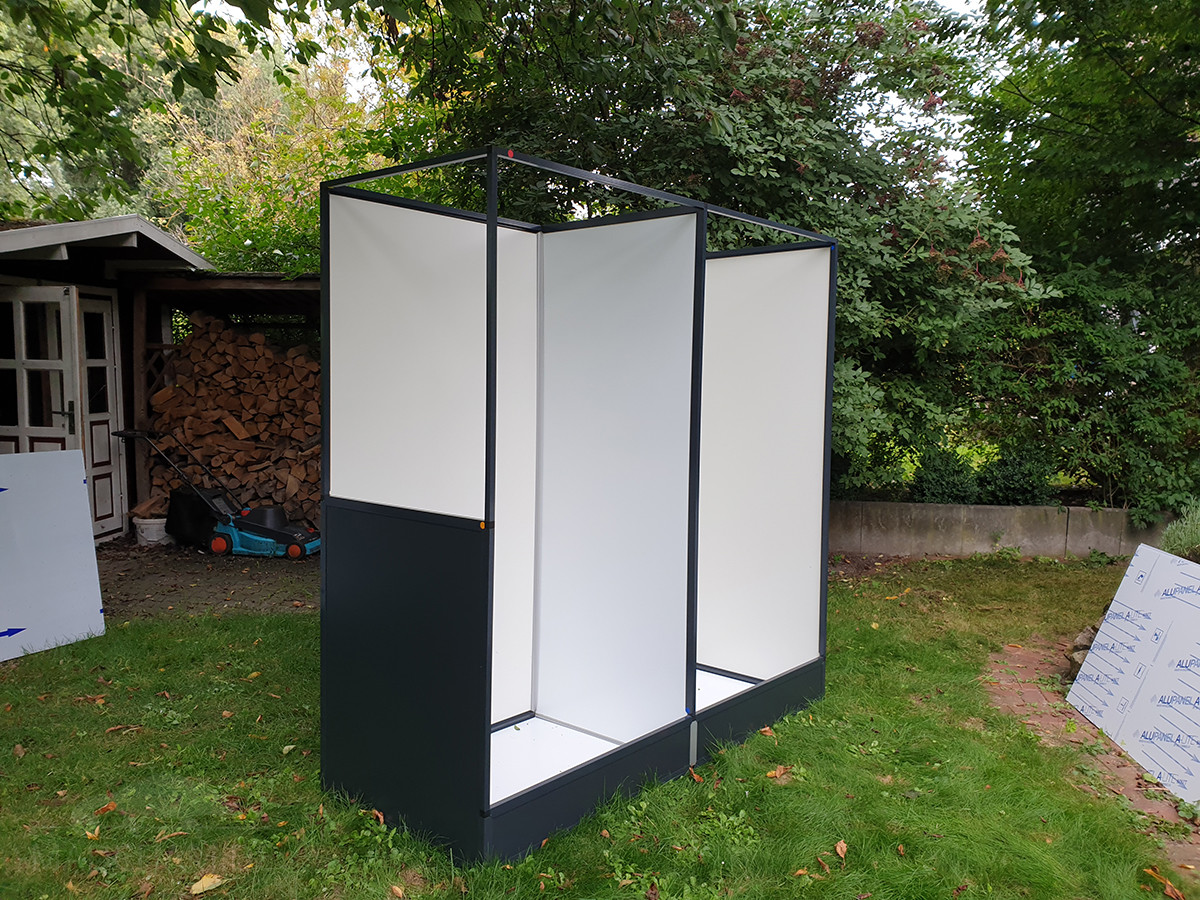
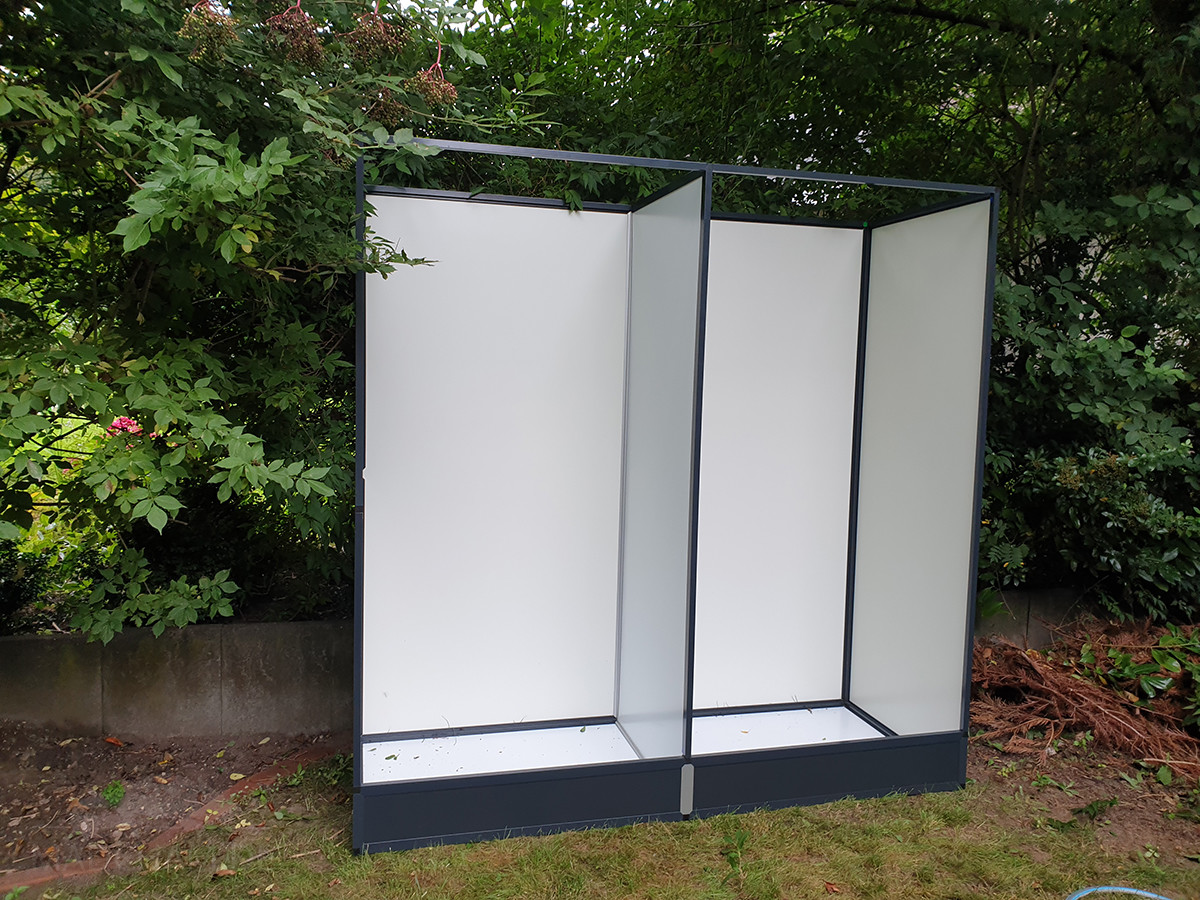
Finally, the aluminum profile and aluminum composite panel framework of the outdoor enclosure should be in place and look like the photos directly above this text. You can now fill all the profile joints with silicone, which will also make the aluminum composite panels fit better.
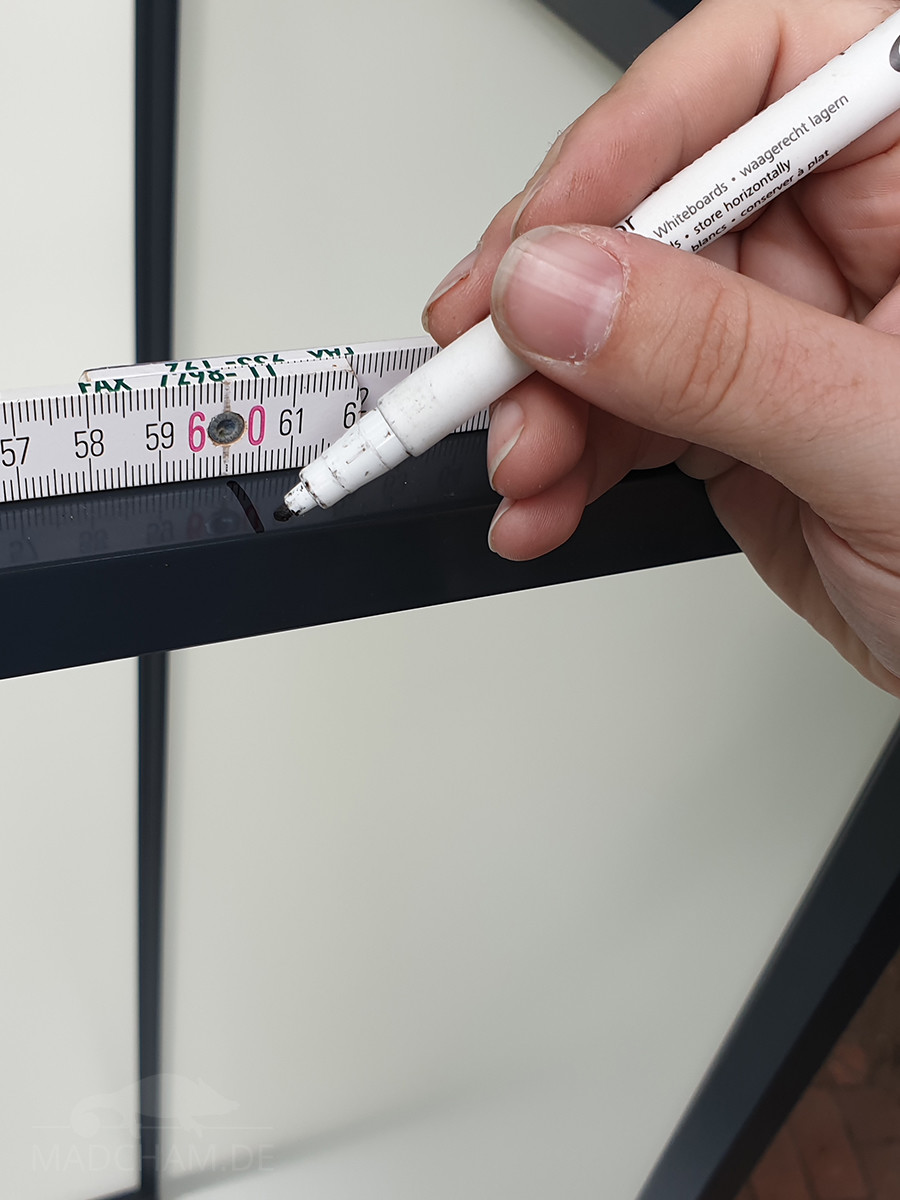
The aluminum profiles, which will later form the doors, are also assembled. Now it goes to the attachment of the aviary wire, starting with the doors. Using the tin snips, cut the wire to the appropriate size (not exactly to the centimeter, but slightly larger). Now make a small mark on the aluminum profiles every 10 cm with a wipeable pen. This serves as a reference point for the drilling screws. Then place the wire on the door profiles so that the seams of the wire are straight with two sides of the door. The wire may overlap on the other two sides. The drilling screws are drilled into the marks, and the wire must be tightened by a second person. Screw or clamp clamps are also useful for attaching the wire. Once all the drilling screws are in the door profiles, carefully cut off the protruding wire with tin snips.
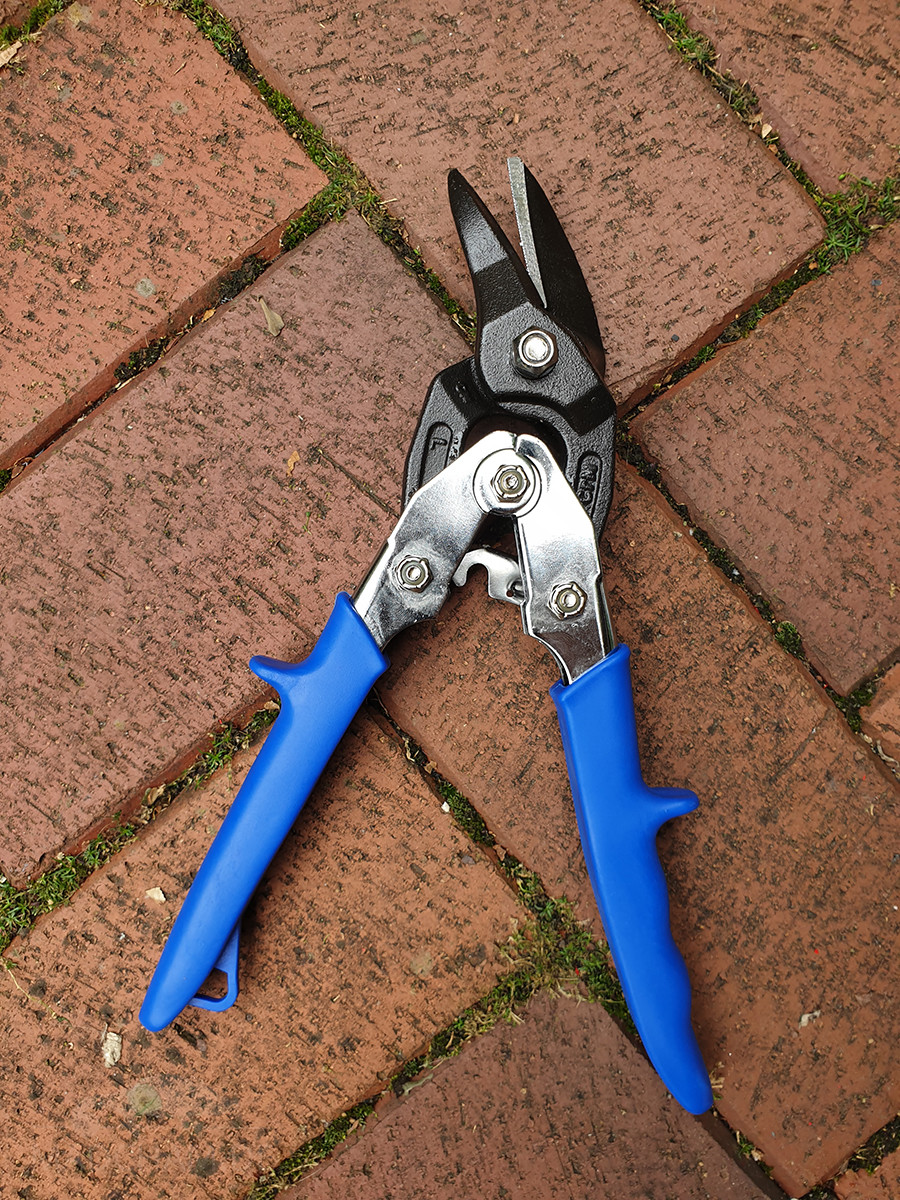
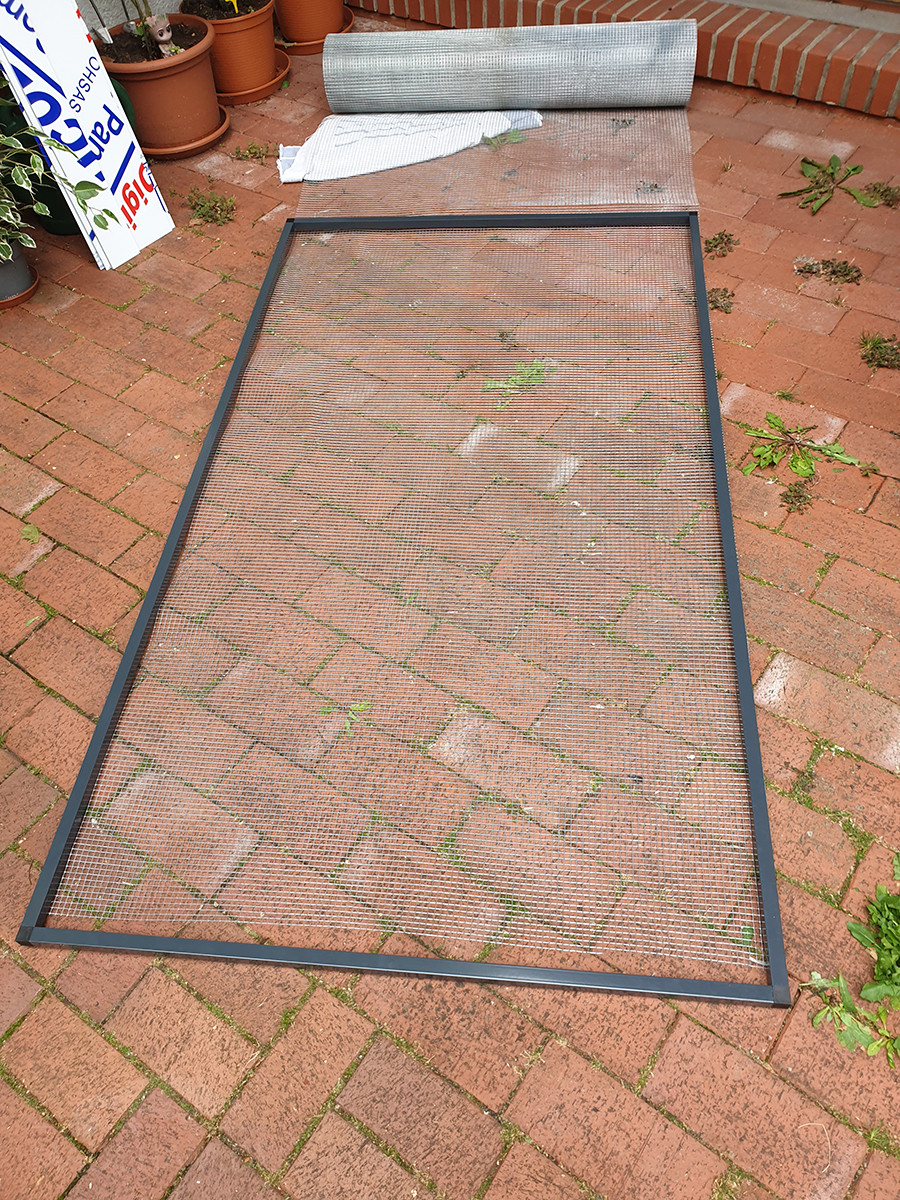
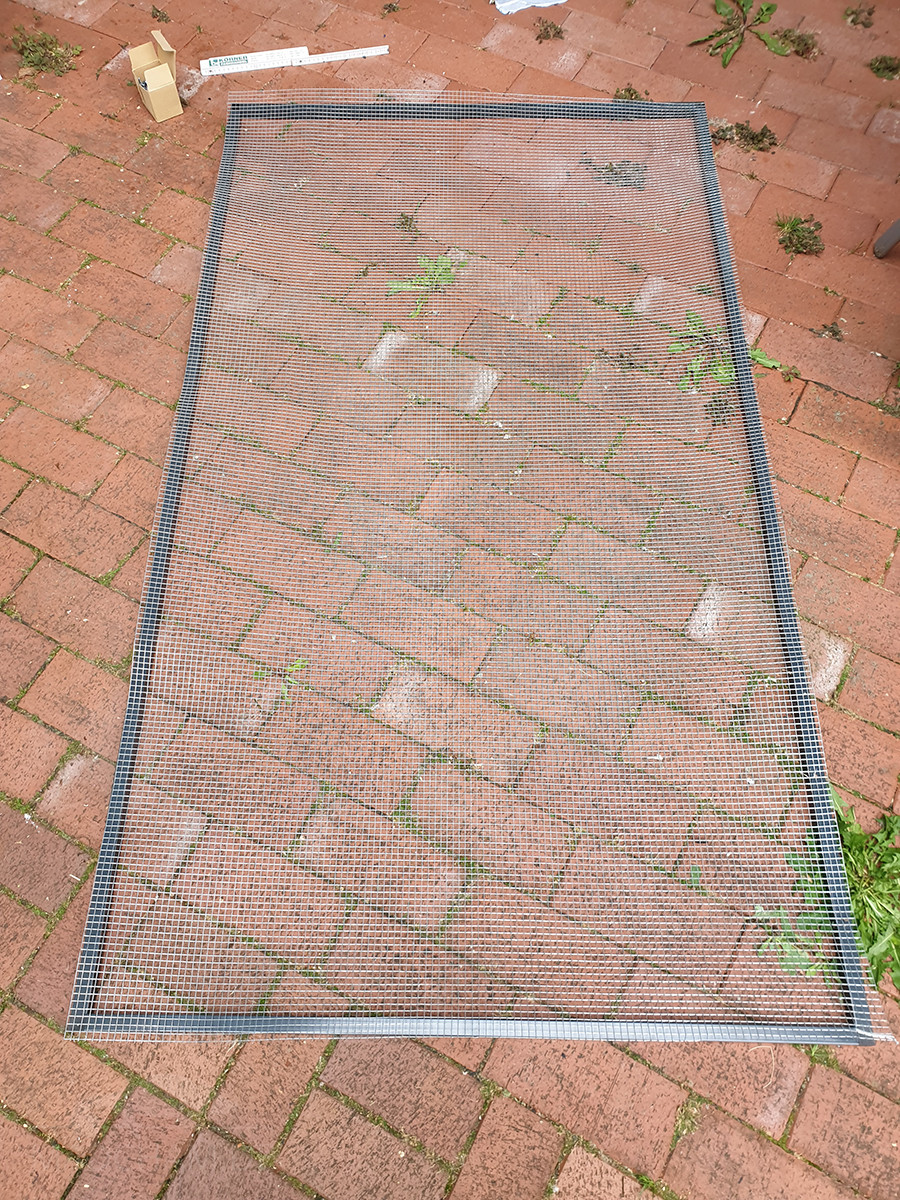

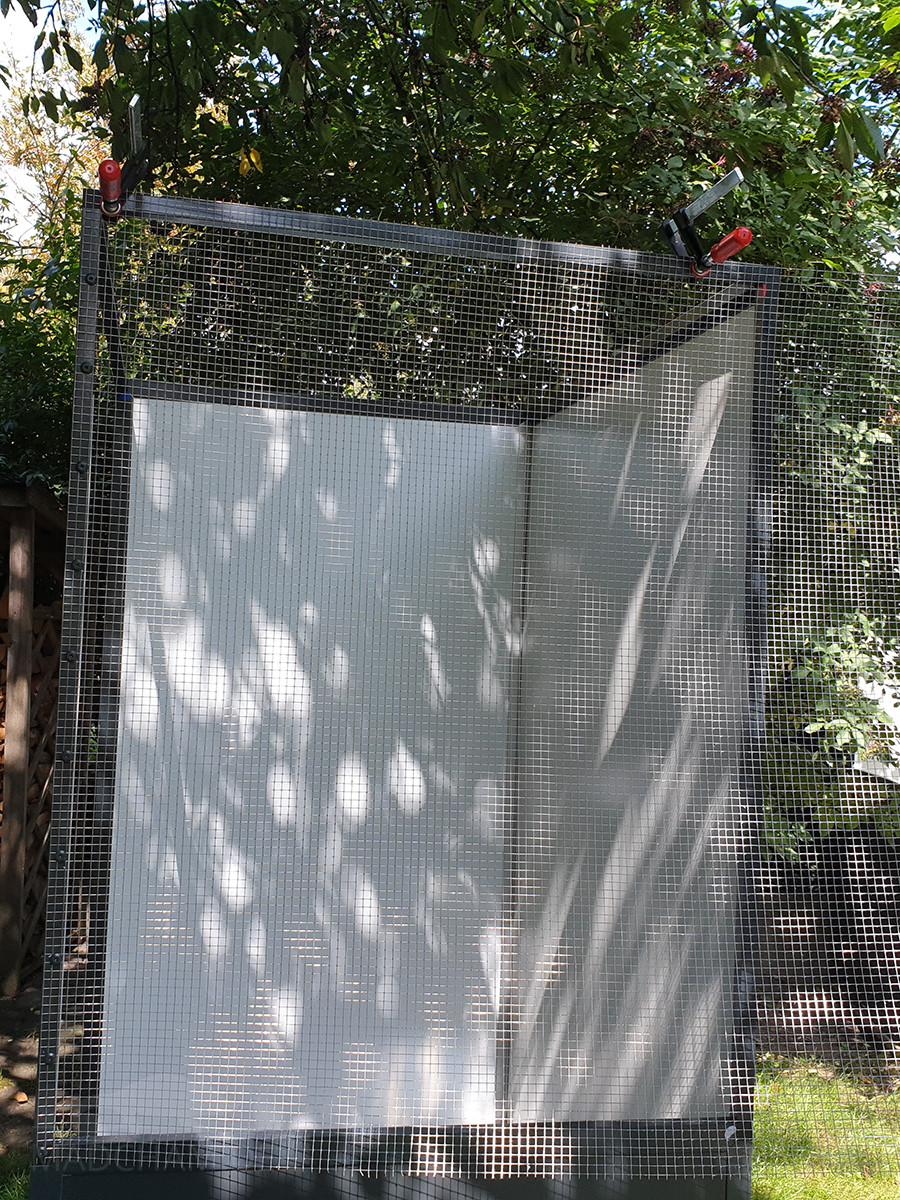
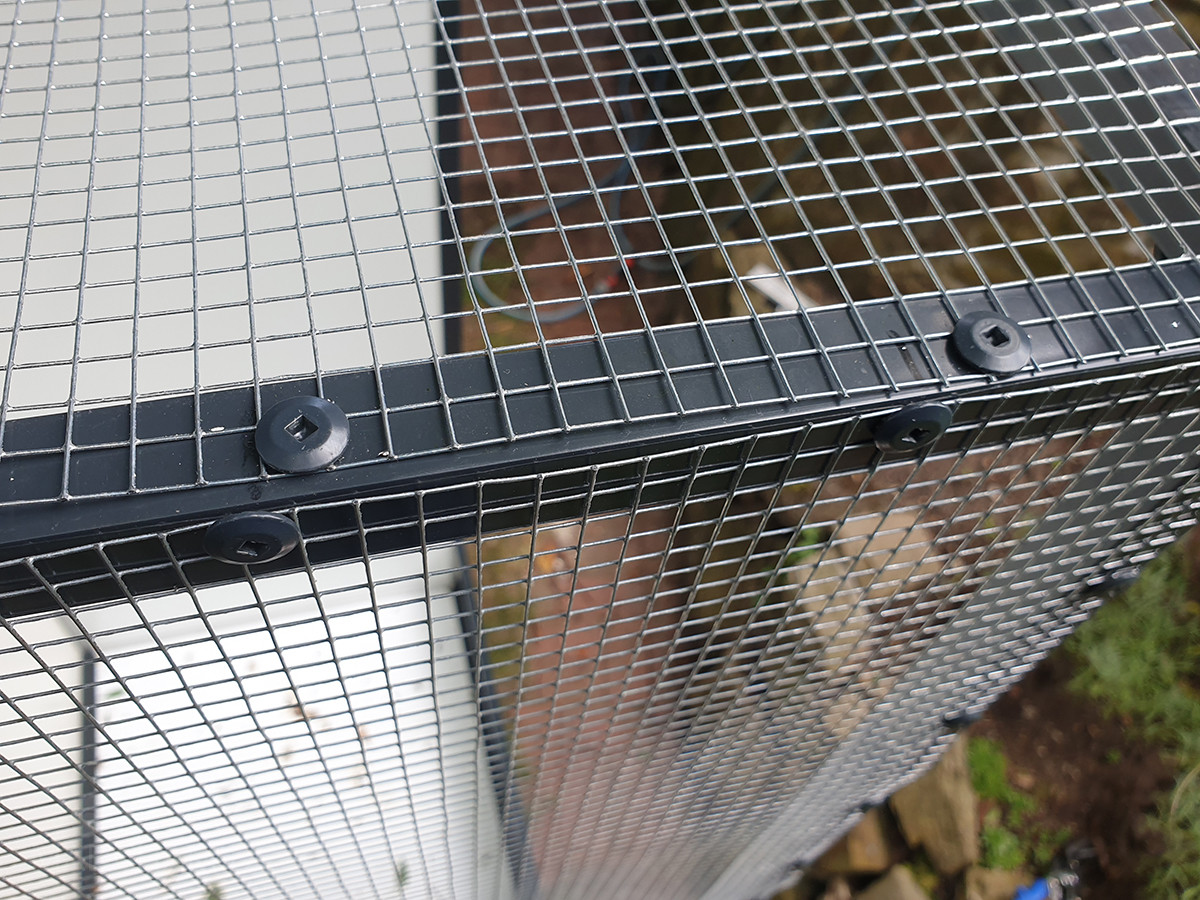
The aviary wire is now attached to the entire aluminum frame from the outside. The drilling screws can be countersunk into the aluminum profiles without pre-drilling, as with the doors. Always remember the markings beforehand! Then tension the wire, fasten two sides, retighten and fasten the other two sides. Any excess wire is also cut off flush with the plate shears.
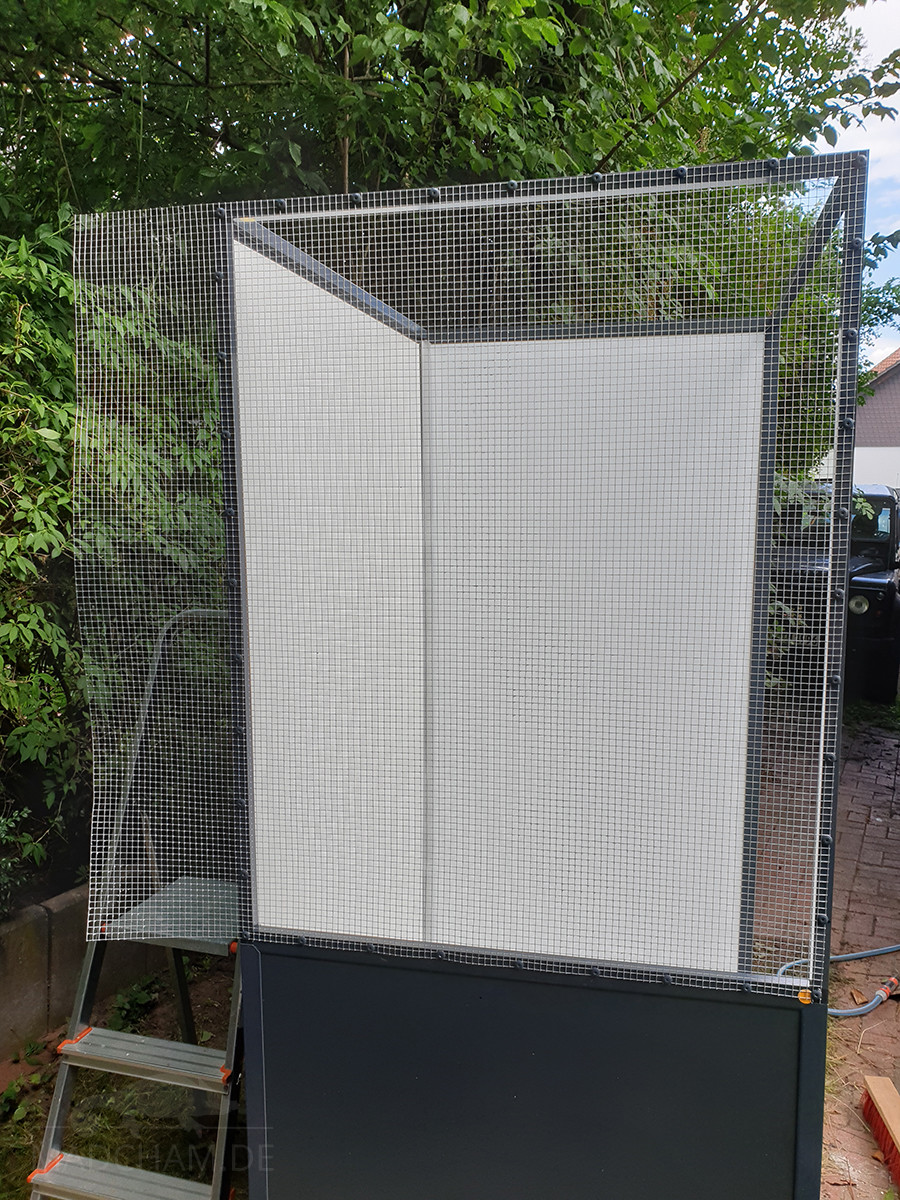
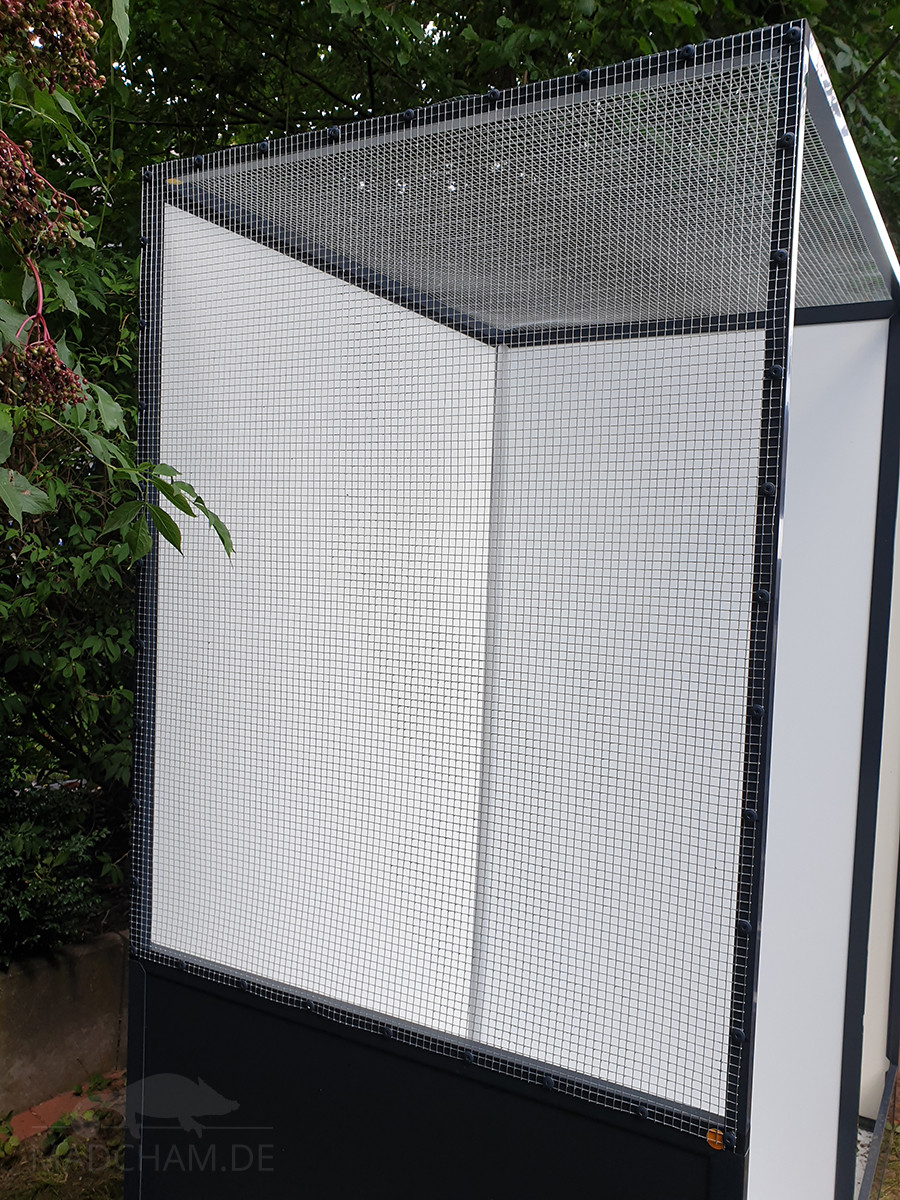
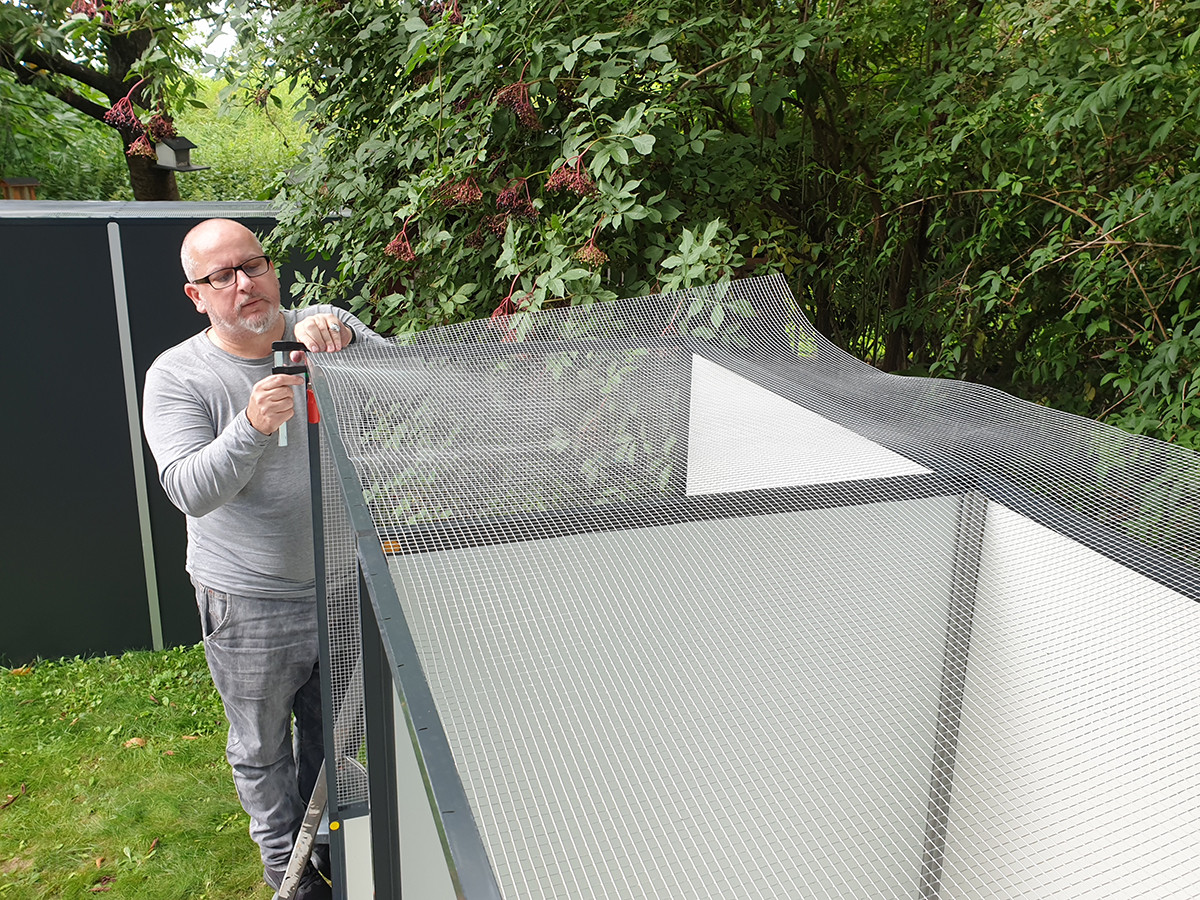
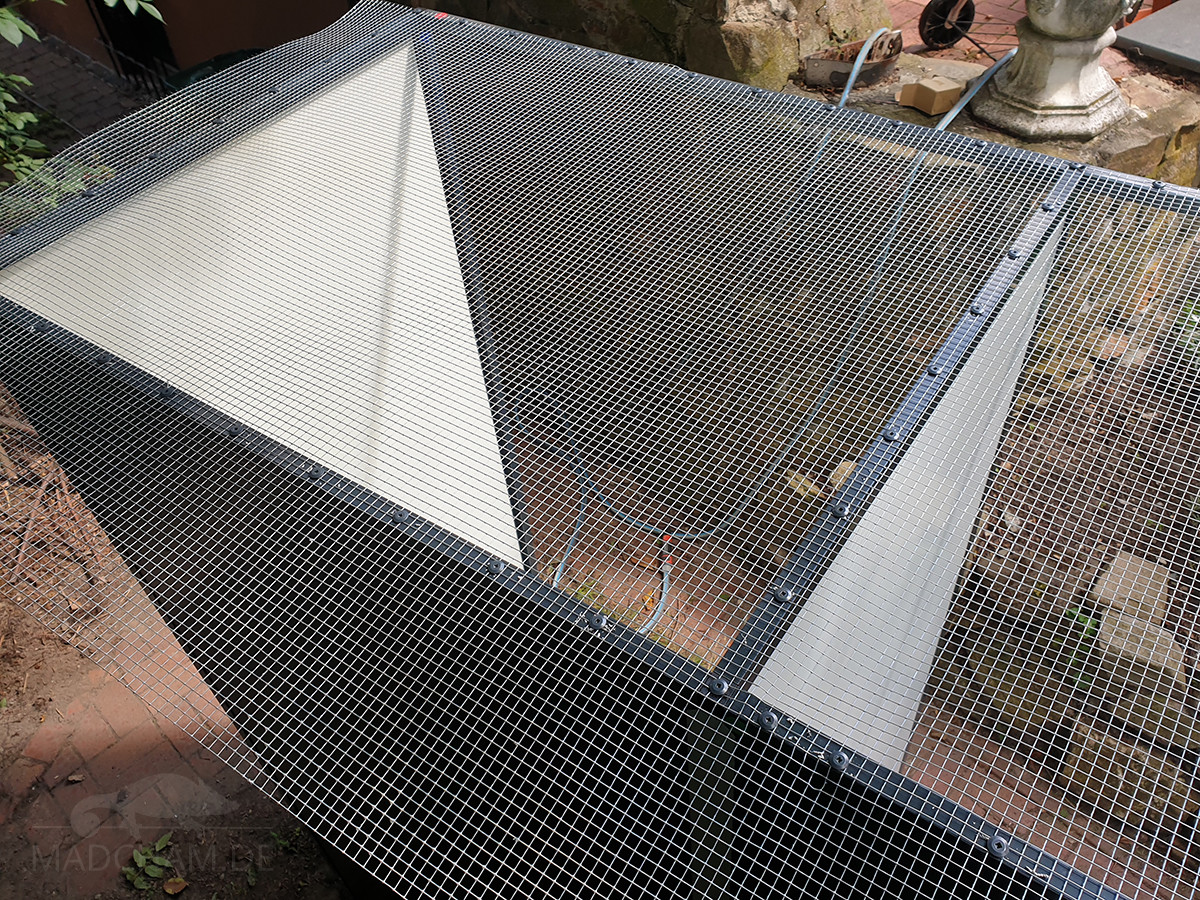
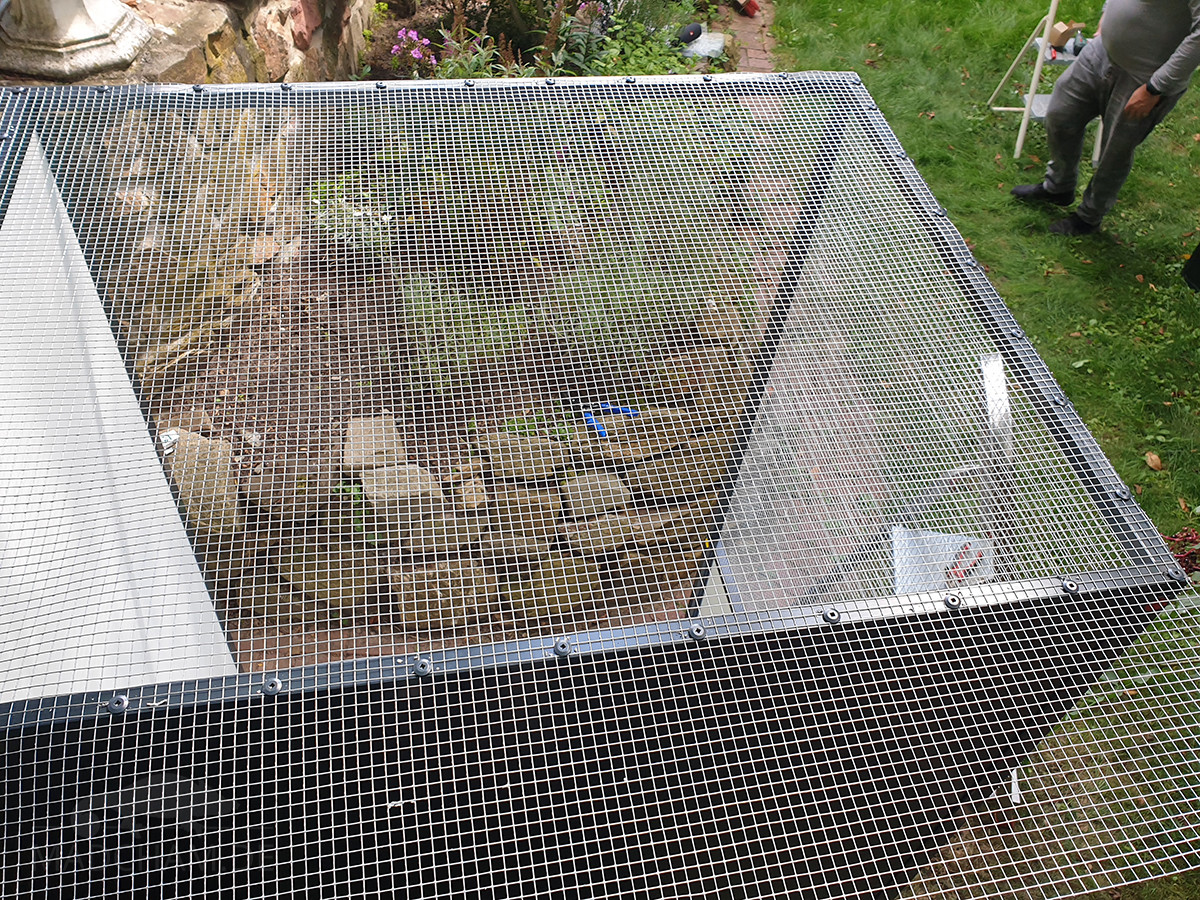
The outdoor enclosure now looks like this:
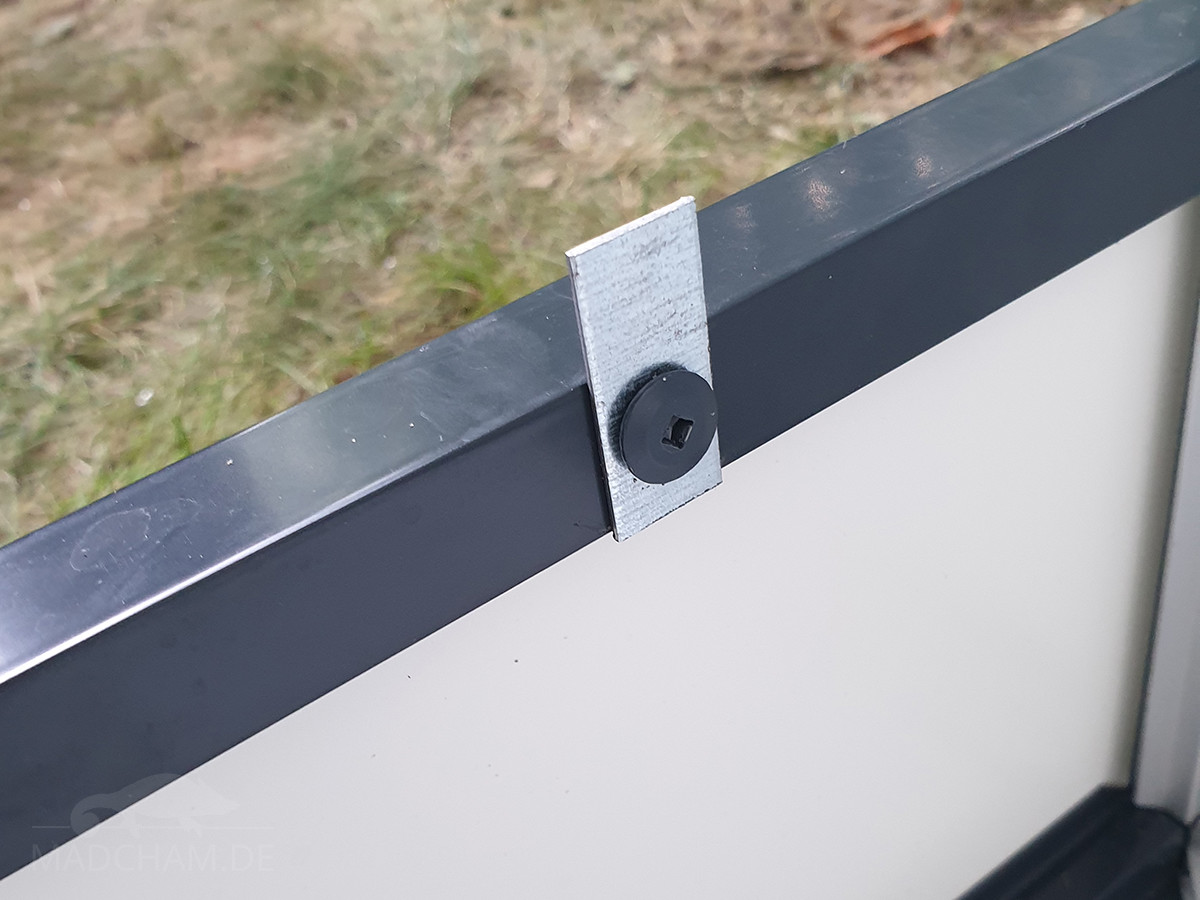
The doors now still need to be installed. The doors now already have the aviary wire on one side. On the other side of the aluminum profiles, the hinges are attached with drilling screws 30 cm from the upper or lower end of the door. Then one person holds the doors fitting into the frame, the second person marks the fitting attachment of the hinges to the frame. It may be helpful to use small pieces of cardboard as spacers at the bottom between the frame and the door when inserting the doors. Drilling screws are used to fasten the hinges together with the doors into the frame. There is one special feature here: For structural reasons, the aviary wire is on the inside of the doors, while it is on the outside throughout the rest of the enclosure. This means that you should flatten the wire ends on the doors or provide them with silicone nubs so that no animal can injure itself on sharp edges. To prevent the doors from sagging inward, attach a small piece of aluminum strip to both dirt edges as a stop with a drill screw.

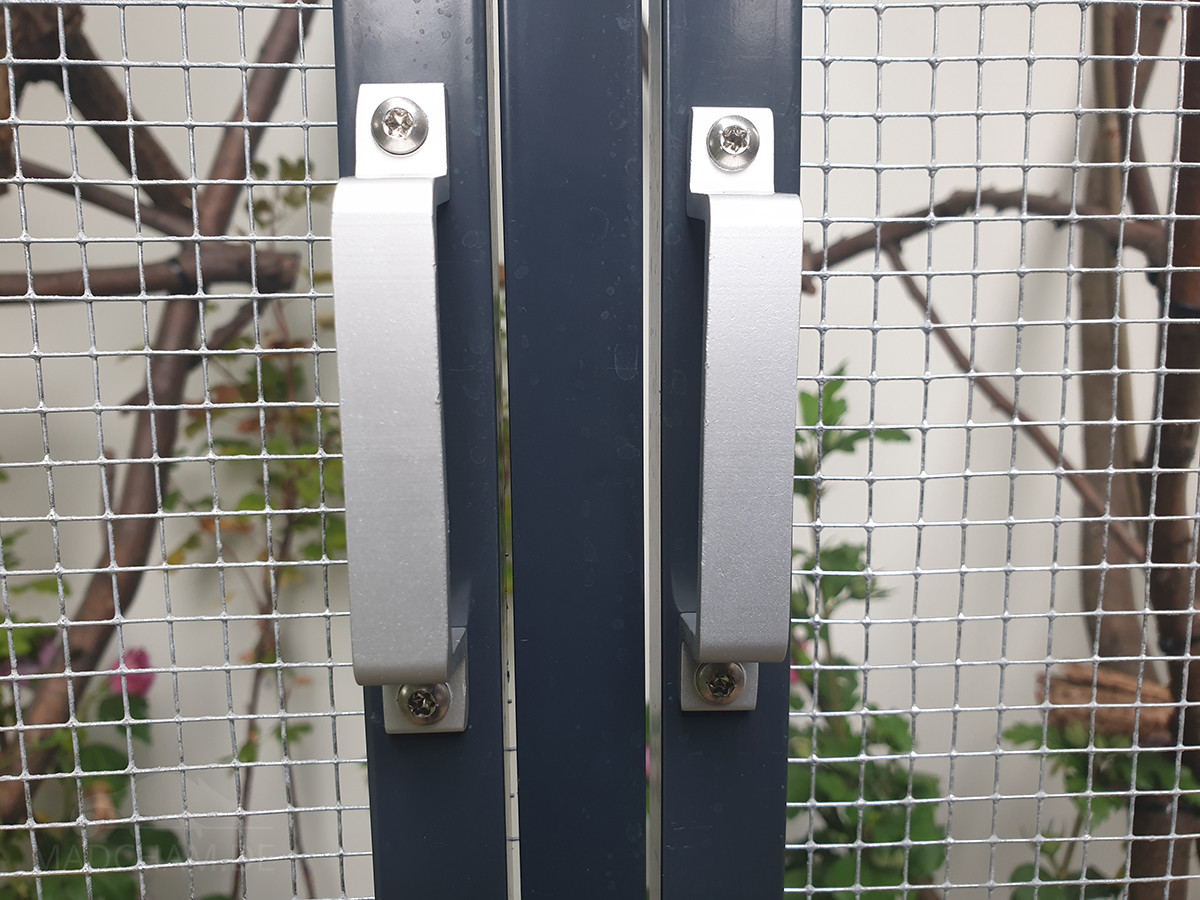
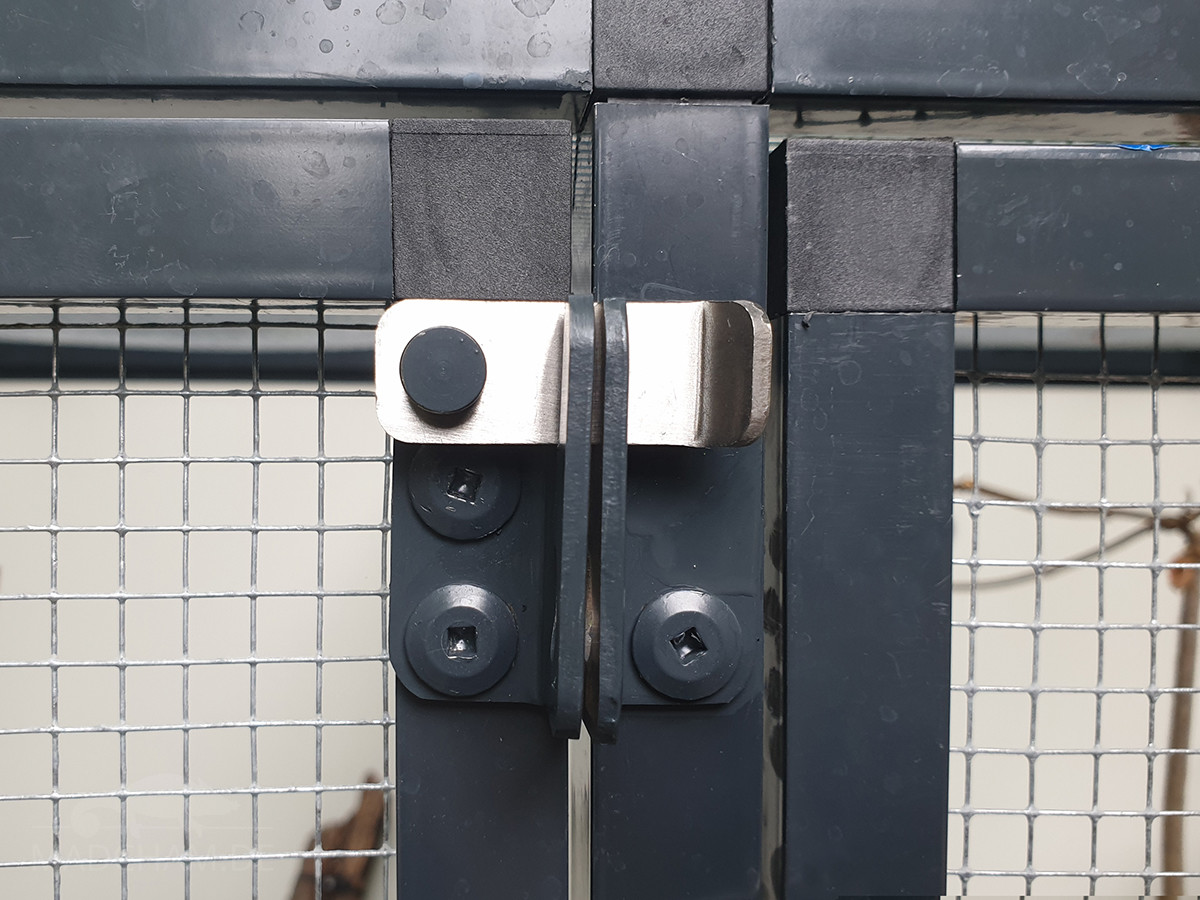
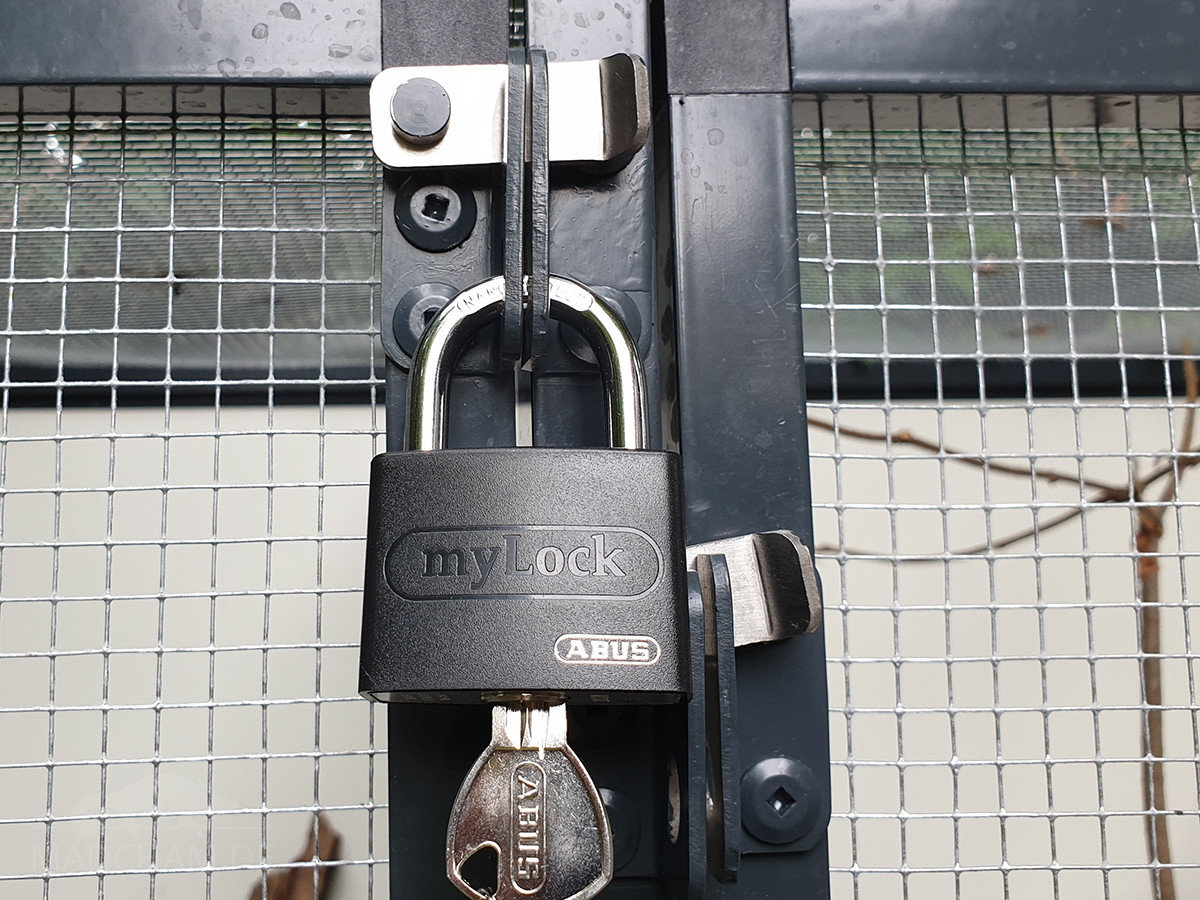
Finally, attach the two aluminum handles to the doors. We placed them at a height of about 80 cm, measured from the bottom edge of the door. Also, one lock goes on each enclosure to protect the animals from unauthorized access (top and bottom, if necessary, then you’d need four). For the bolt latches, one side of each latch is 20 mm x 45 mm, so they fit exactly on the aluminum profiles.
Setting up the terrarium:
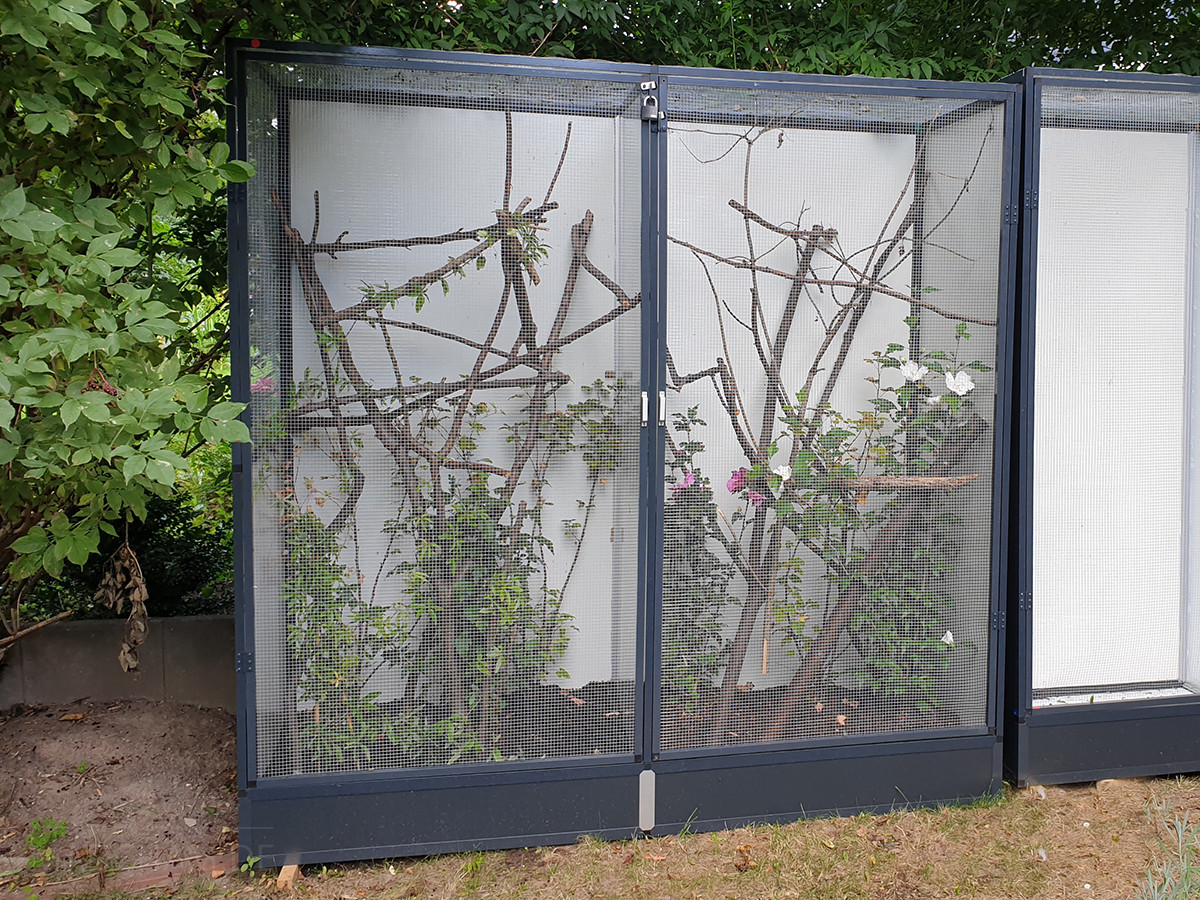
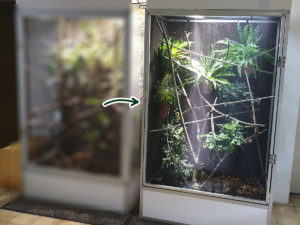
That’s it! The double outdoor enclosure is ready. Now only the suitable furnishing is missing, then the chameleons can move in. The branches we used come from an old elder, a beech, and a walnut tree. For the planting, we used flowering currants (Ribes sanguineum), Rose of Sharon (Hibiscus syriacus), Japanese honeysuckle (Lonicera japonica), common dogwood (Cornus sanguinea) and Japanese maple (Acer palmatum). These shrubs are hardy and can remain outside, along with the outdoor enclosure, during the cold season. In summer, passion flowers (Passiflora caerulea), black-eyed Susan vine (Thunbergia alata) and garden nasturtiums (Tropaeolum majus) help the enclosures to become overgrown more quickly.
Cages after few months in summer
Planting in the outdoor enclosures in early summer 2025


Follow us on Instagram


Most popular articles


Your travel specialist for Madagascar