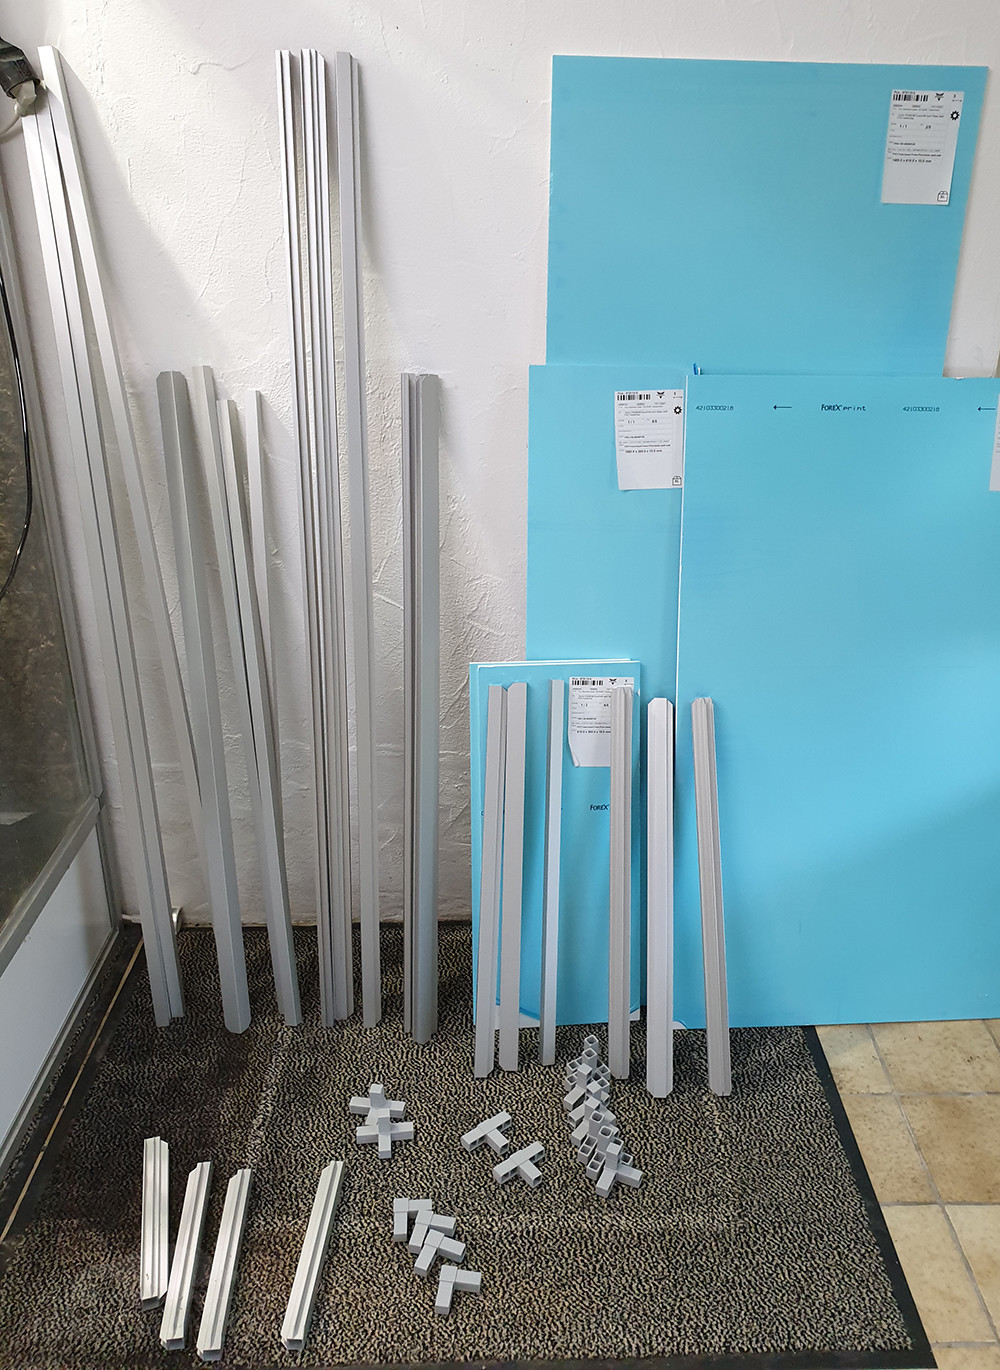
Material required:

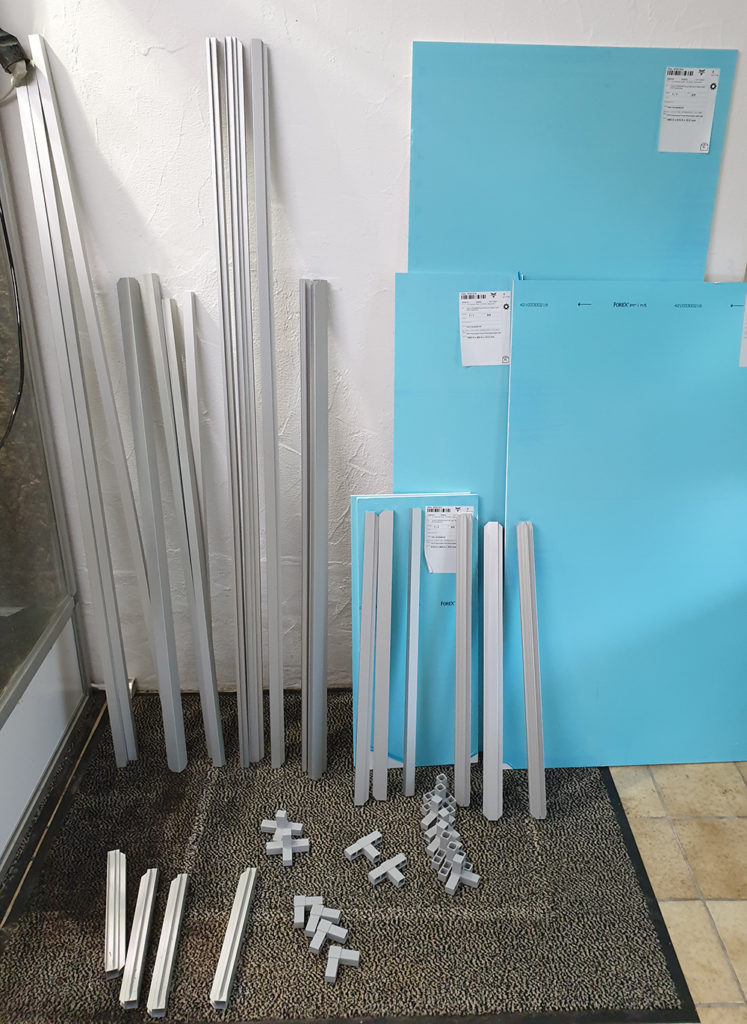
Benötigte Aluprofile, Verbinder und Forexplatten für dieses Terrarium
8x corner connector for 20 x 20 mm (grey)
 2x T connectors for 20 x 20 mm (grey)
 4x L connectors flat (grey)
 2x four-directions-connectors for 20 x 20 mm (grey)
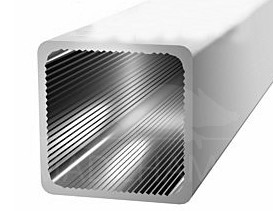 1x Aluminium profile 20 x 20 mm 148 cm long (f)
- 1x Aluminium profile 20 x 20 mm 106 cm long (g)
- 1x Aluminium profile 20 x 20 mm 61 cm long (h)
- 2x Aluminium profile 20 x 20 mm 142,5 cm long (Tür)
- 2x Aluminium profile 20 x 20 mm 100,5 cm long (Tür)
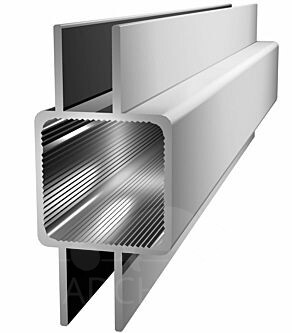
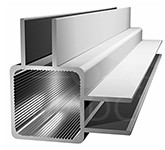
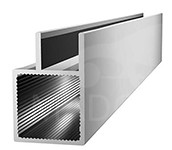 2x Aluminum profile with a double bridge, 10 mm notch, 148 cm long (d)
- 2x Aluminum profile with a double bridge, 10 mm notch, 61 cm long (i)
- 2x Aluminum profile with a double bridge, 10 mm notch, 106 cm long (k)
 1x Aluminium profiles with two double bridges lying opposite each other, 10 mm notch, 61 cm long (m)
-
 1x Aluminium profiles with two double bridges over the corner, 10 mm notch, 148 cm long (e)
 - 2x Aluminium profiles with two double bridges over the corner, 10 mm notch, 61 cm long (a)
- 2x Aluminium profiles with two double bridges over the corner, 10 mm notch, 106 cm long (b)
- 4x Aluminium profiles with two double bridges over the corner, 10 mm notch, 26 cm long (c)
- Aluminium gauze, anthrazite, 5 m à 120 cm width
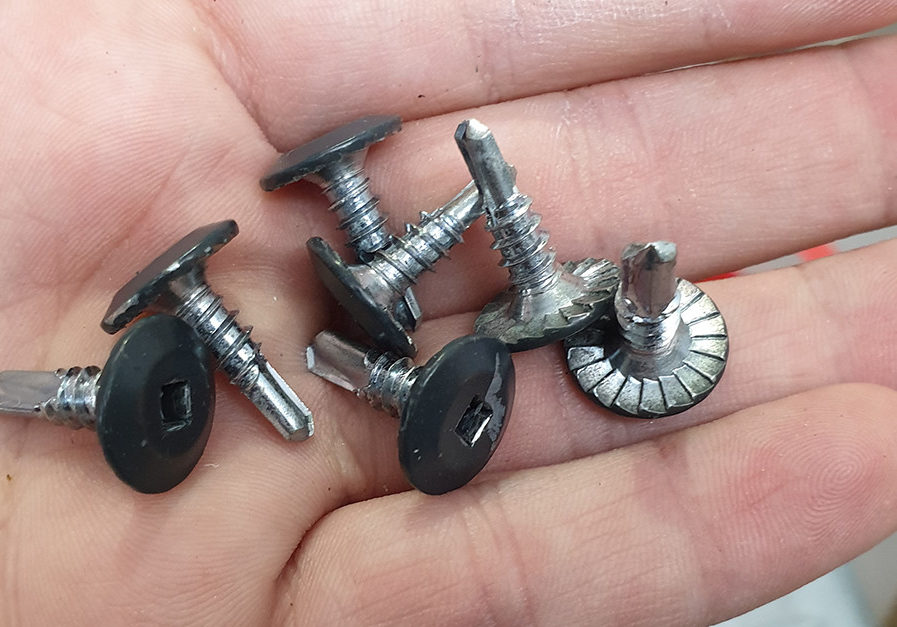
- about 160 drilling screws 4,8 x 16 mm
-
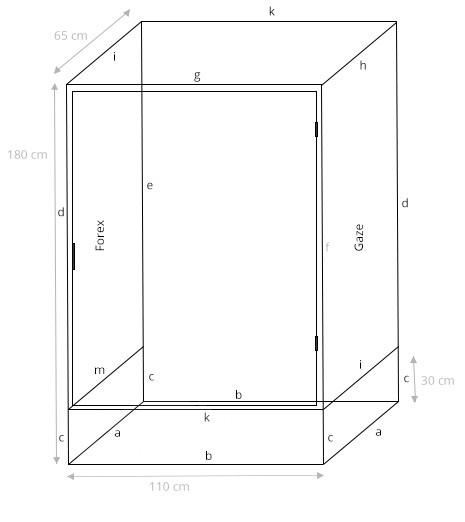
Construction sketch
15 drilling screws of various sizes mm suitable for handles and magnetic closure
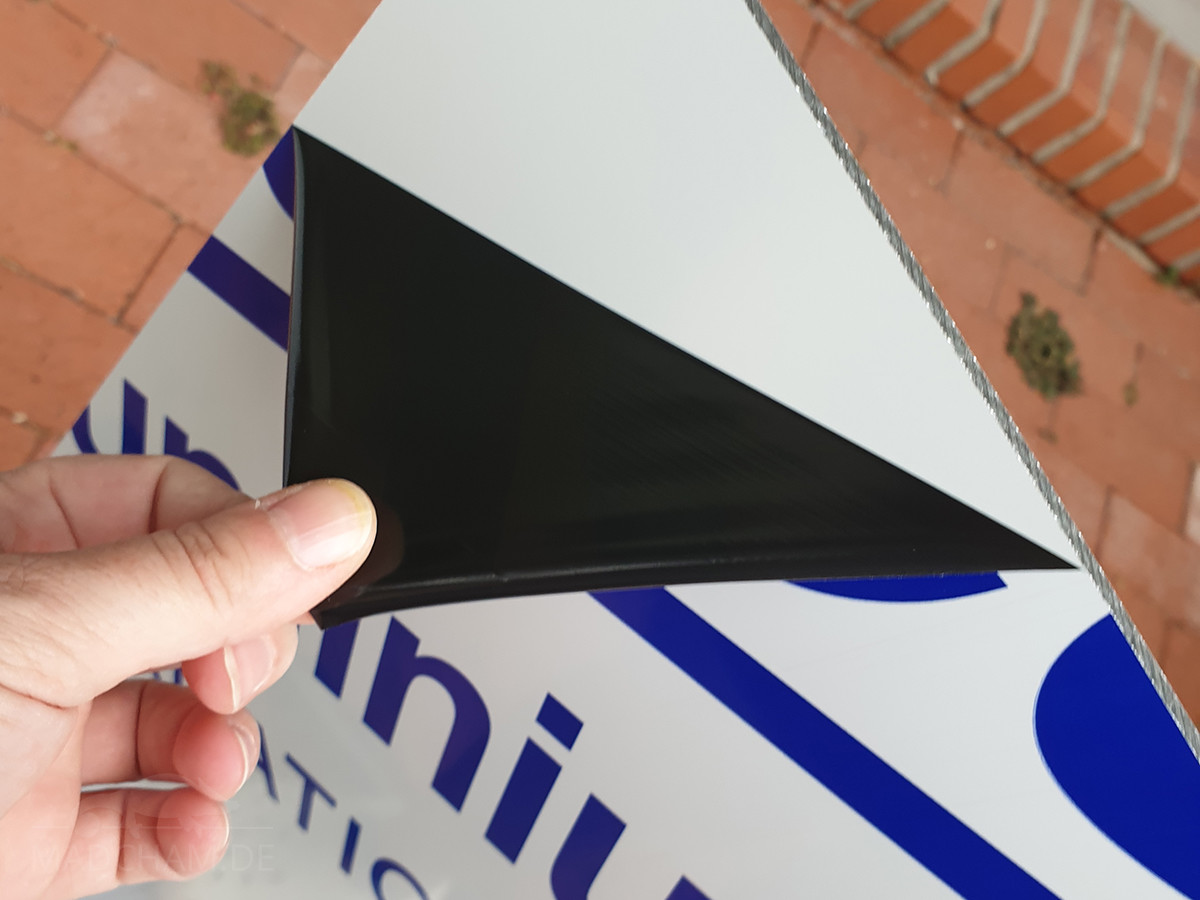
- 1x Forex, 10 mm thick, white, 176 x 106 cm (back wall)
- 1x Forex, 10 mm thick, white, 148 x 61 cm (side wall)
- 1x Forex, 10 mm thick, white, 106 x 61 cm (base plate)
- 2x Forex, 10 mm thick, white, 61 x 26 cm (bottom tray, sides)
- 1x Forex, 10 mm thick, white, 106 x 26 cm (bottom tray, front)
- 15 aluminum bars, 15 x 100 cm, 15 or 20 mm wide, 2 mm thick
- 1 aluminium handle for the door
- 2 lift-out hinges for the door, 80 x 45 mm
- Magnetic closure with screw-on plate
- Cordless drill with matching bit for the drill screws
- 5s metal drill bit
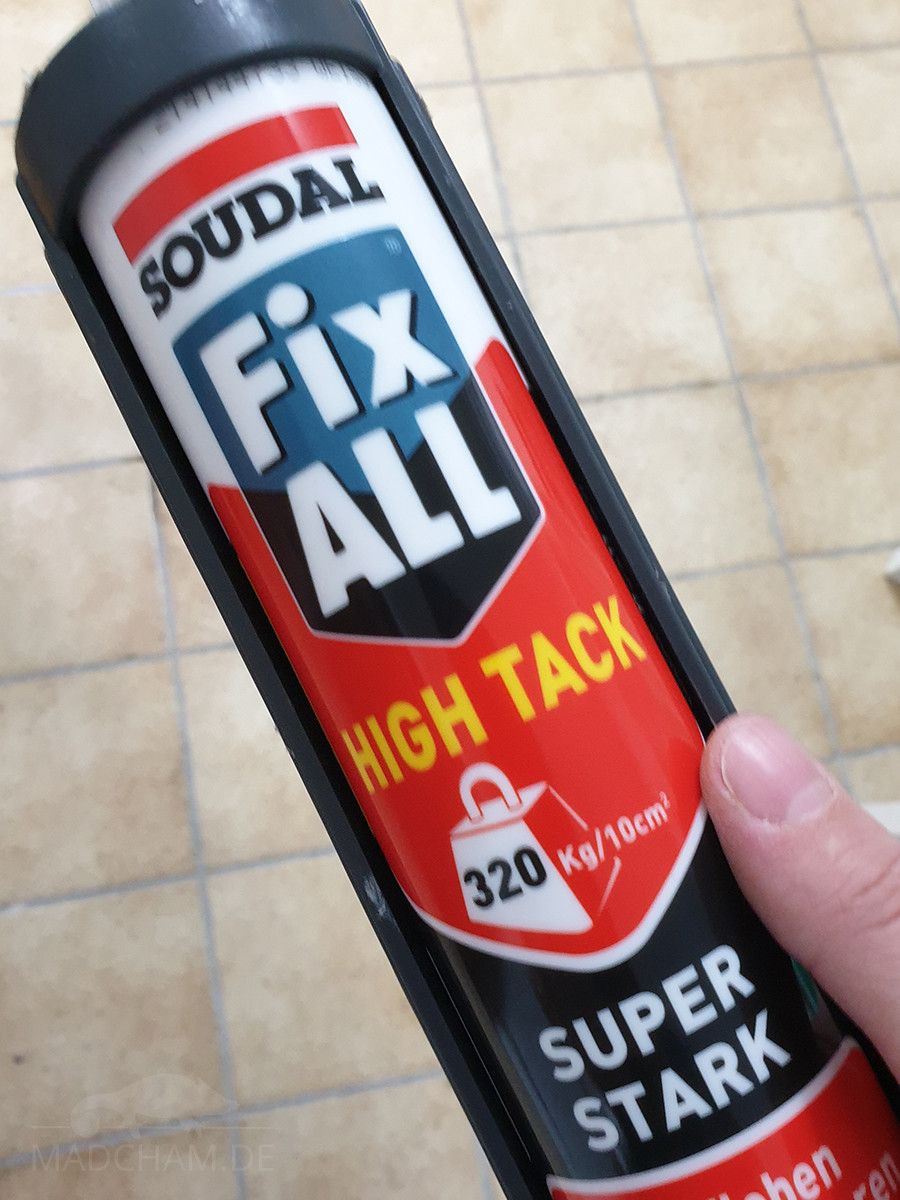
- one cartridge glue
- Tin snips
- small saw
For terrarium interior:
- Pond liner 0.5 mm thick
- one cartridge of aquarium silicone
- Cordless stapler
- 6 pressed or decorative cork, 20 mm thick, each 50 x 100 cm
- Screws 3 cm long and washers
- plants as you like
- 200 l flower soil + 2 buckets of forest soil
- Branches, Leaf litter
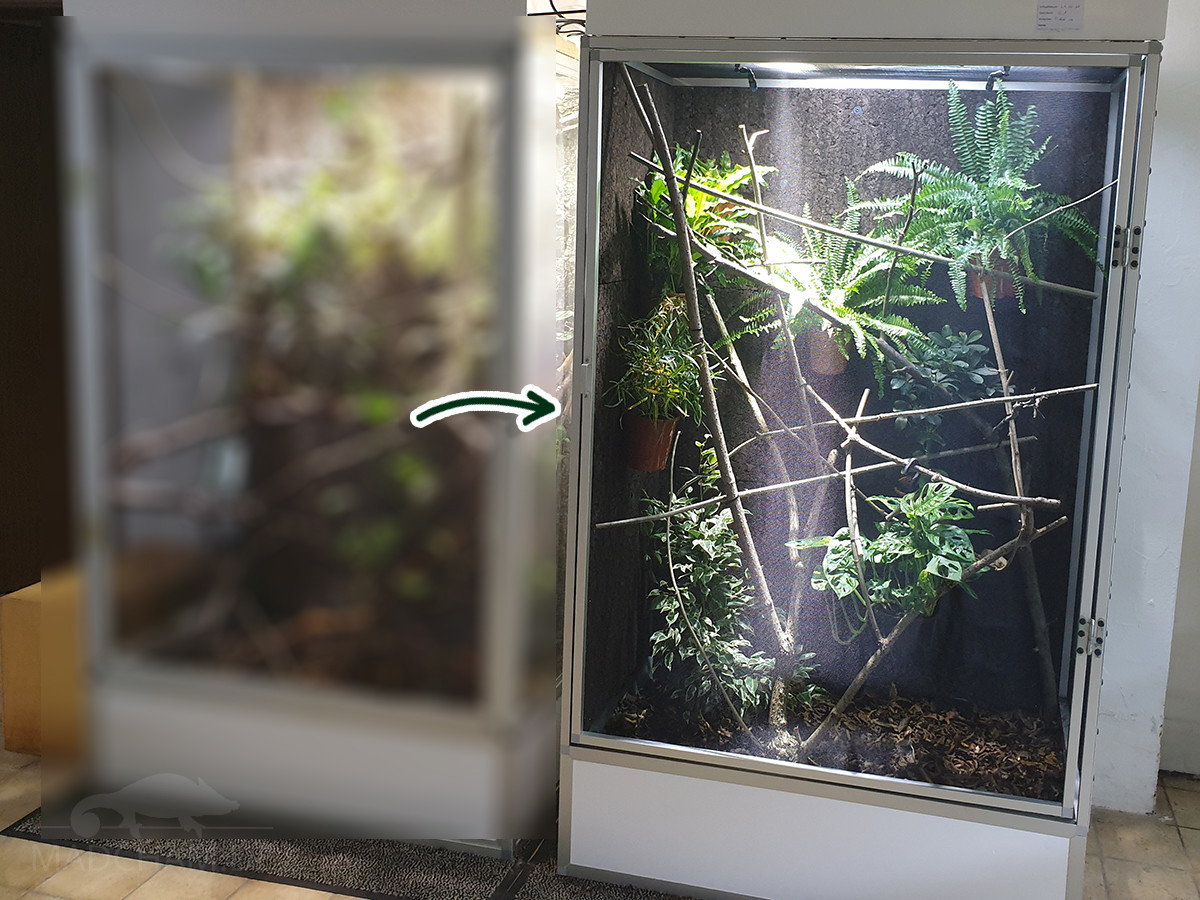
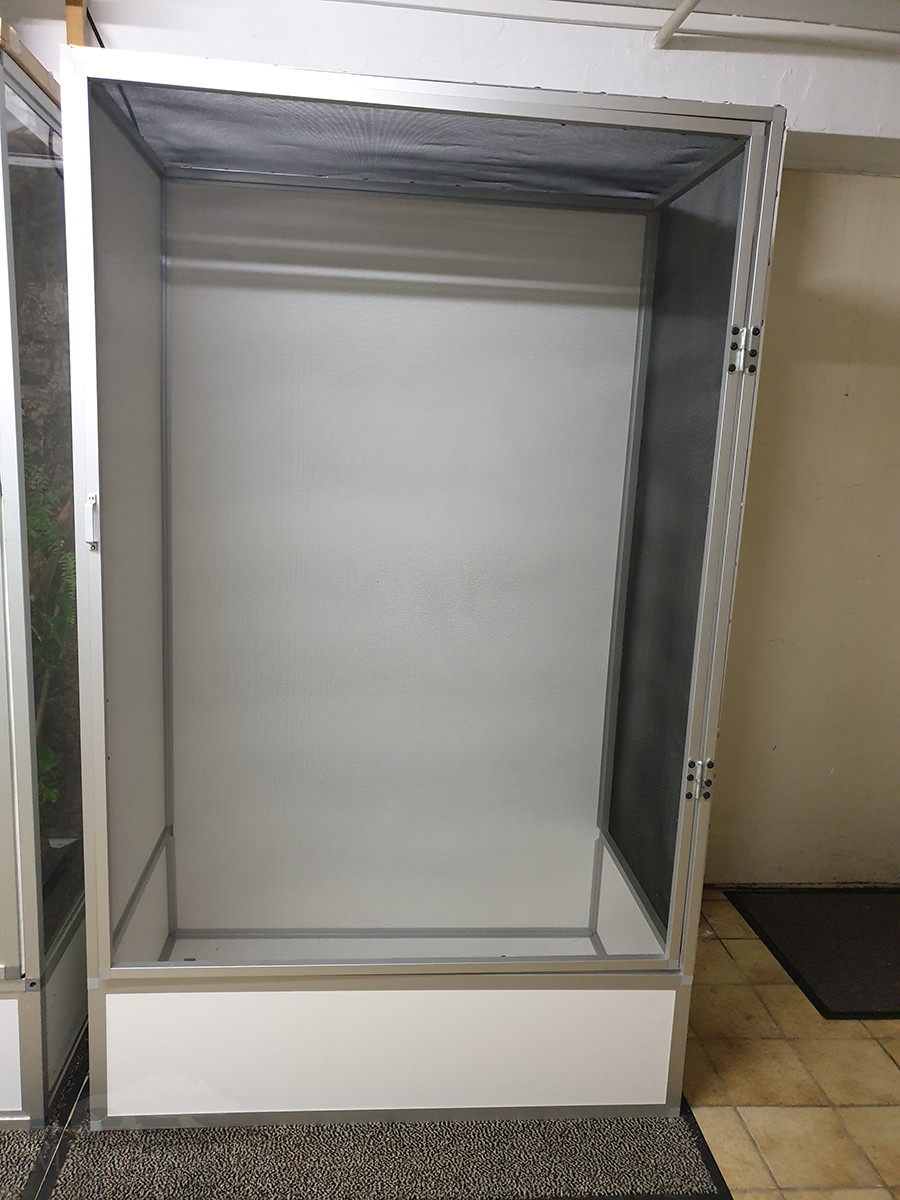
And this is how it is assembled:
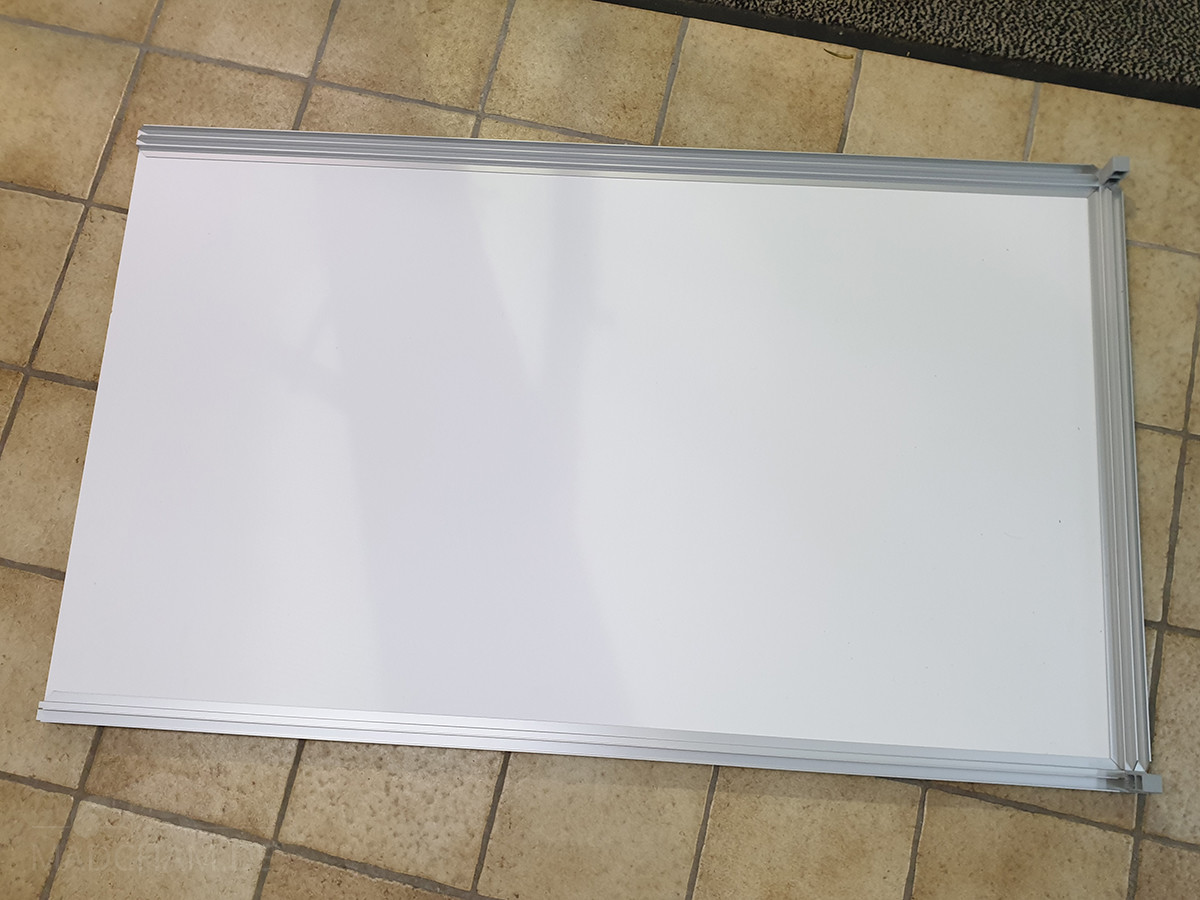
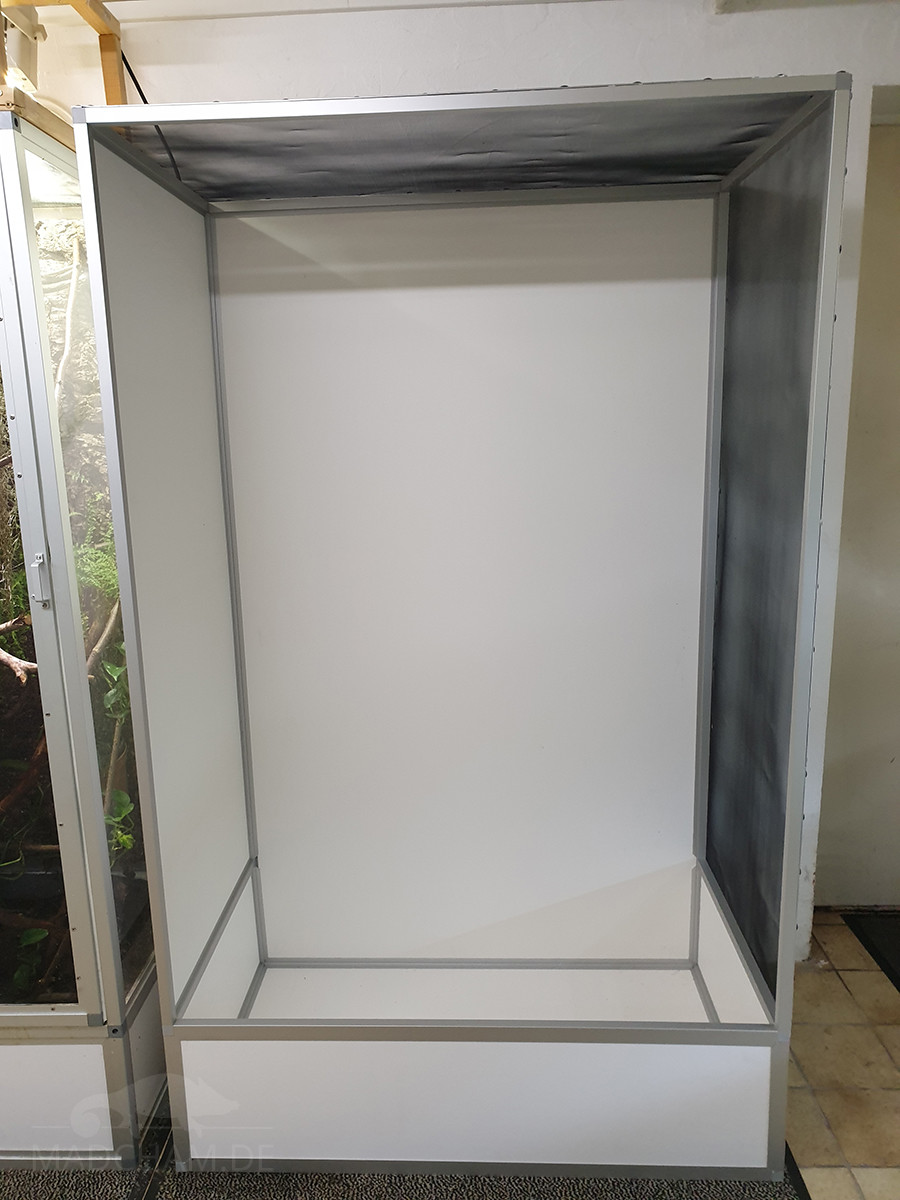
The rigid foam sheets are usually supplied with protective films glued on one or both sides. These protective films must be removed before using the boards. To hammer the connectors into the profiles, it is best to take a rubber mallet and place a blanket under the profiles so that they do not scratch. You start with the square that holds the bottom panel. Profiles a, b and b are put together with two corner connectors. Then you push in the bottom plate. Another profile a is fitted with two corner connectors and can then be pushed into the already finished base section. The base plate must now fit tightly in all grooves. The connectors must not have any gaps in the profiles.
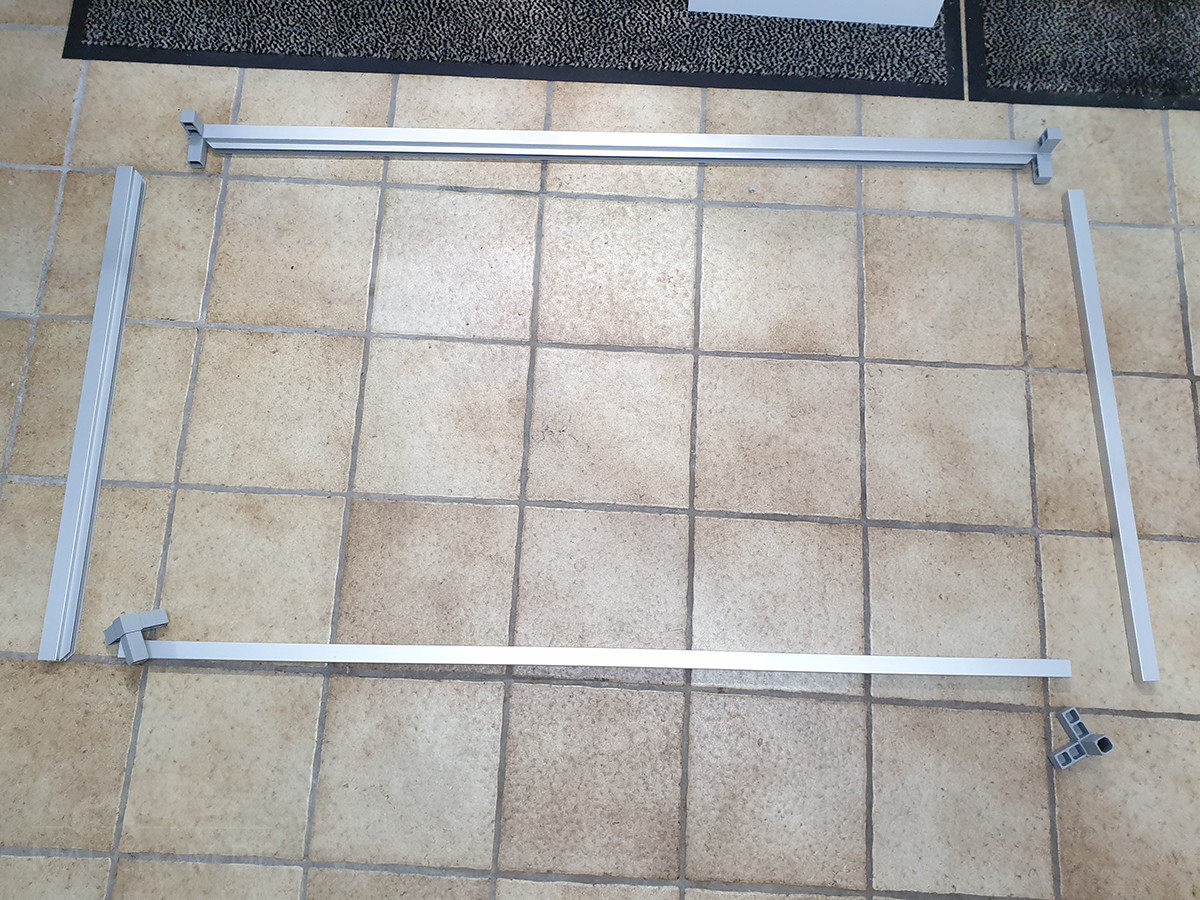
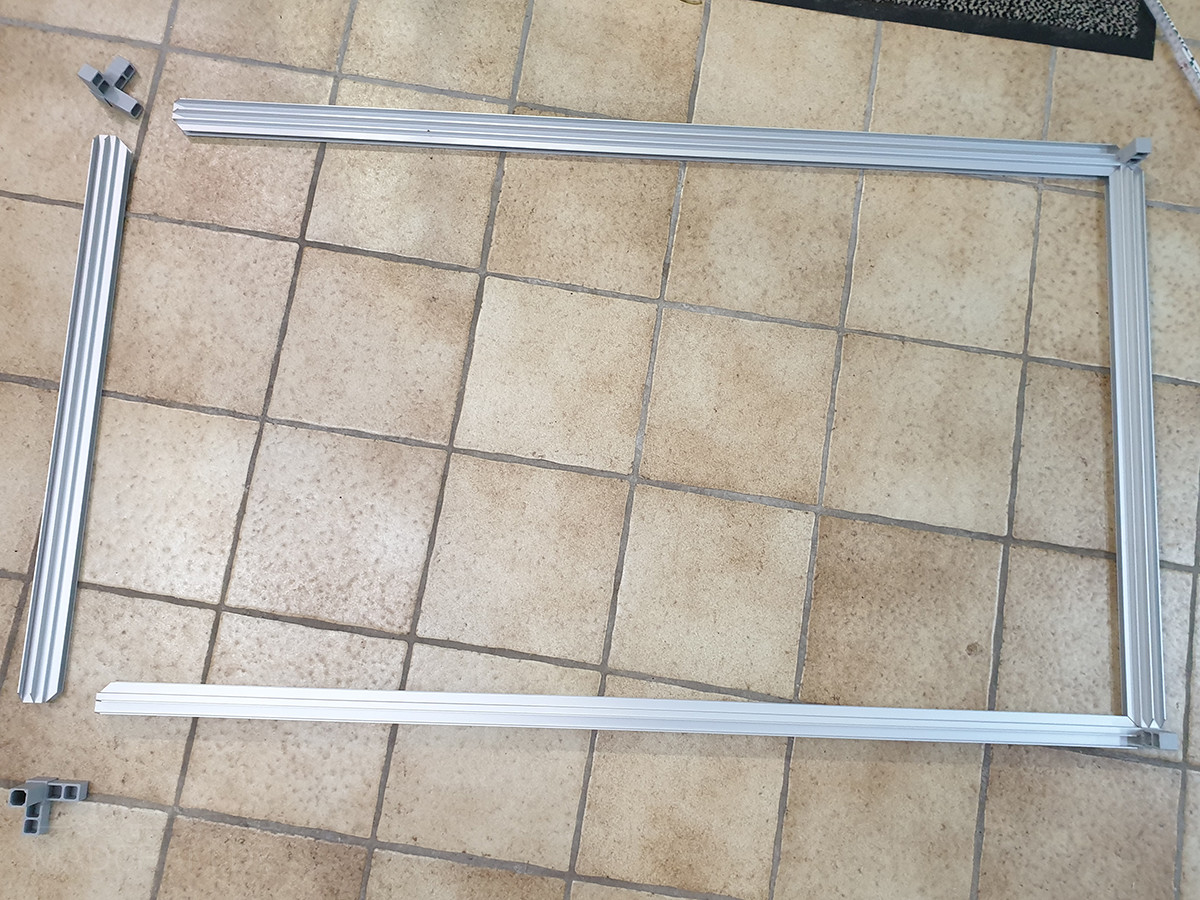
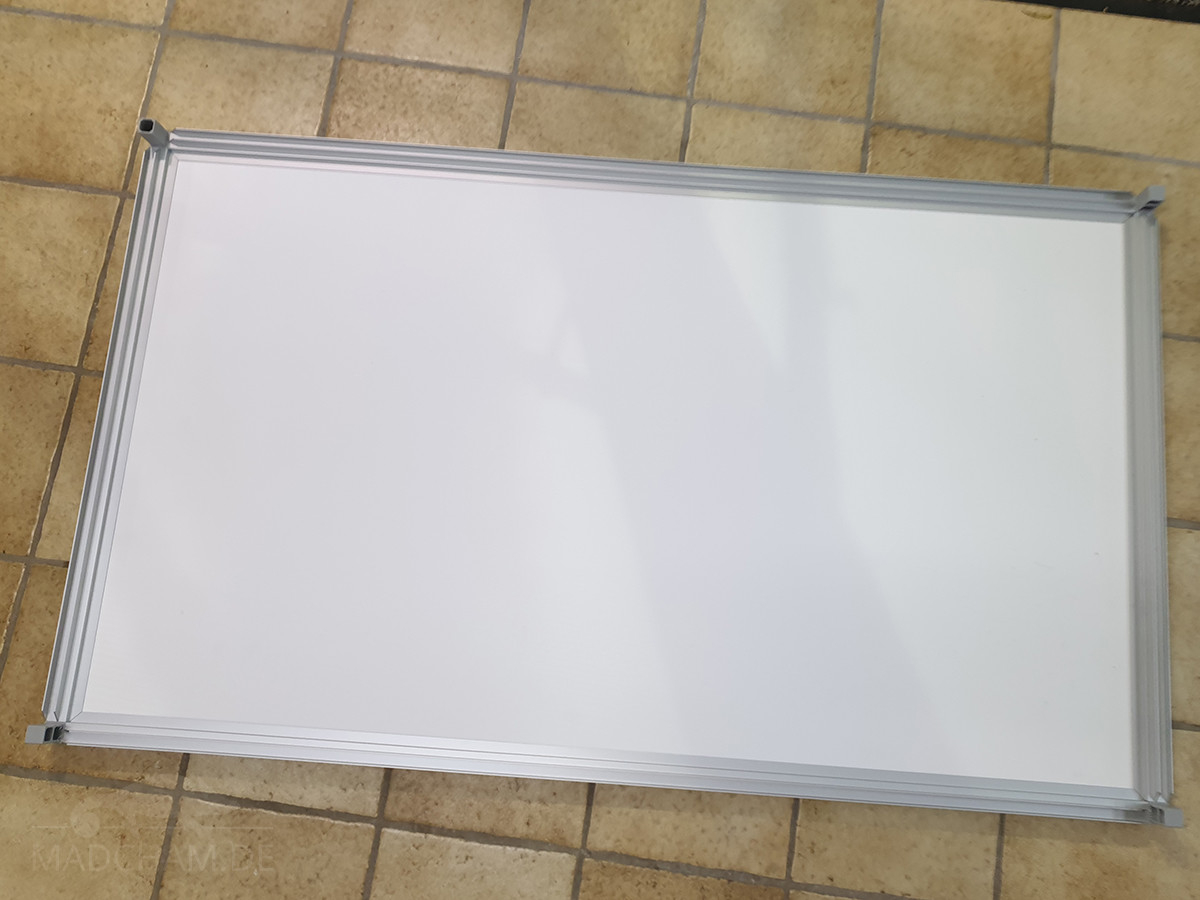
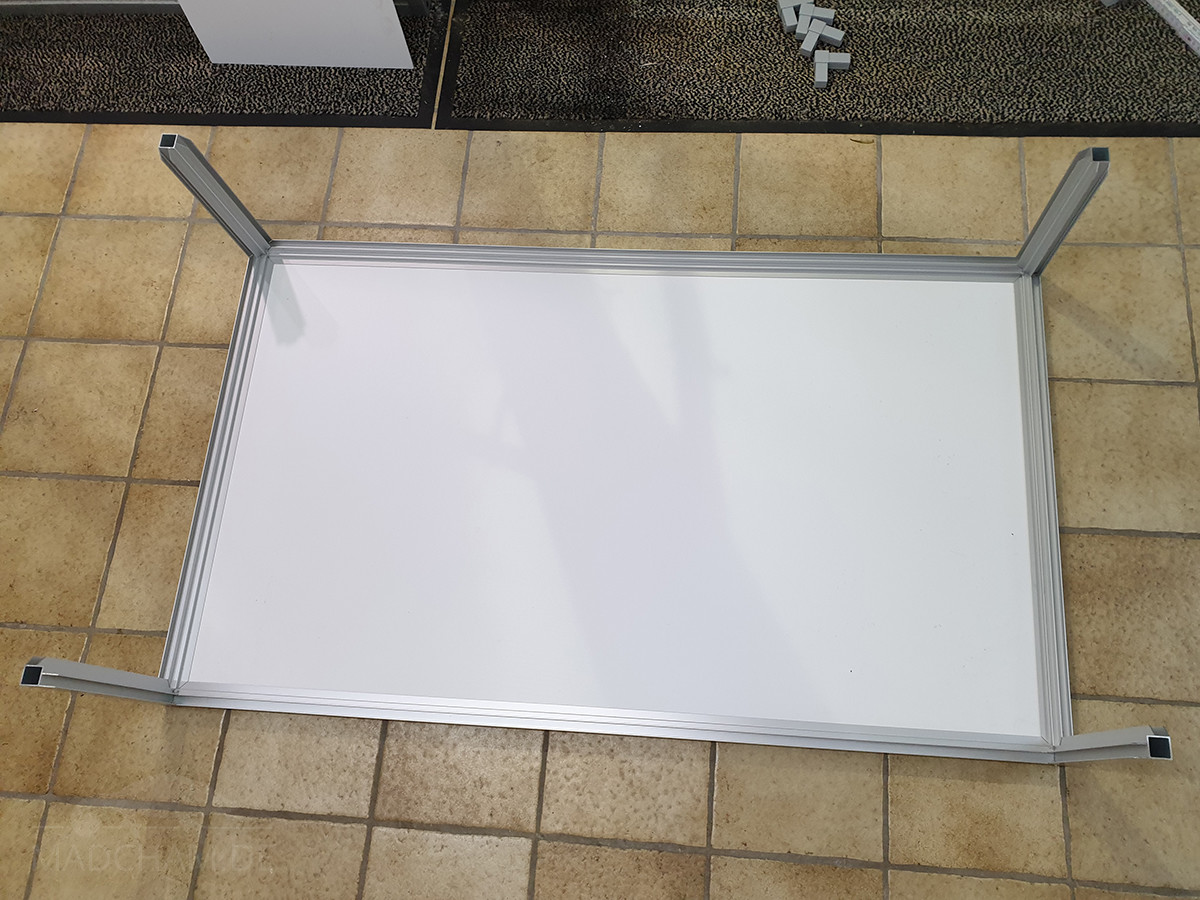
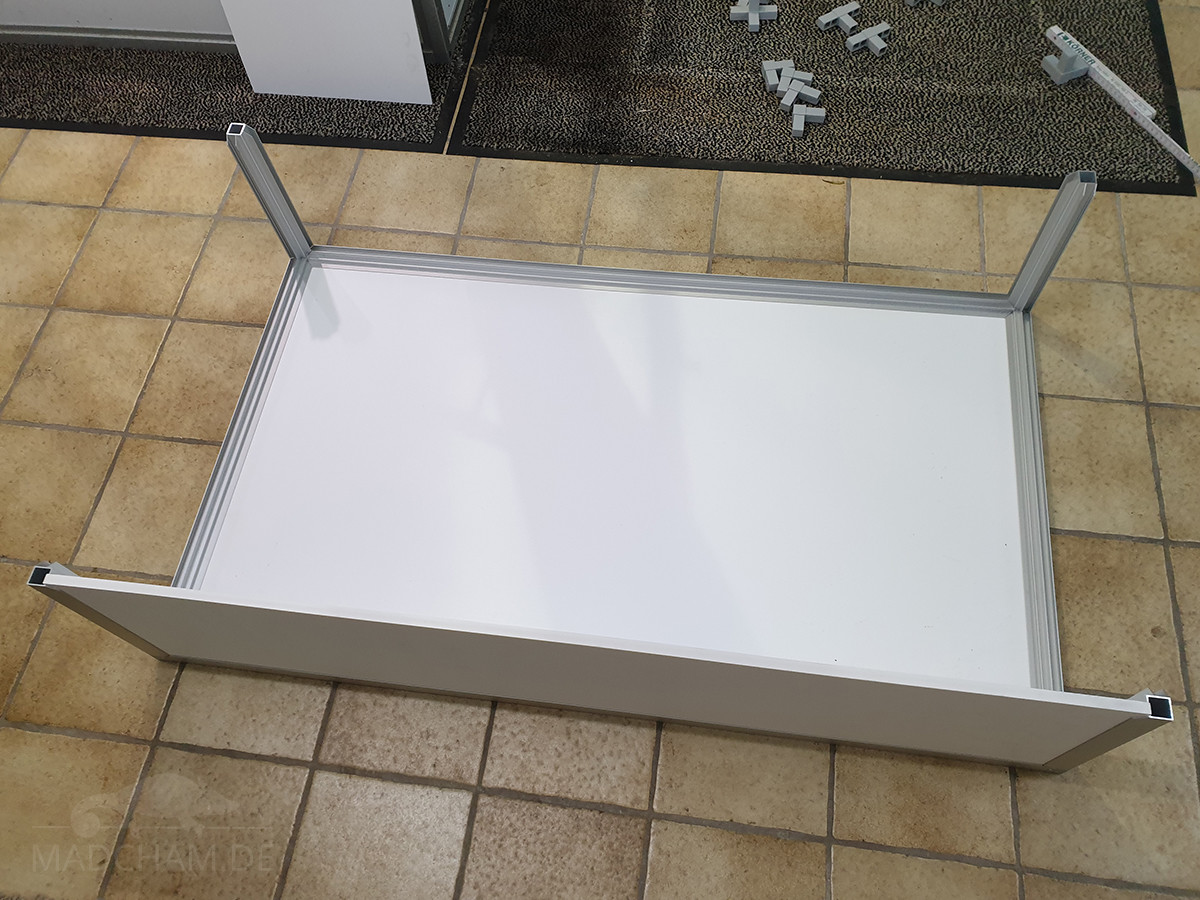
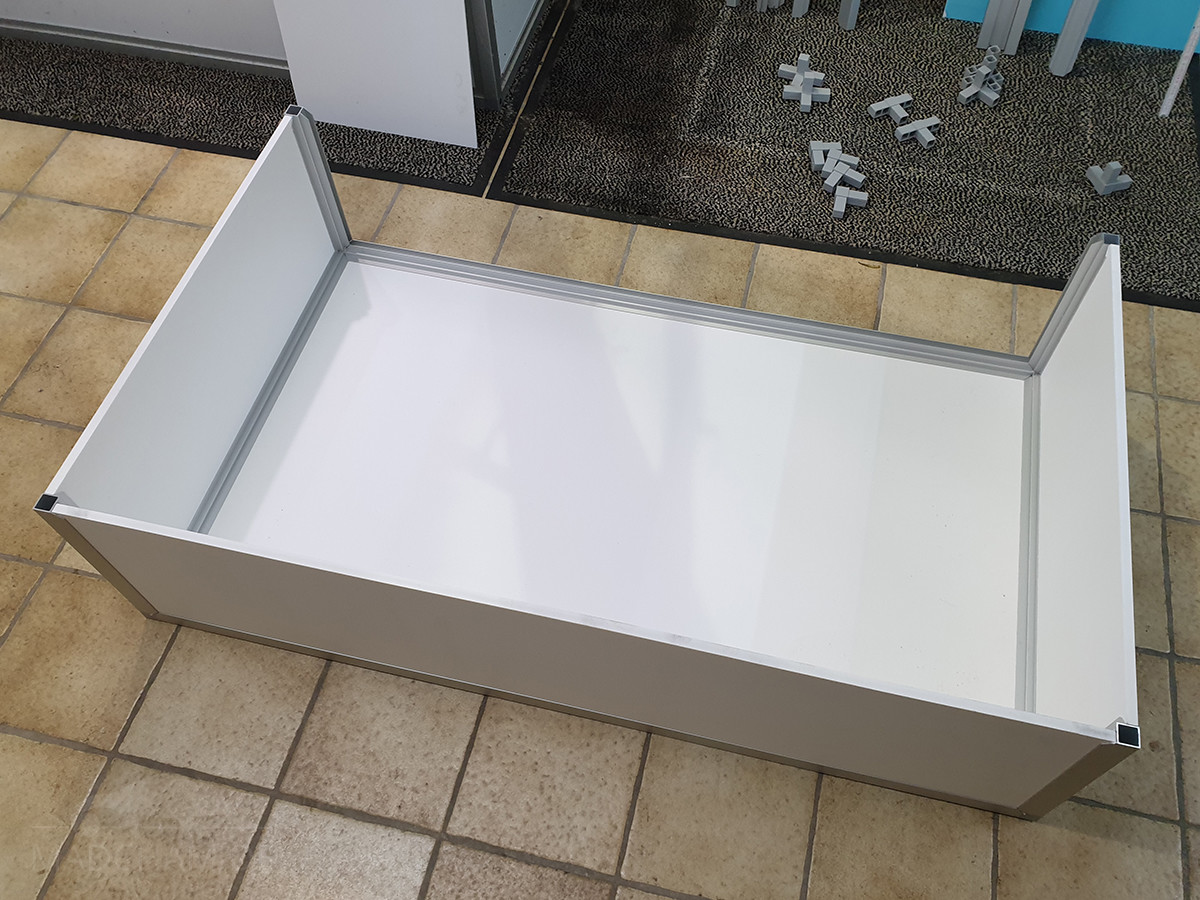
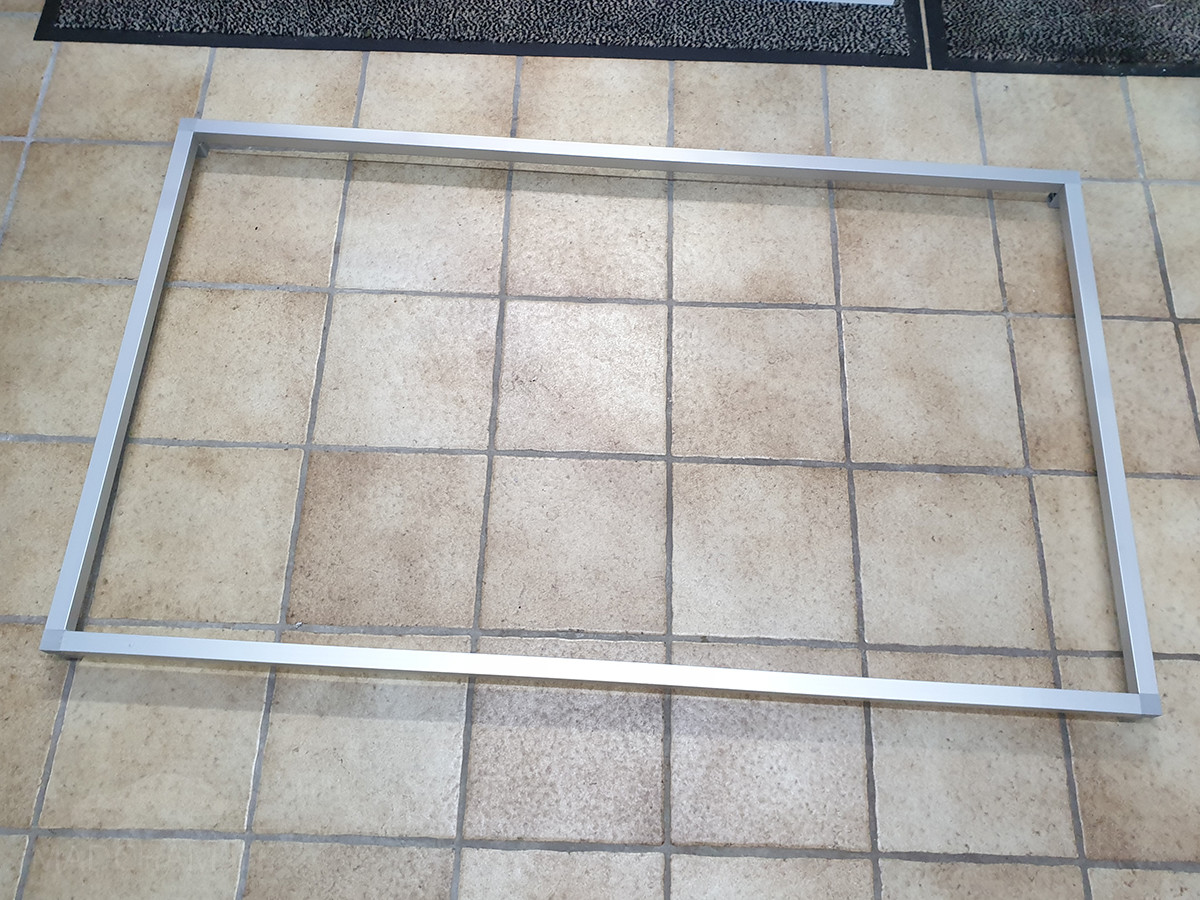
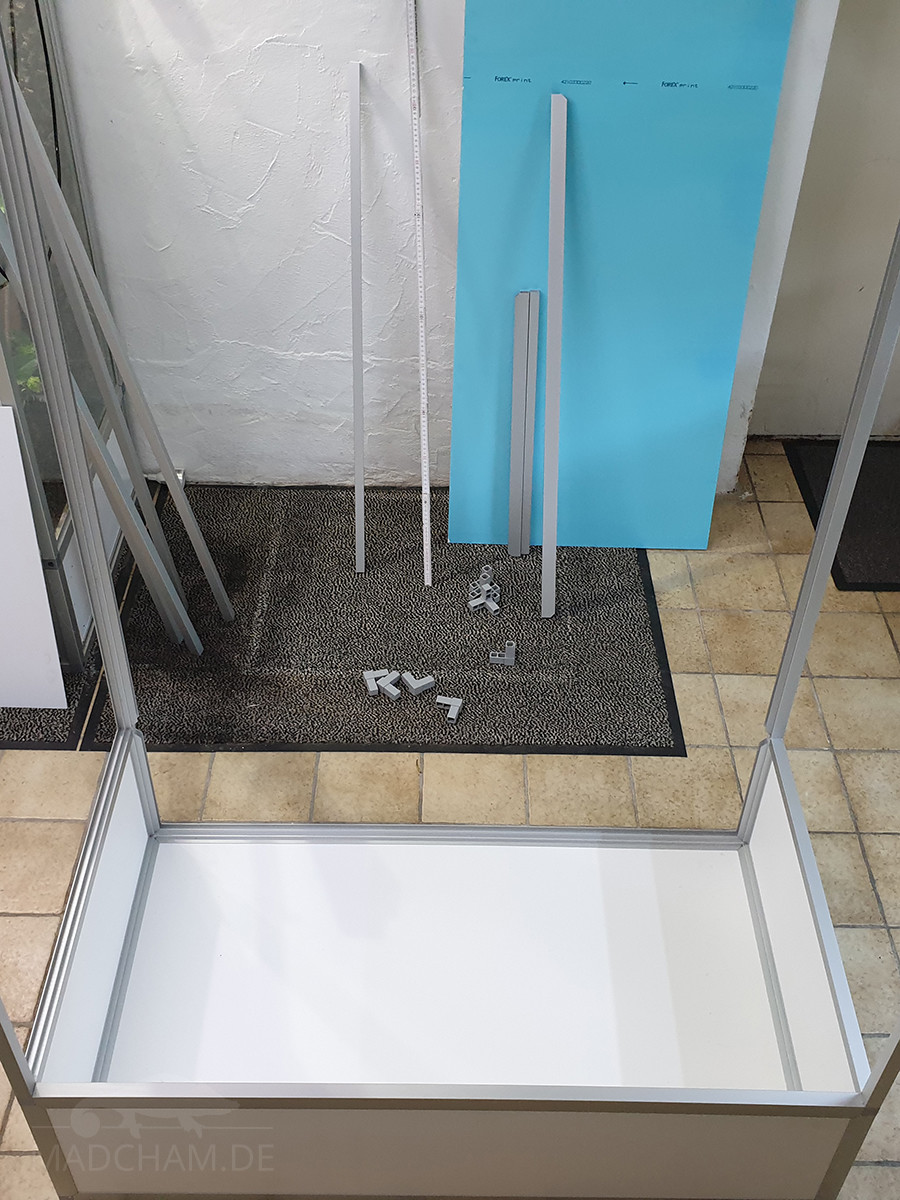
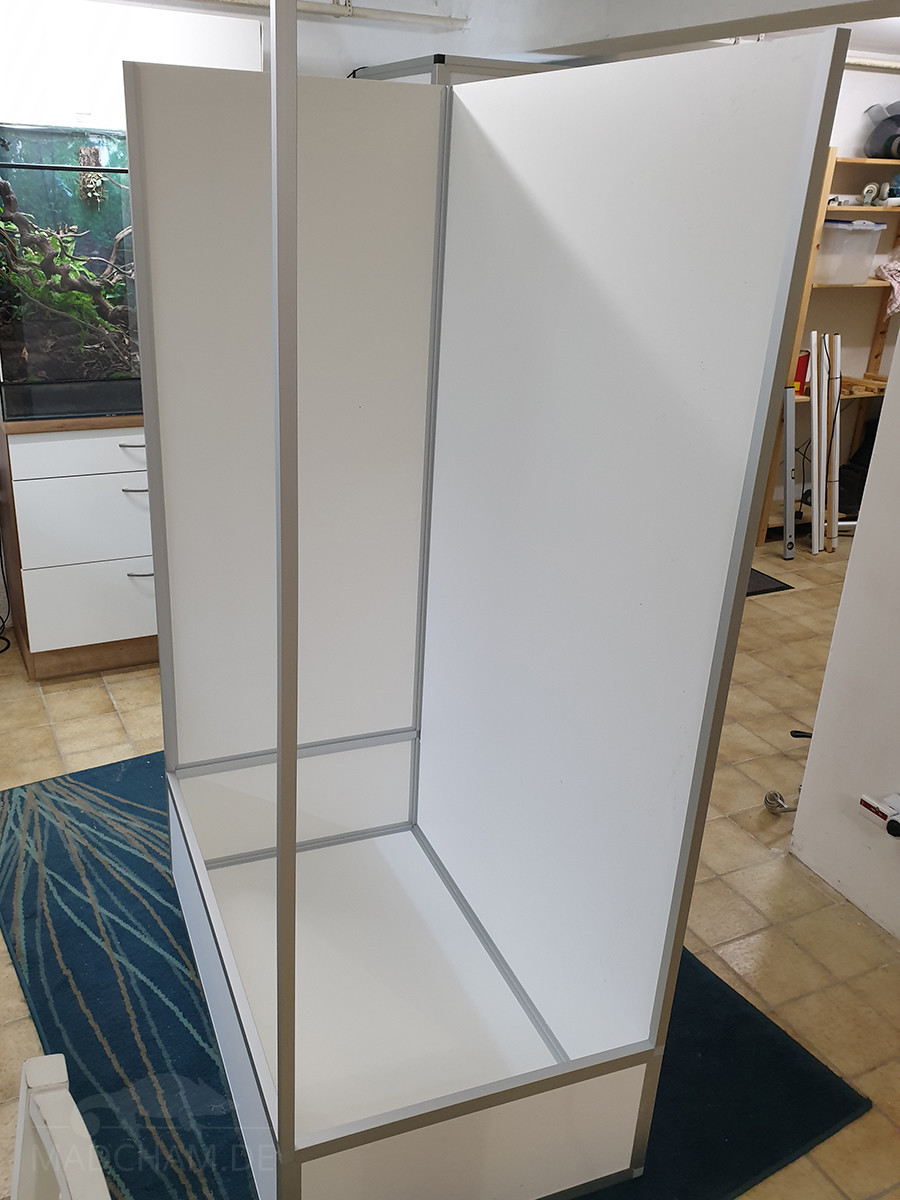

According to this principle, you gradually work your way up as shown in the pictures. Always assemble three profiles, insert the plate, and place the fourth profile with the corresponding connectors on top. The assembly sketch above can be used as an aid. Finally, the aluminum profile and plate framework of the outdoor enclosure should be in place and look like the last photo on the right above this paragraph. The aluminum profiles that will later form the doors are assembled with the L-connectors to form a square frame.
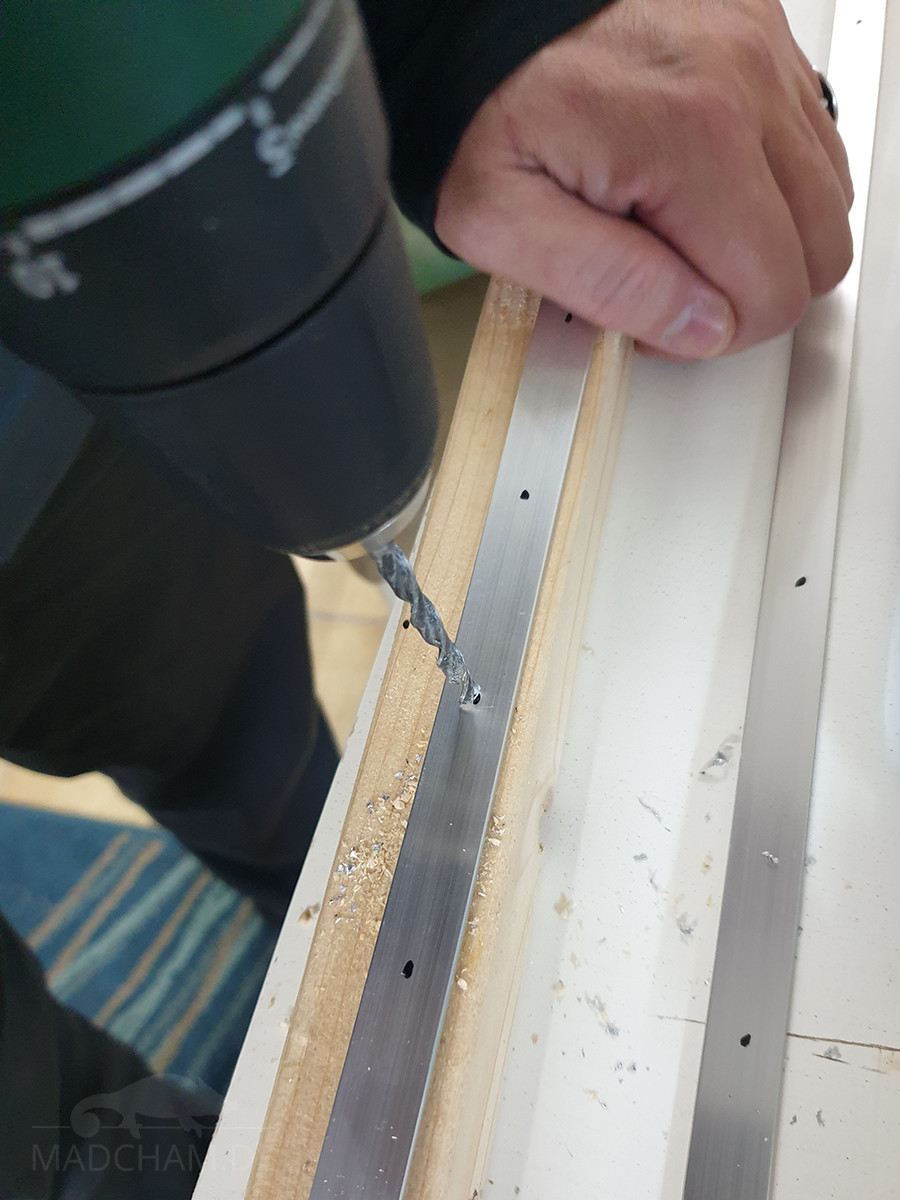
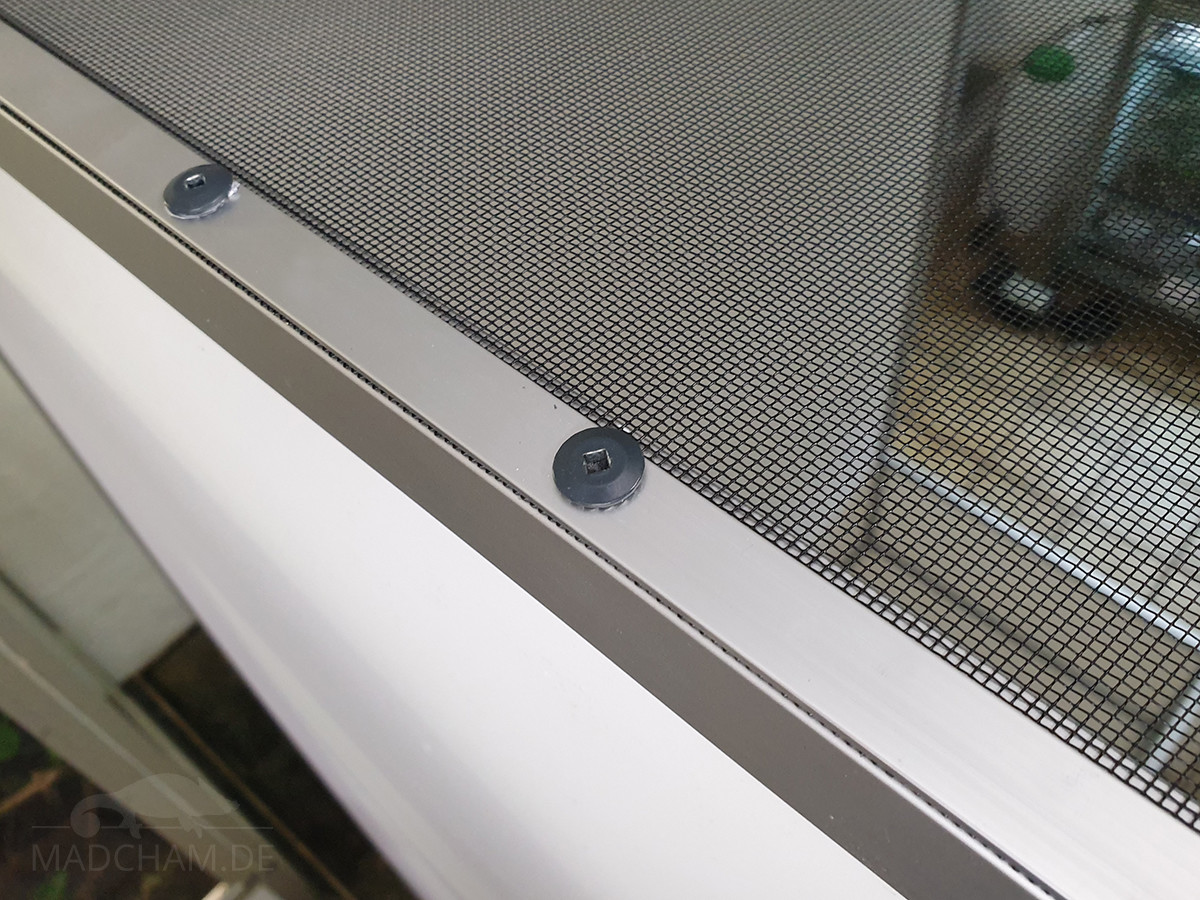
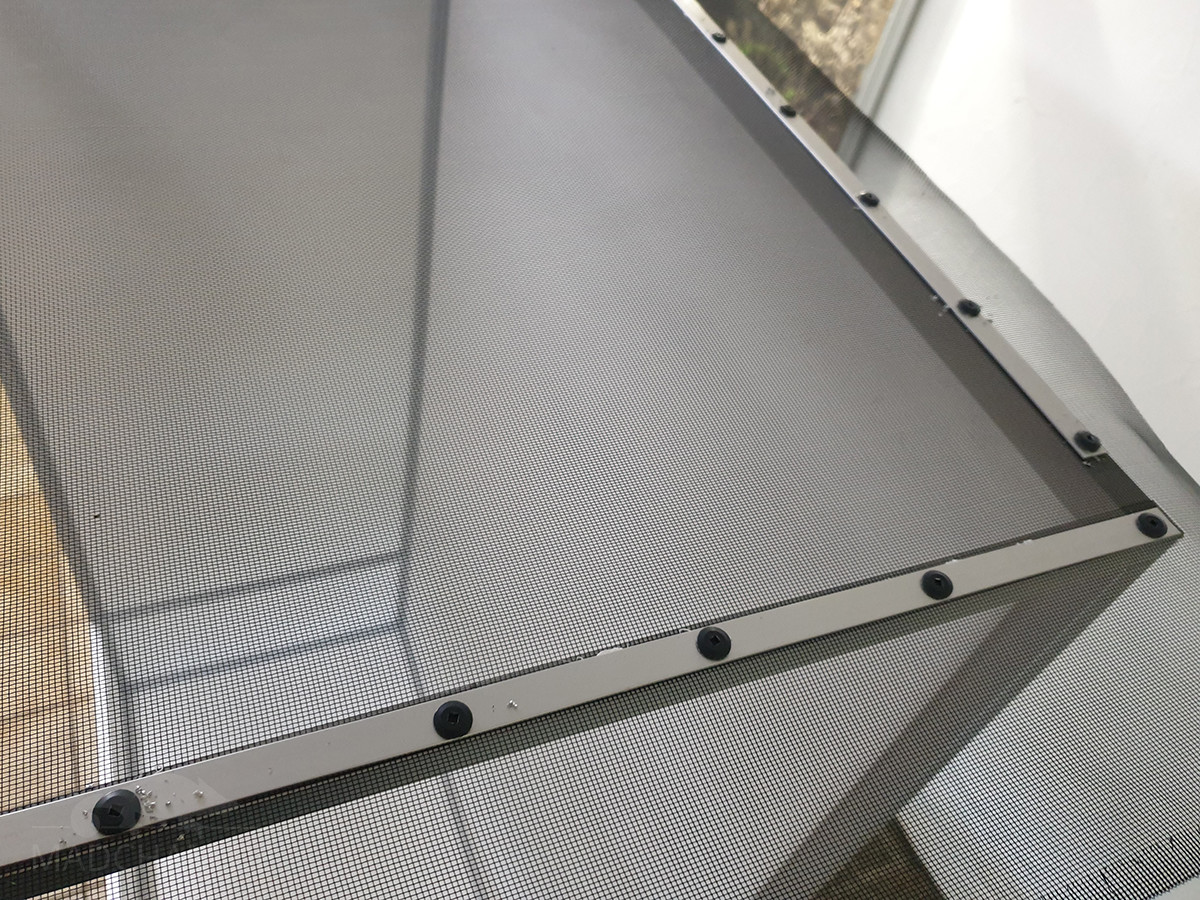
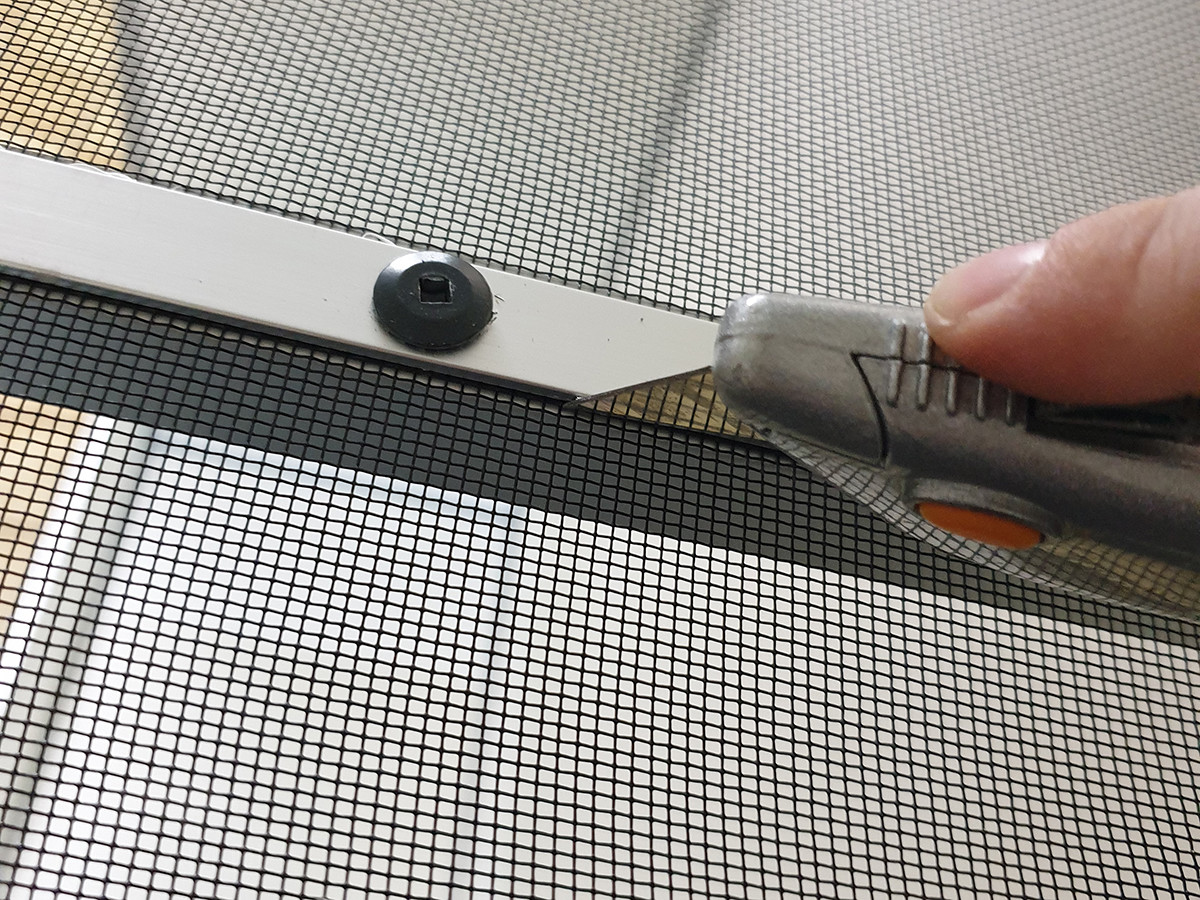
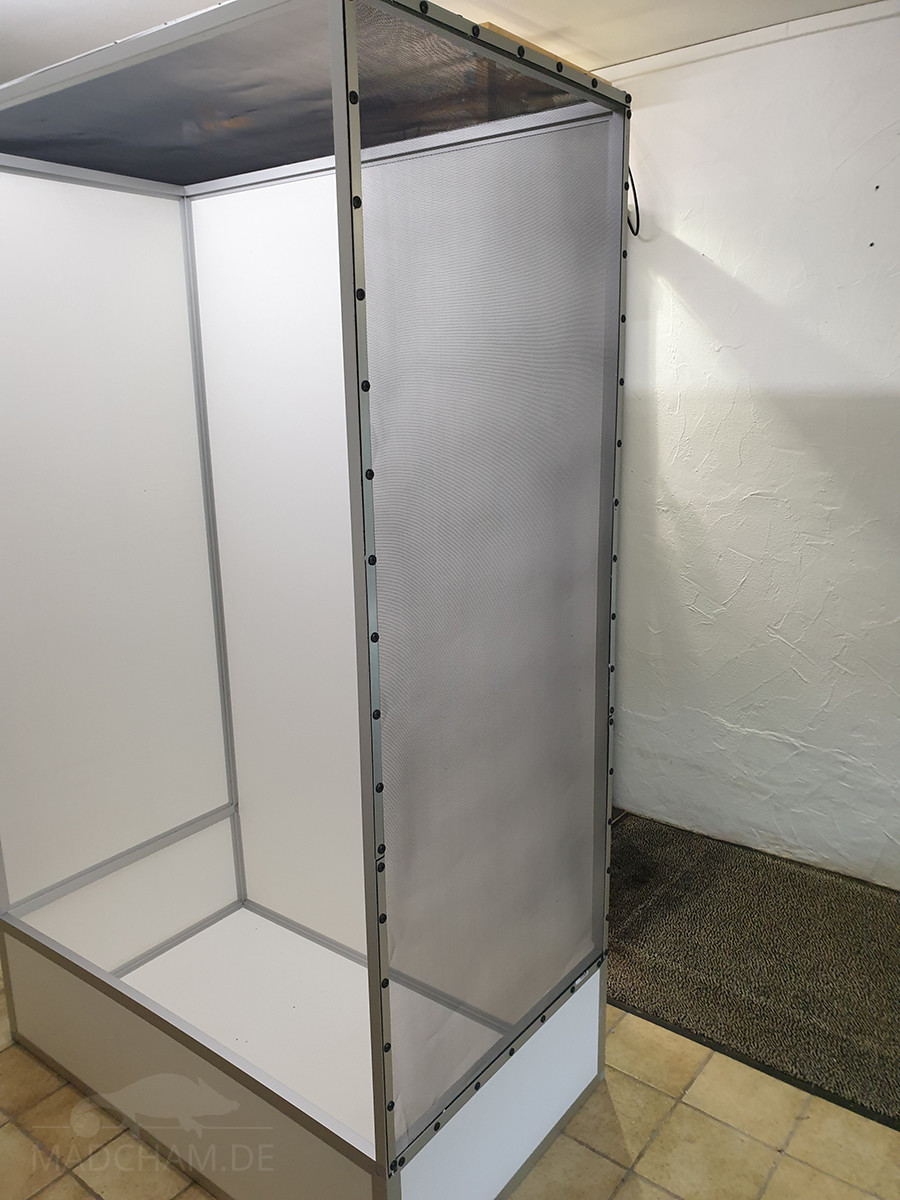
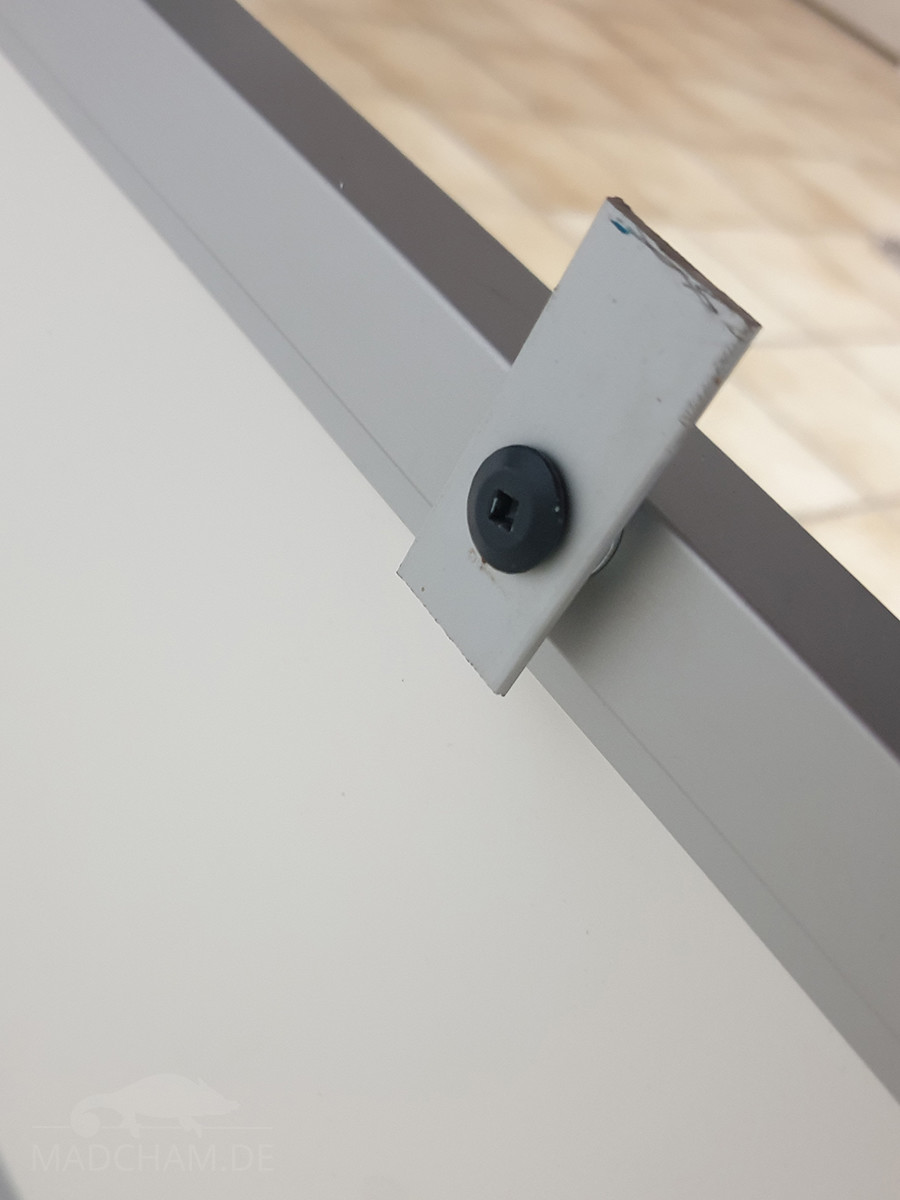
Now it’s time to attach the aluminum gauze. Use the tin snips to cut the gauze so that you have about 10 cm overhang on each side. One gauze piece for the lid, one for the right side, one for the door. Then you need to cut and pre-drill the aluminum strips that will attach the gauze to the aluminum frame. The easiest way to do this is to place the strips on the aluminum frame as a test and mark with the pencil where to saw. Pre-drill holes at a distance of about 10 cm with a 5 mm metal drill. Then it’s a matter of attaching them. The lid is the easiest. The alu gauze is put on. Start with one of the narrower sides. Glue is applied to the aluminum gauze directly above the aluminum profile, then the matching aluminum strip with the pre-drilled holes is pressed onto it. Use the drilling screws to fasten the aluminum strip to the aluminum profile underneath. The drilling screws can be countersunk in the aluminum profiles without pre-drilling. The two long sides are now fastened according to the same principle. For this purpose, a second person should tension the aluminum gauze, i.e. hold it in such a way that no large waves are created in the gauze. If necessary, you can also pre-tension the aluminum gauze with clamps. The pre-cut pieces of gauze are attached to the side and to the door frame in the same way. Cut off any excess along the aluminum strips with a cutter.
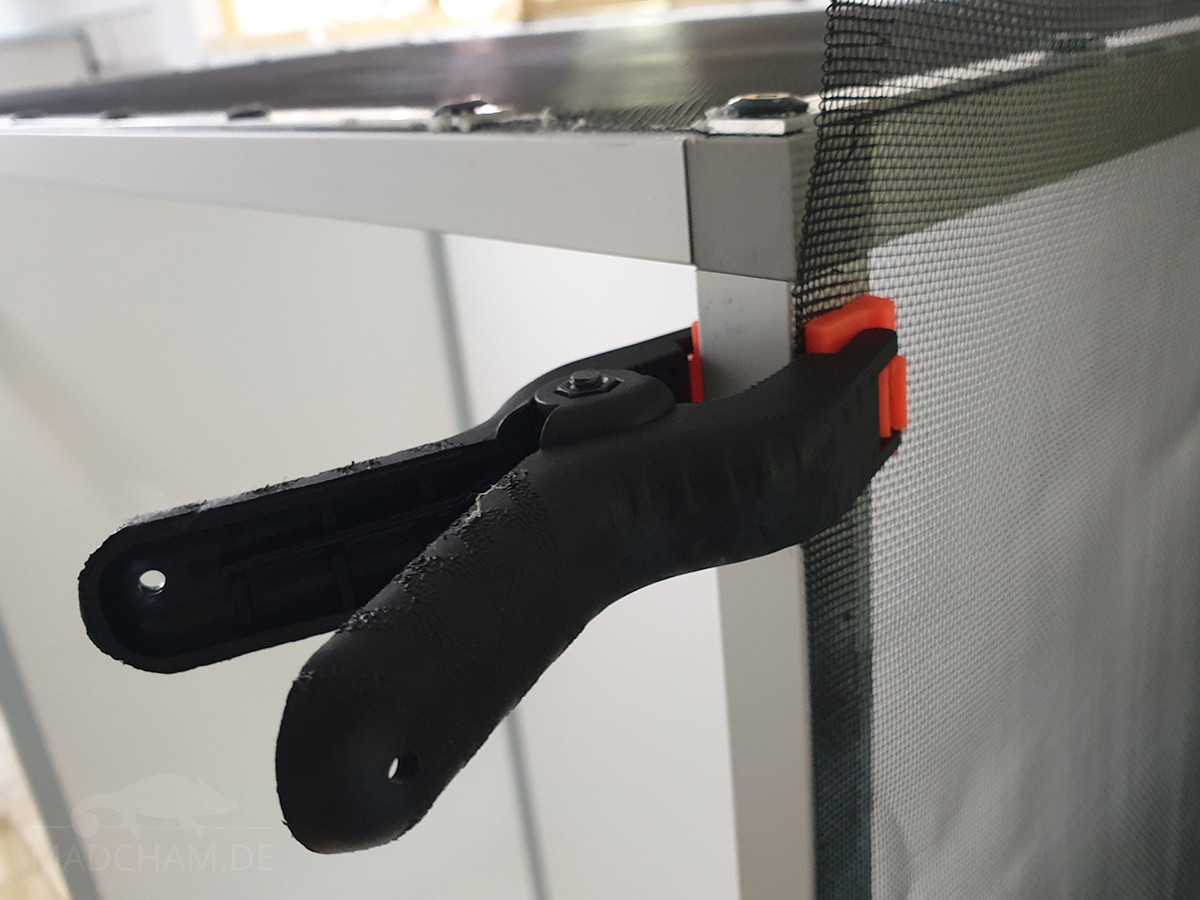
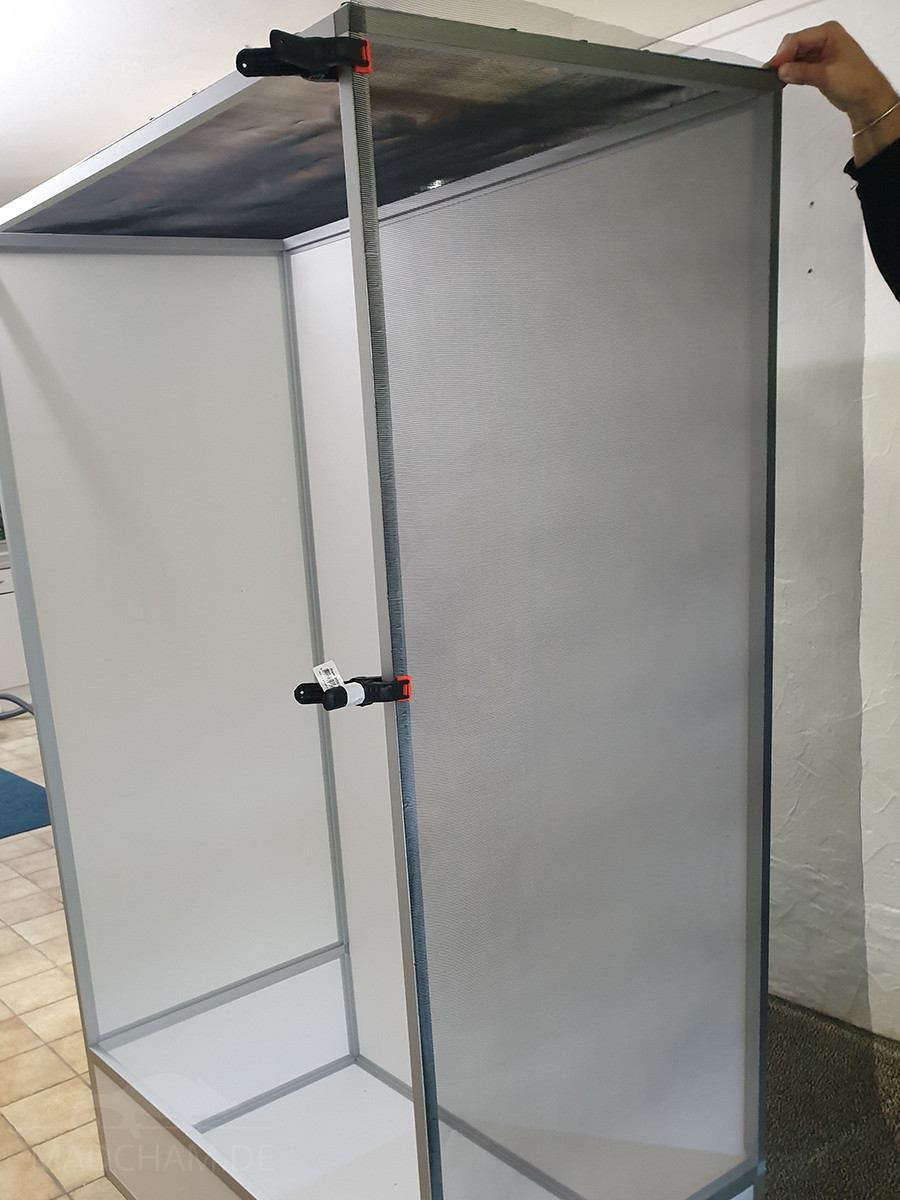

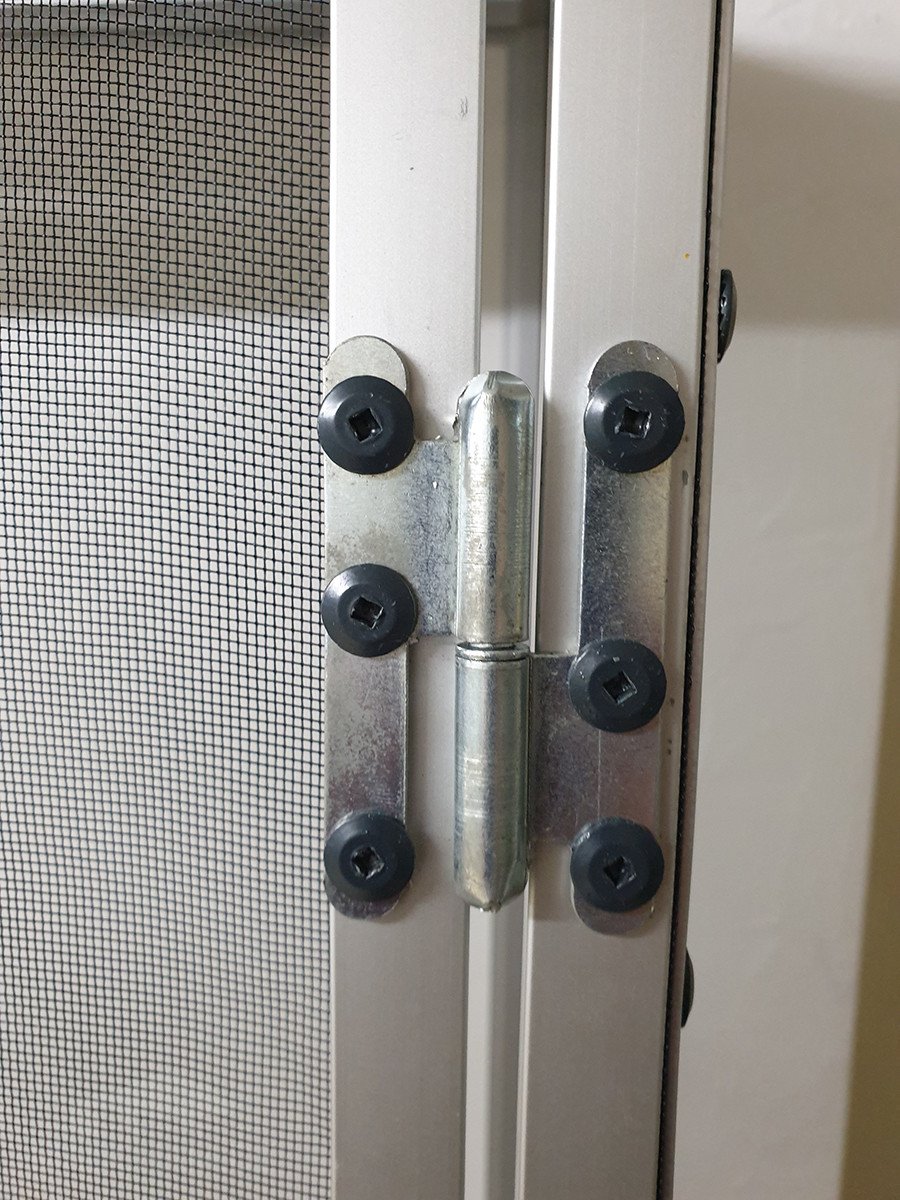
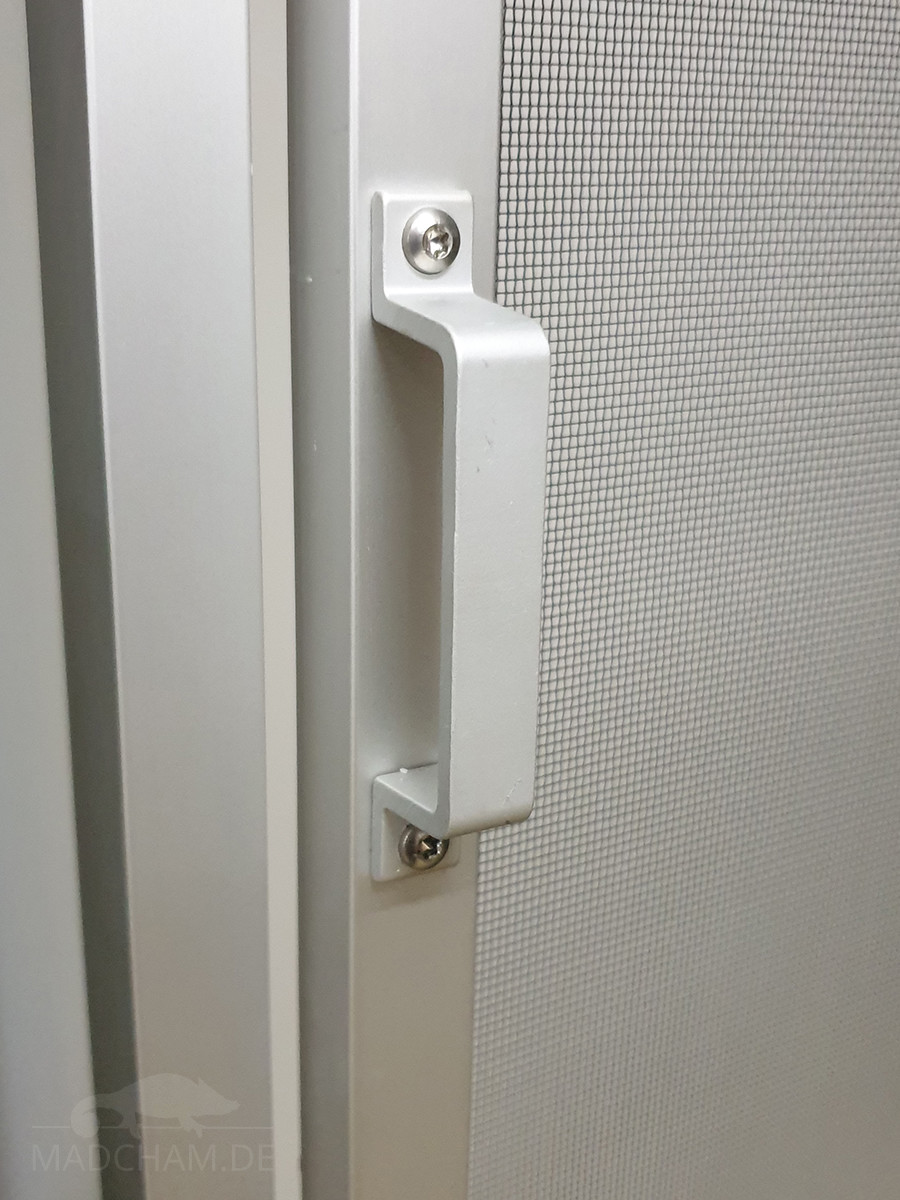
To attach the doors, fasten the two lower hinge parts to the right of the aluminum profile of the door frame using drill screws. In this terrarium, the door hinges are placed about 20 cm from the upper edge of the terrarium and the same distance from the edge of the bottom tray. Then place a piece of cardboard or two remnants of the aluminum strips used with a height of 4 mm on the bottom of the door frame, fastened with some painter’s masking tape if necessary. This spacer ensures that the door does not rest on the frame later, but “floats freely”. The door parts of the hinges are inserted, the door is held in the frame and the holes are painted with a pencil. Then take the door out of the frame again and place it on the floor to attach the hinge parts with the drilling screws. Important: The hinges come on the side where the drilling screws of the gauze fastening are not. The spacer can now be removed from the frame. The finished door is inserted by holding it at a 90° angle to the frame (“maximum open door”) and inserting it into the hinges. The door handle is fixed at a height of about 110 cm from the floor with drilling screws.
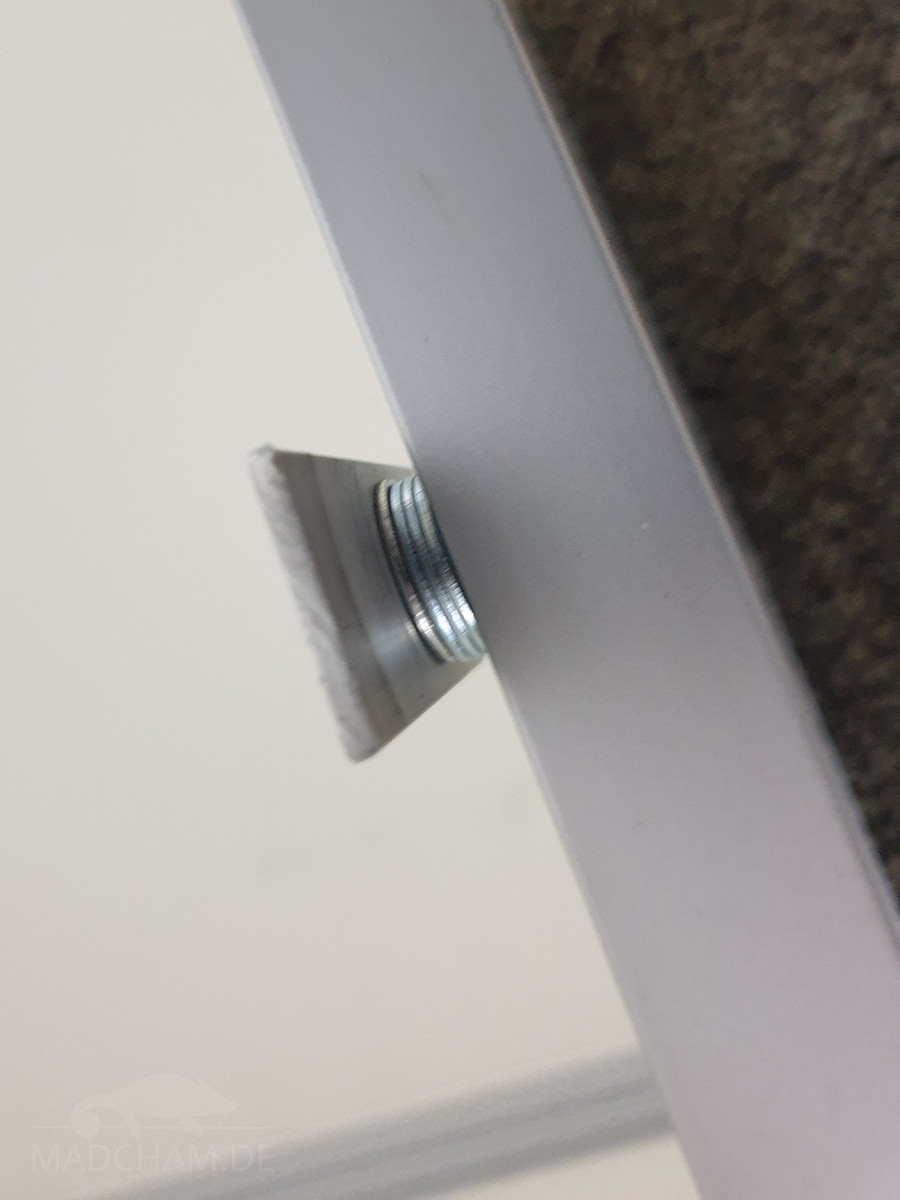
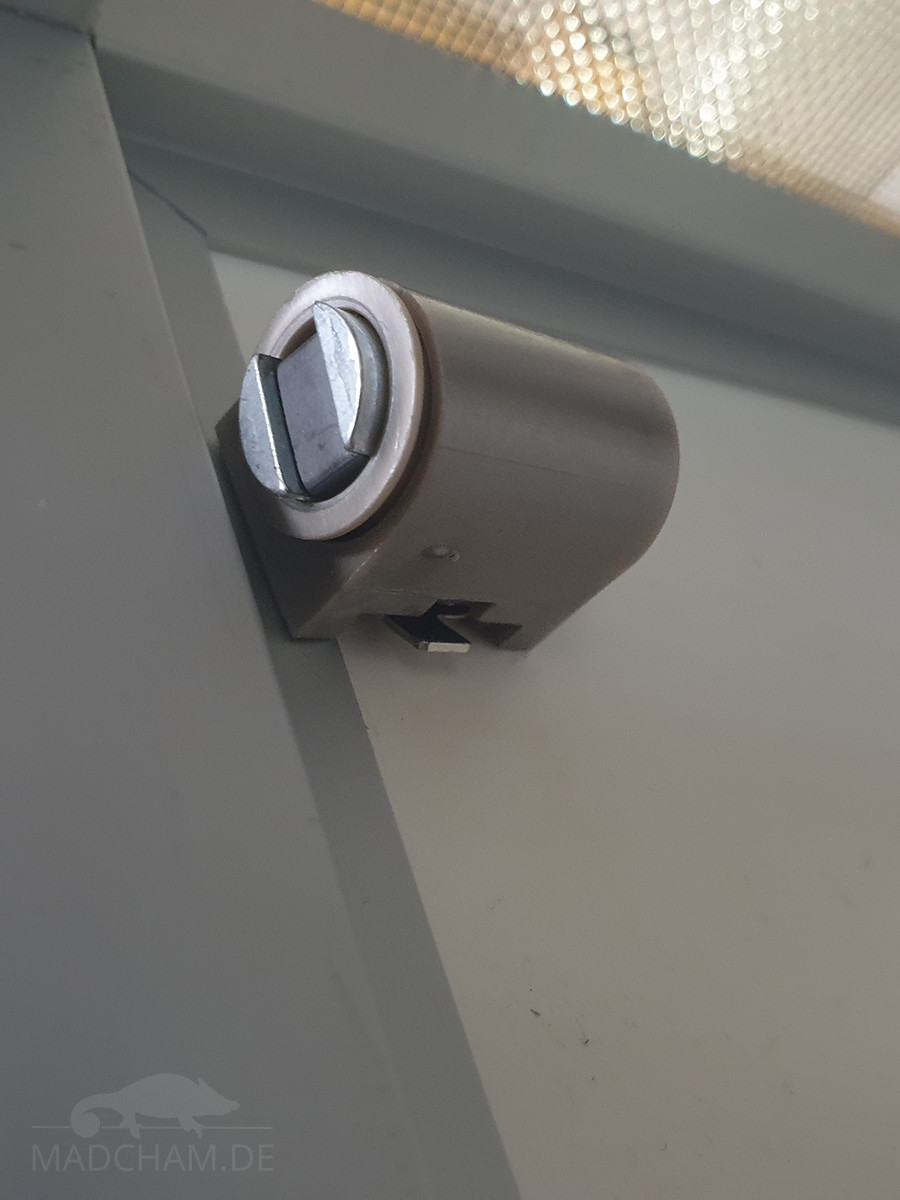
To prevent the door from slamming inward, a small stopper is attached to the lower edge. Here, it simply consists of a piece of an aluminum strip that is attached with a drilling screw. Since the aluminum strips, the adhesive, and the gauze make the door profiles several millimeters thicker, separating washers are placed underneath accordingly. If you do not use any, the frame of the closed-door will protrude a few millimeters from the door frame. The magnetic catch is also attached to the top left of the door frame. The counterpart for the magnet is one of the screws already installed in the door. So far, so good. The terrarium is in place.
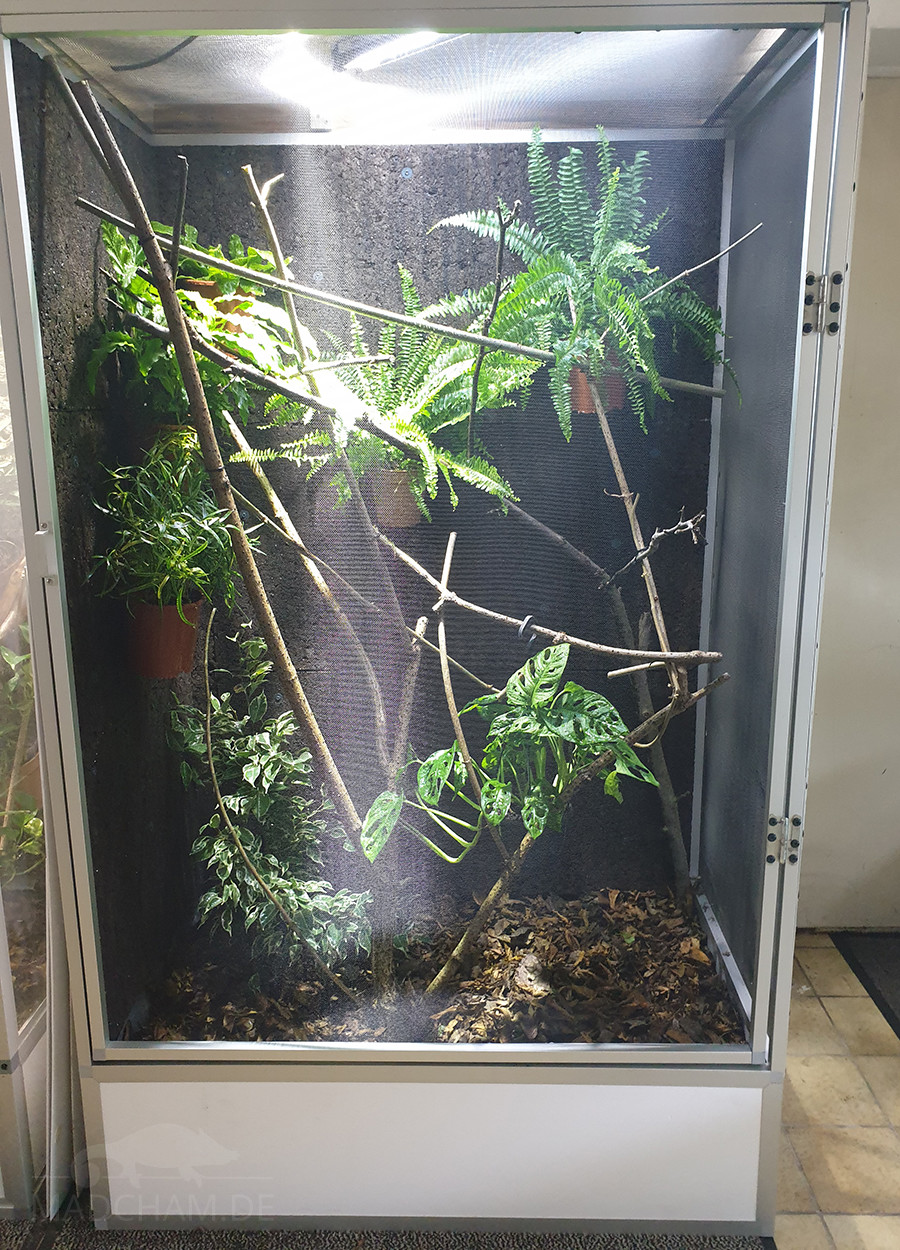
Terrarium setup
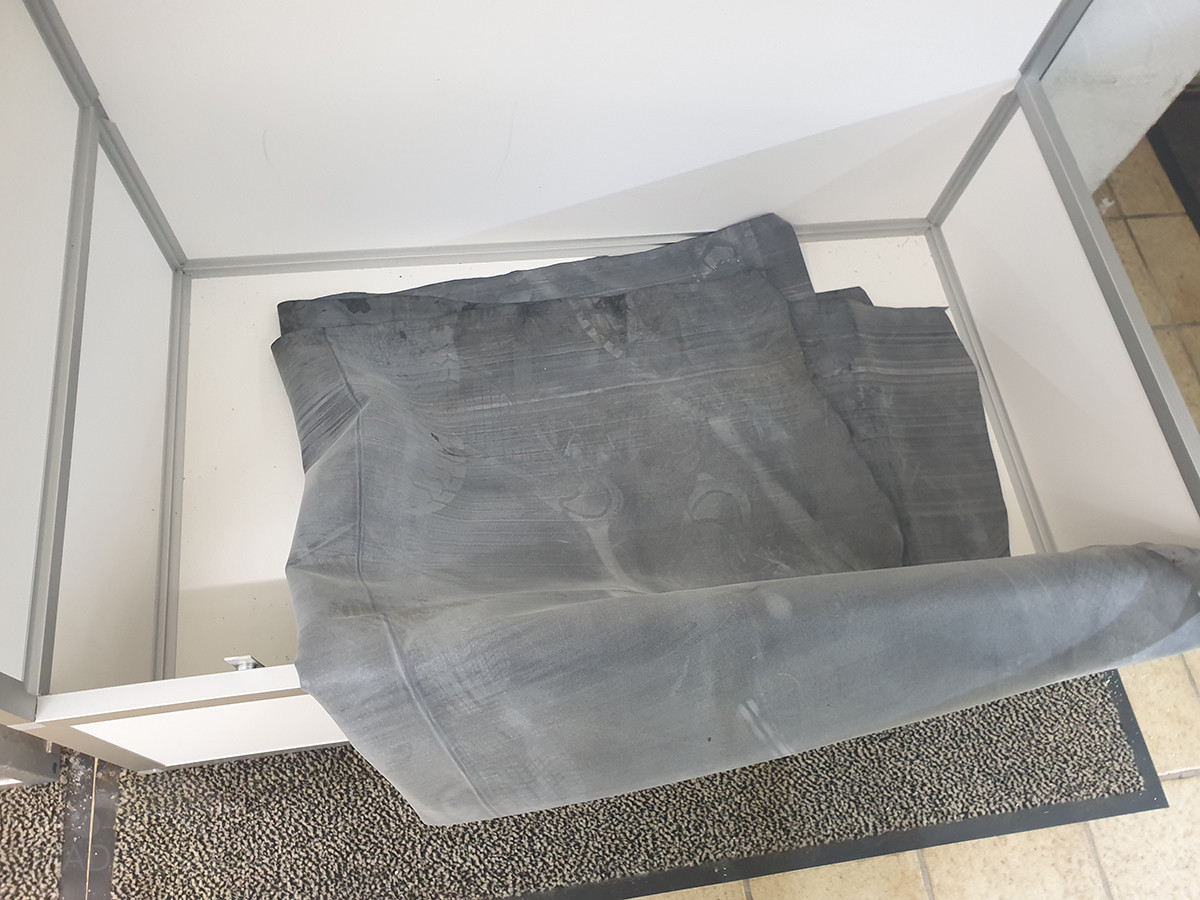
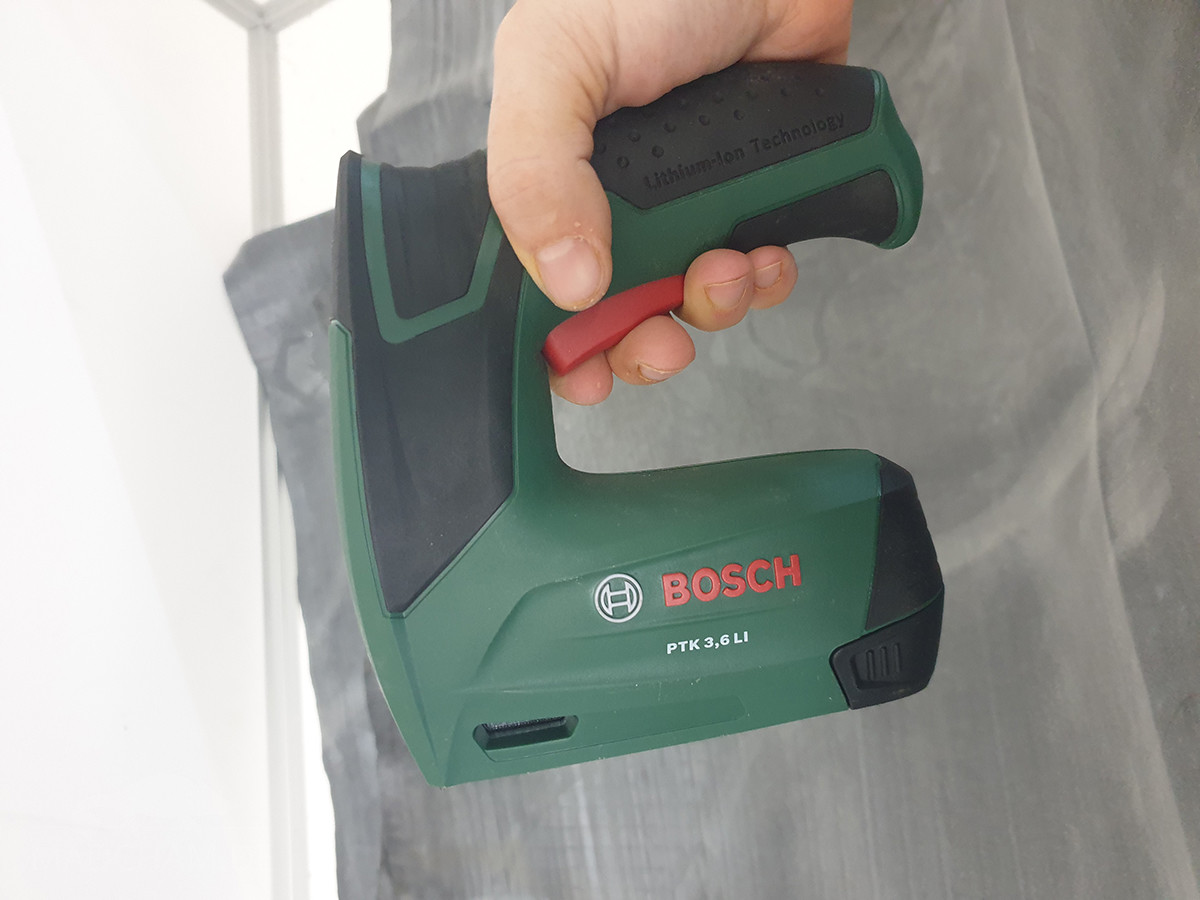
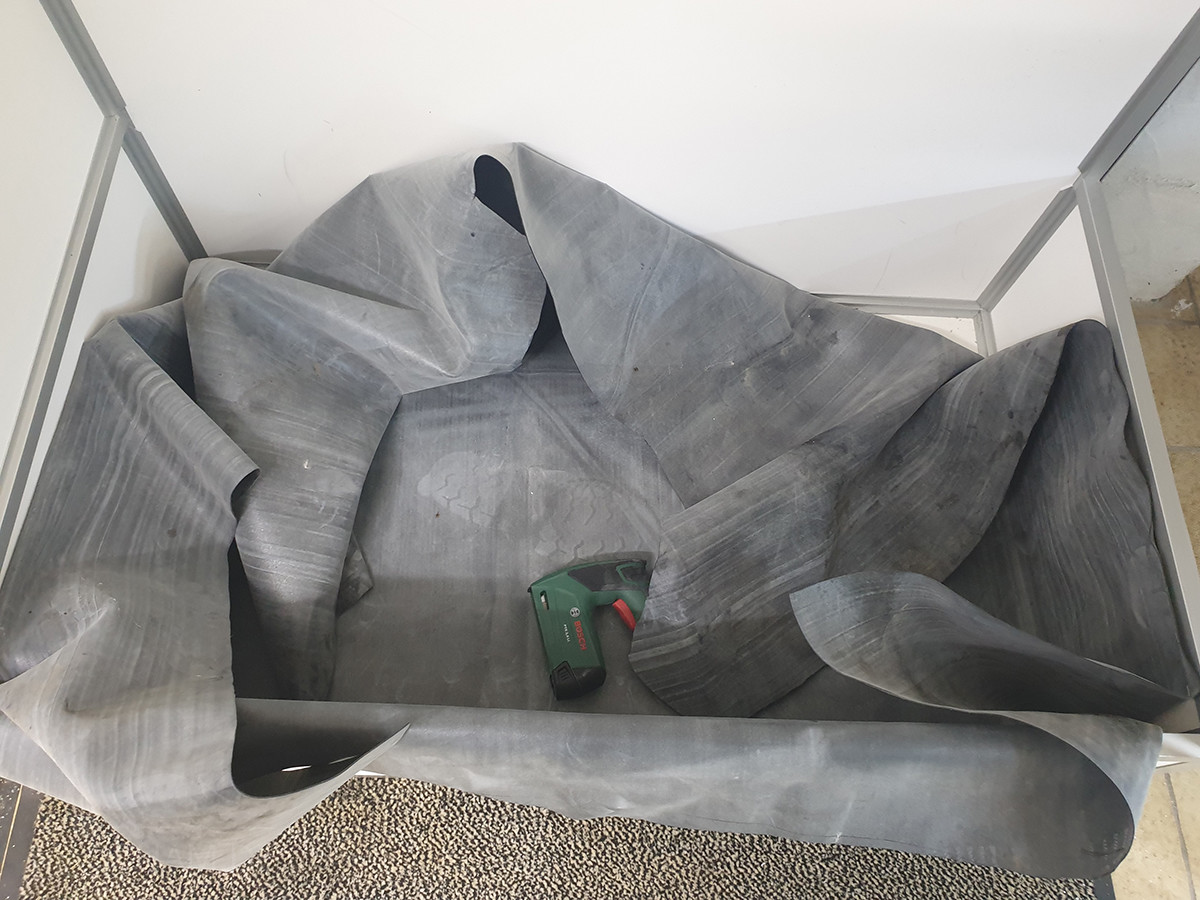
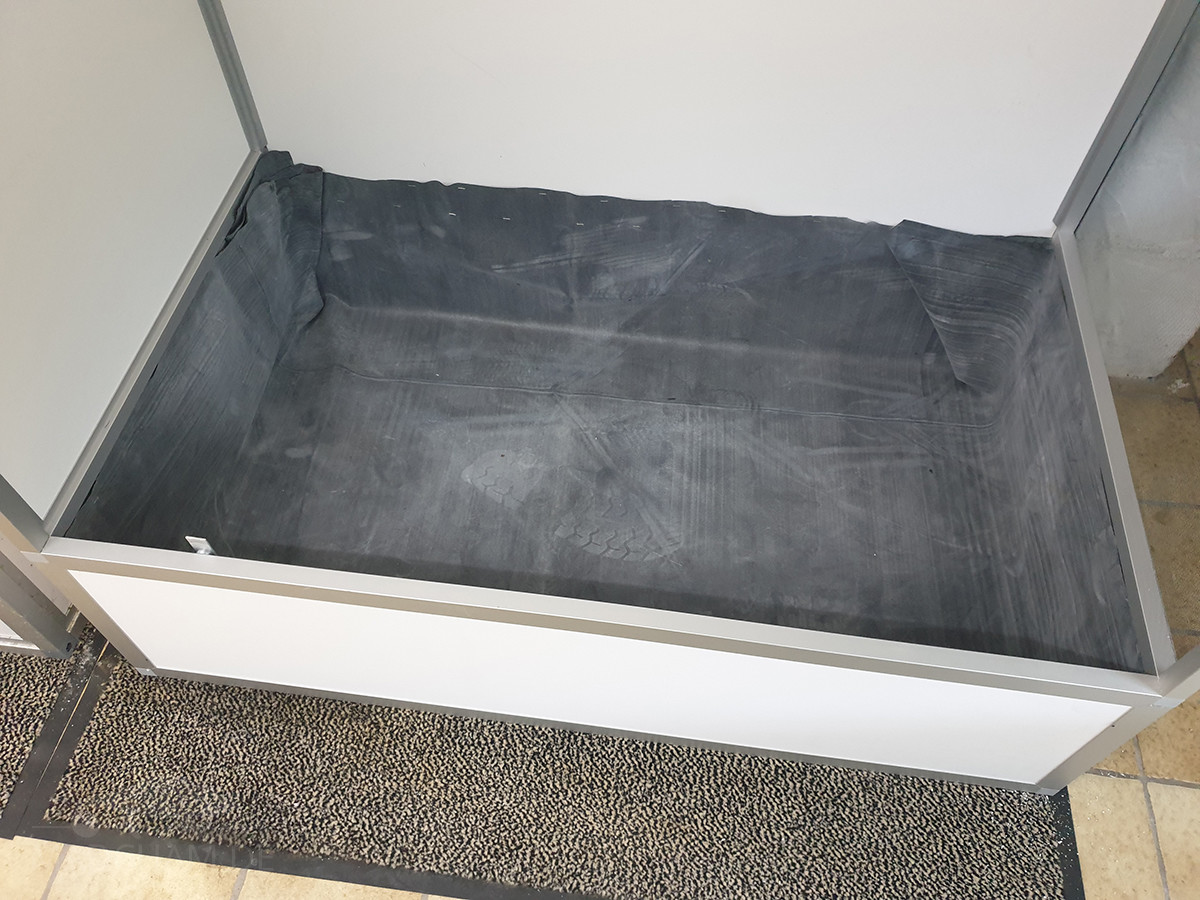
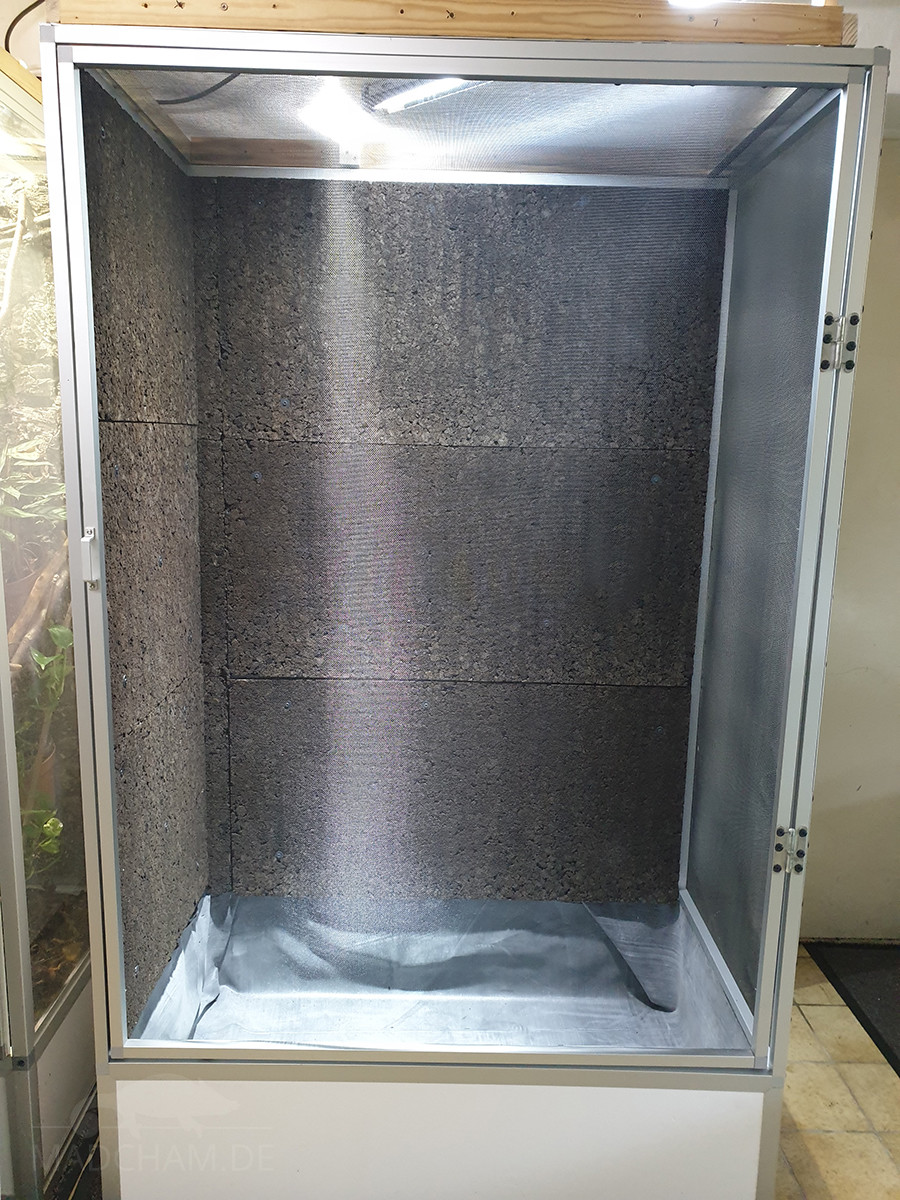
To seal the bottom tray, we use a 0.5 mm thick pond liner. The pond liner is cut to 160 x 120 cm and folded to fit. This is a bit tricky at first. However, the liner is very easy to cut with a cutter knife where too much protrudes. A cordless stapler secures the pond liner in the bottom tray.
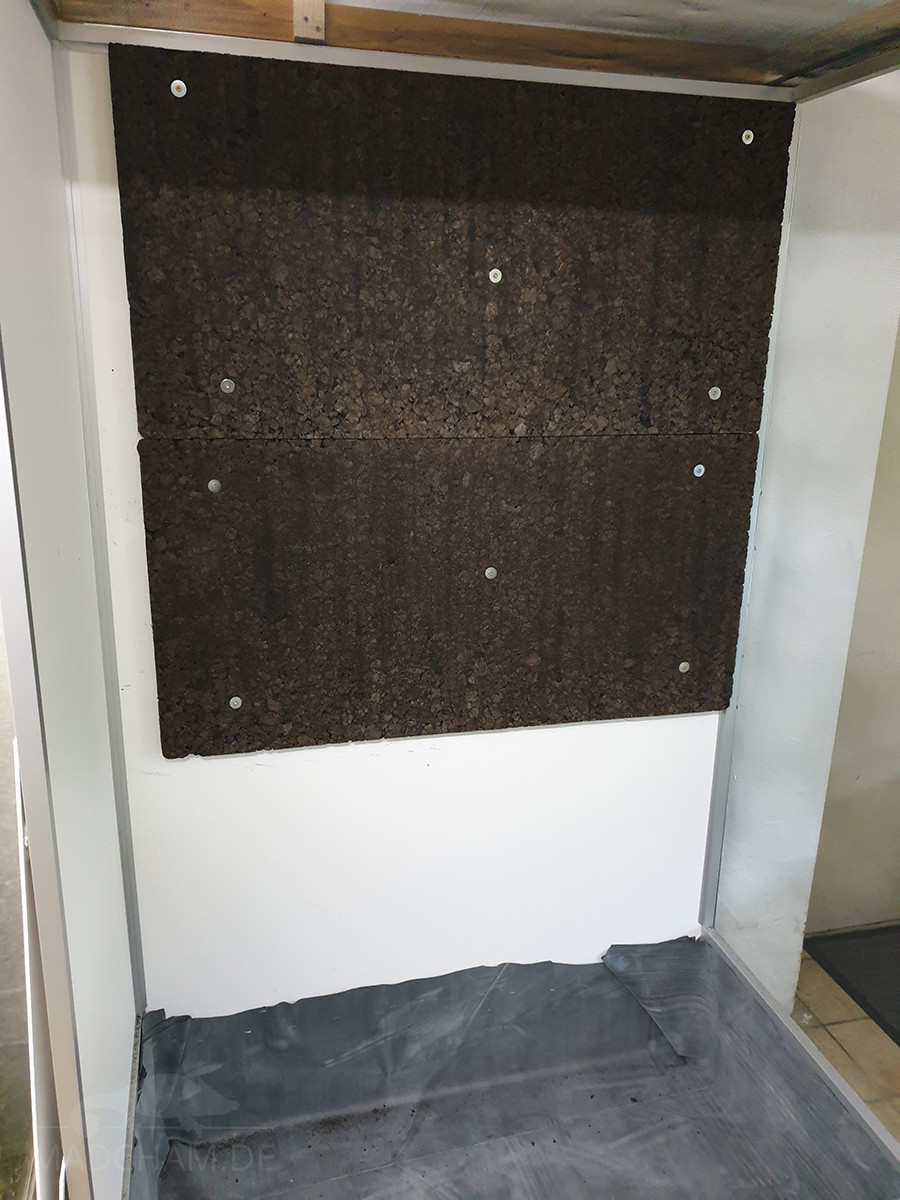
Time for the back walls. Dark pressed cork with a size of 100 x 50 cm is used, which can be cut to size with a jigsaw. Since cork generally tends to curl and detach from the substrate over time, the cork panels are glued on with silicone and additionally fastened in the forex with 3 cm long screws. The visible screw heads and washers then matched to the color of the cork with a touch-up pen.
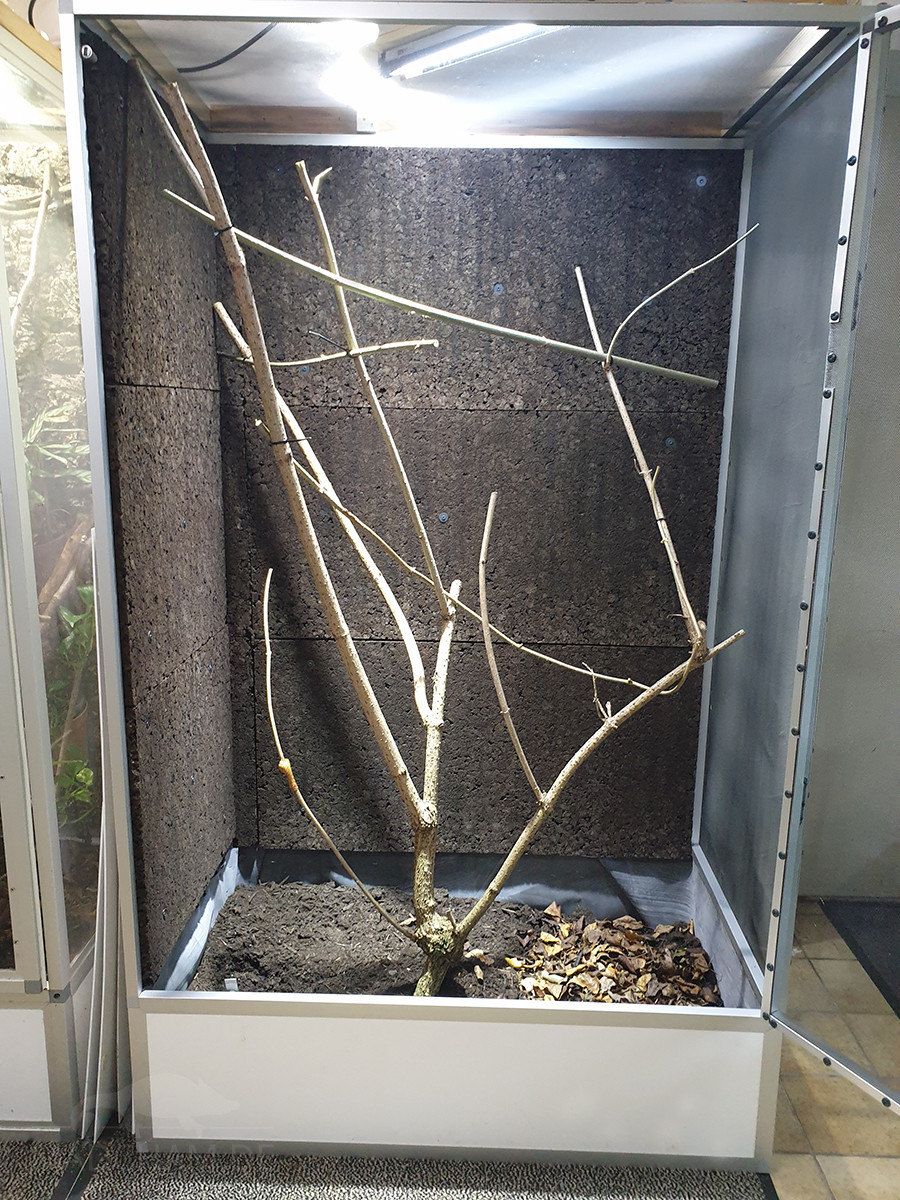
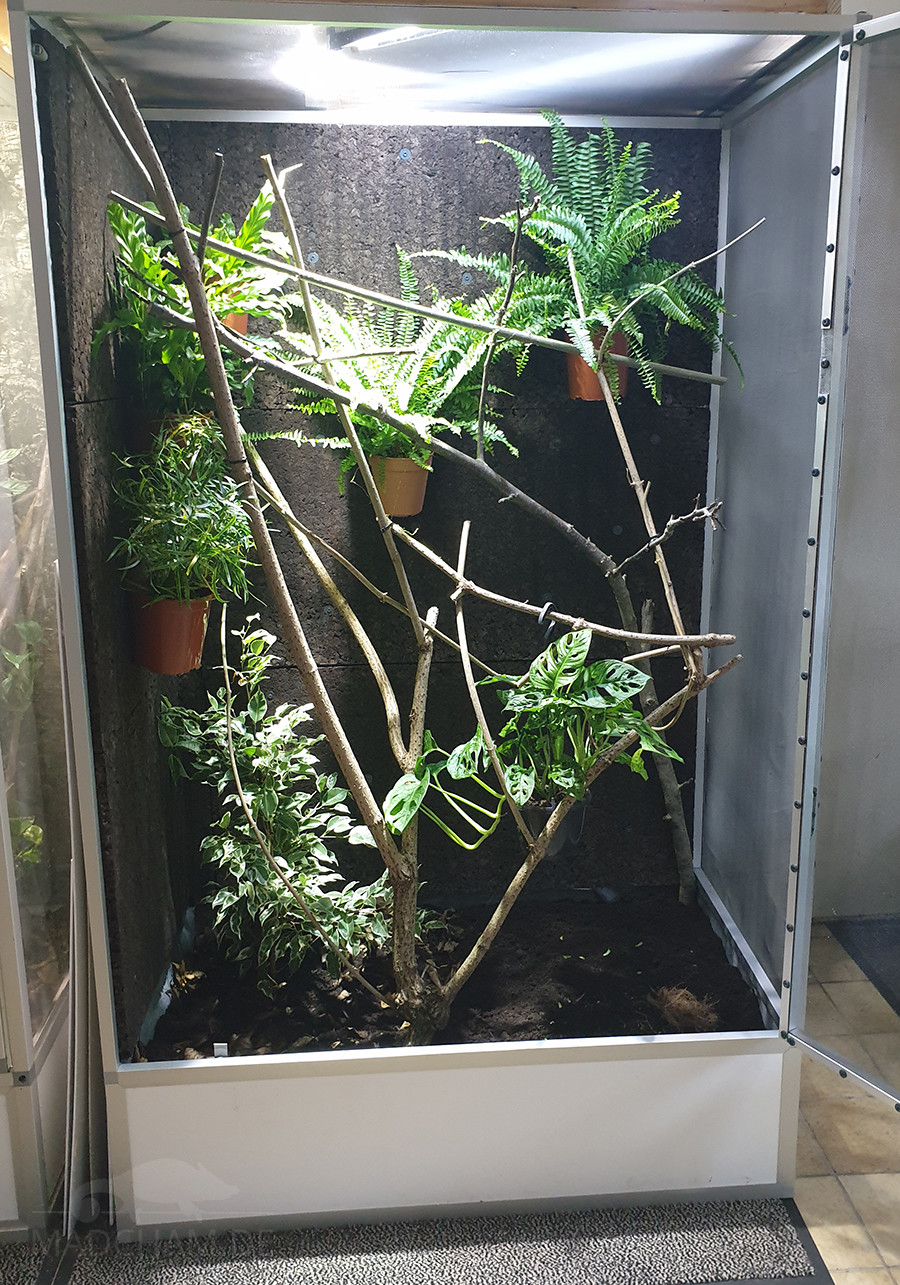
Then about 200 liters of plant and potting soil is poured in layers. At the top follow two buckets of forest soil together with all the micro-inhabitants contained therein. Drainage is not used here. A part of the front area of the terrarium is filled with non-perfumed play sand to offer a chameleon female a place to bury her eggs. The branches we used are from an old elder, a beech, and a walnut tree. A rubber tree (Ficus benjamina) is planted on the left side of the floor. To the back walls, 15×13,9 cm flower pots are attached with 3 cm long screws. In these pots sit a Calathea rufibarba, an Asparagus densiflorus, and two sword ferns (Nephrolepis exaltata). Hanging is an additional window leaf (Monstera deliciosa). Finally, two buckets of foliage (walnut, beech, alder, and cherry) were added. Certainly, the entire terrarium needs to become much greener. More branches will also be added during the several-week break-in period. We will be happy to document the current state of the terrarium here at a later date.


Follow us on Instagram


Most popular articles


Your travel specialist for Madagascar